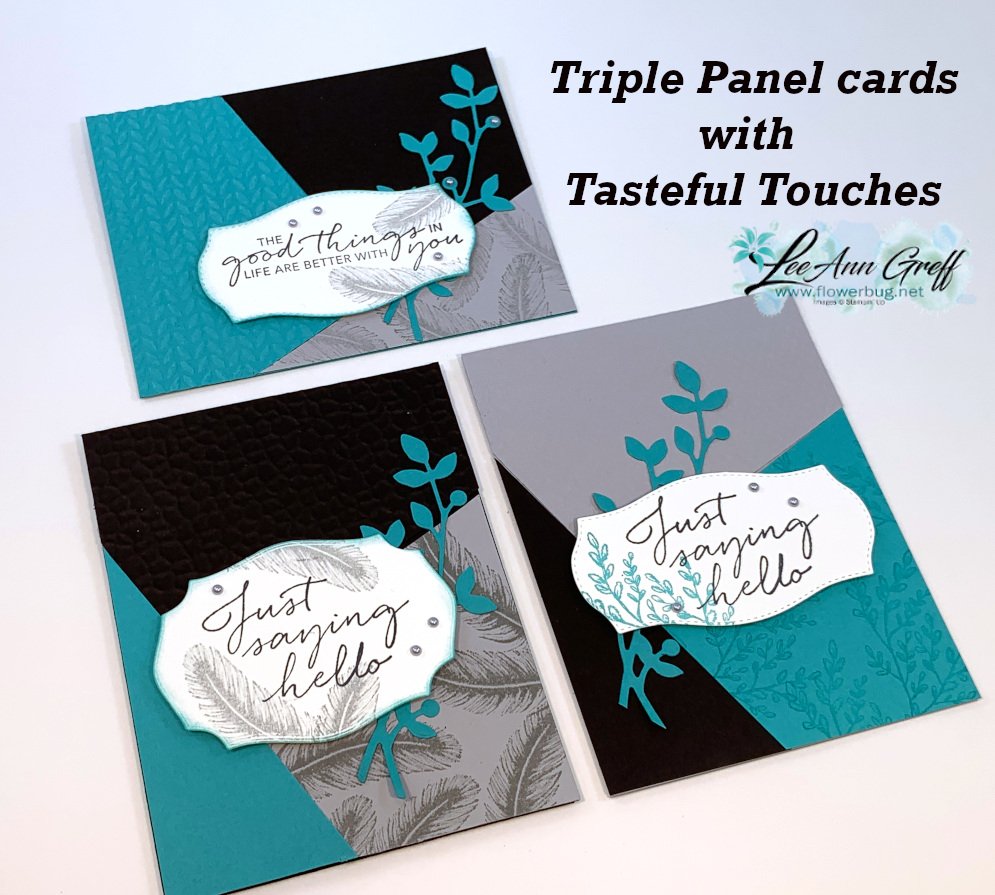
I made these pretty cards on last week's Facebook Live 'Stamp with Me' Monday night. *See video below
The 2nd & 4th Monday's you can stamp with me Live on Facebook here. The next one is Monday, August 10th. I post the measurements & supplies ahead of time so you can prepare. Then afterwards you can share your cards too!
I chose to use a Triple Panel technique; at least that's what I'm calling it. I saw a sketch like it and created my own version here. You start out with 3 pieces of card stock or designer paper and cut them all the same way.
I used Bumblebee, Night of Navy and Smoky Slate for the cards above along with the Tasteful Touches bundle. That pretty leaf die-cut is from the Birds & More dies set.
Measurements:
Three pieces of card stock or DSP measuring 4 1/4" X 5 1/2".
Cute one full 5 1/2" X 8 1/2" card base of each color you use.
Cutting directions:
1st cut: Cut the first small triangle off of each piece. (On the bottom right card it's the Navy piece) Make a mark 1 1/2" from the bottom left corner and 2" from the bottom right corner. Cut this triangle off of all three pieces.
2nd cut: Make a mark from the upper left corner across at 1 3/4". Make a mark 2" from the lower left angled edge. Cut.
The 3rd cut isn't necessary as you'll use the angled piece left from the first two cuts.
Now you have three different colored pieces for each card. Mix & match one color per card!
It includes directions, photos and measurements for 12 cards!
All Posts
Whimsy & Wonder Christmas cards kit to go; opt in by October 19th!
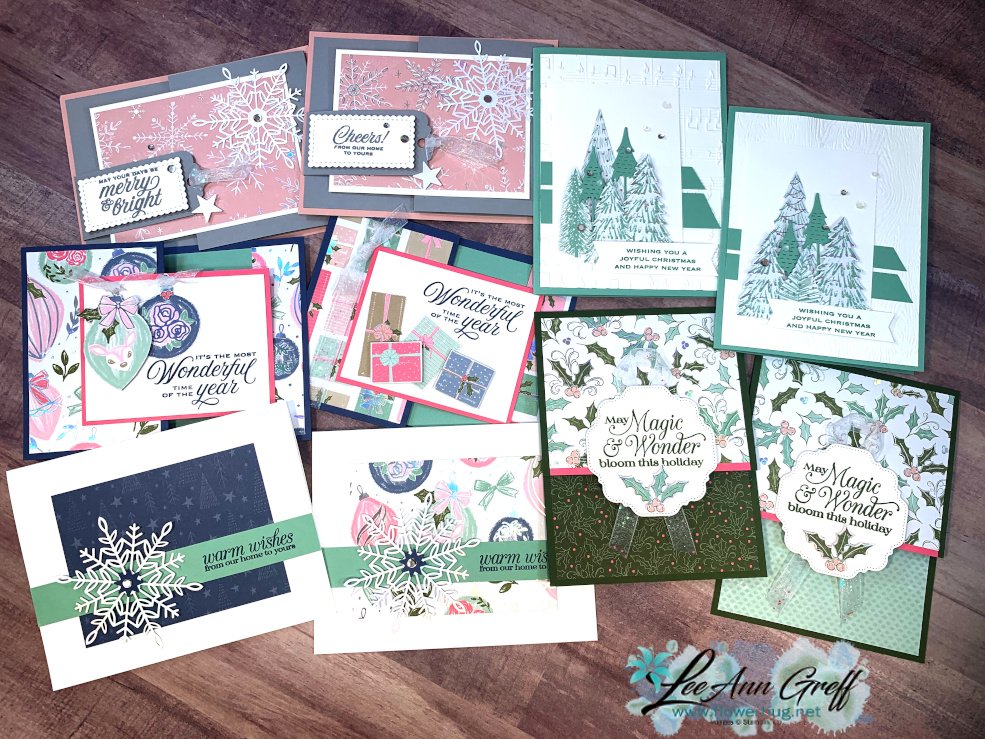
One of this month's kits features the stunning Whimsy & Wonder specialty designer paper in soft, non-traditional colors. It includes 10 pre-cut cards; most of which are special fun folds.
You'll receive the 10 pre-cut cards including die-cuts & punched pieces, 1/2 pkg. Whimsy & Wonder DSP (6" X 12"), White Glitter ribbon, a share of Iridescent snowflakes & subtle sequins. All this for $28 and receive the PDF tutorial free ($15 value)!
This kit does not include pre-stamped images. You'll use your own ink and stamps to finish the cards. The stamps used are Poinsettia Petals & Tidings & Trimmings but you can substitute other images easily. Inks include Smoky Slate, Misty Moonlight, Mint Macaron
You'll use the measurements in the PDF tutorial to cut your new designer paper for each card. This tutorial includes step by step directions, supplies list, photos and measurements.
Be sure to opt in by October 19th here for this kit!You'll receive the PDF tutorial immediately after payment; please check your junk or spam folder! The kit itself is mailed out at the end of October via Priority mail, barring any back orders.
This is the kit my monthly subscribers will receive. If you'd like to receive a kit each month click below to subscribe. It's $36.50 and always includes $20 in product, 10 pre-cut cards plus the PDF tutorial as well!
There is a 2nd Christmas cards kit available as well. Click here to see it orclick here to get both October kits and save on shipping.
Don’t miss out! Today is the last day to get the Christmas kit!
I always love the Christmas Paper Pumpkin kits so I ordered two this time! I know they'll be quick but beautiful cards I'll be happy to make for my friends & family. Yay; stress free crafting!
Ready to roast chestnuts on an open fire? With sprinkles of snow, shimmering silver skies, and heartwarming holiday wishes, the Peaceful Christmas Paper Pumpkin Kit is the perfect pick to kickstart your Christmas crafting.
Brew a cup of cocoa, snuggle up with a soft blanket, and prepare for a cozy craft night in with October’s Christmas kit!
To find out more about this fun, festive, and frosted kit, dash through the snow and make your way here to subscribe!
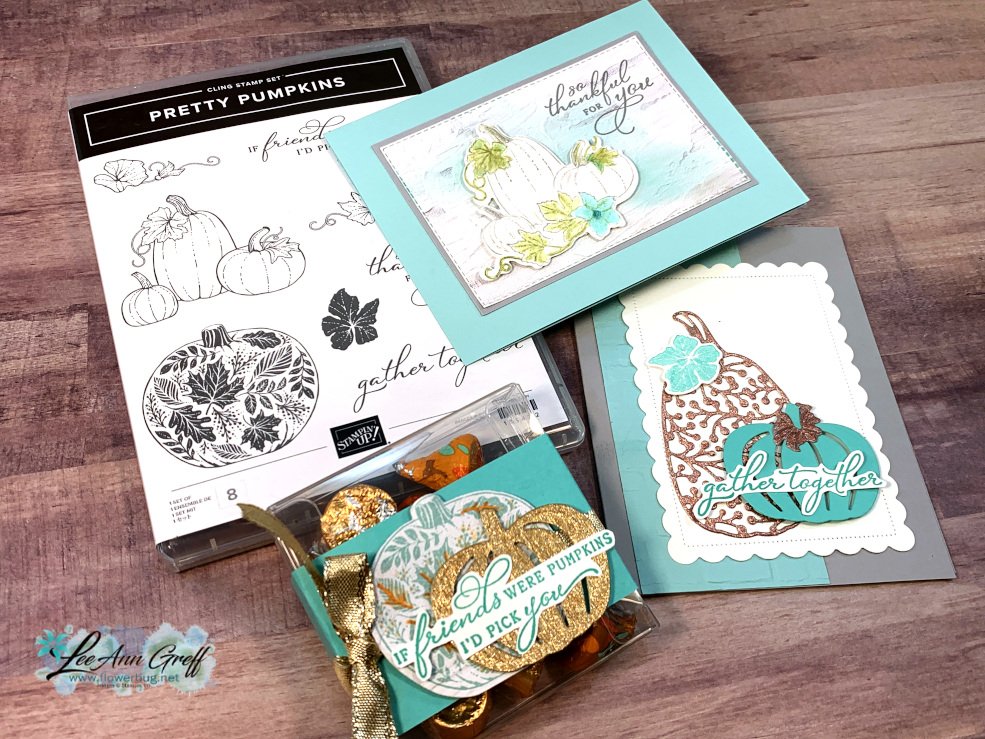
Pretty Pumpkin projects in out of the box colors with Video too!
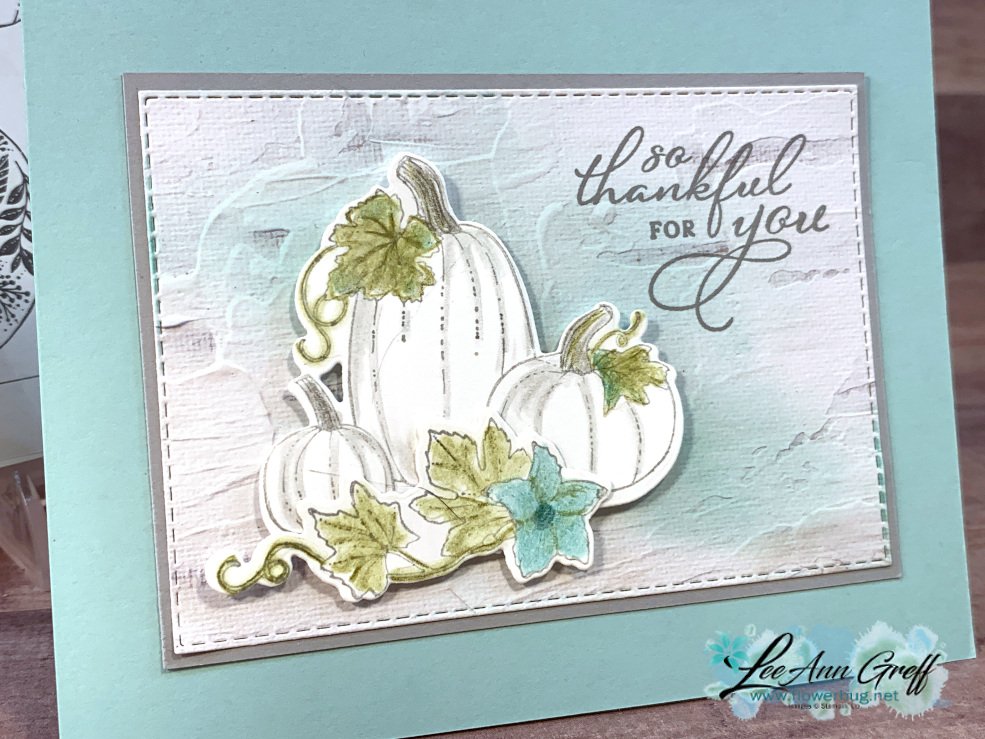
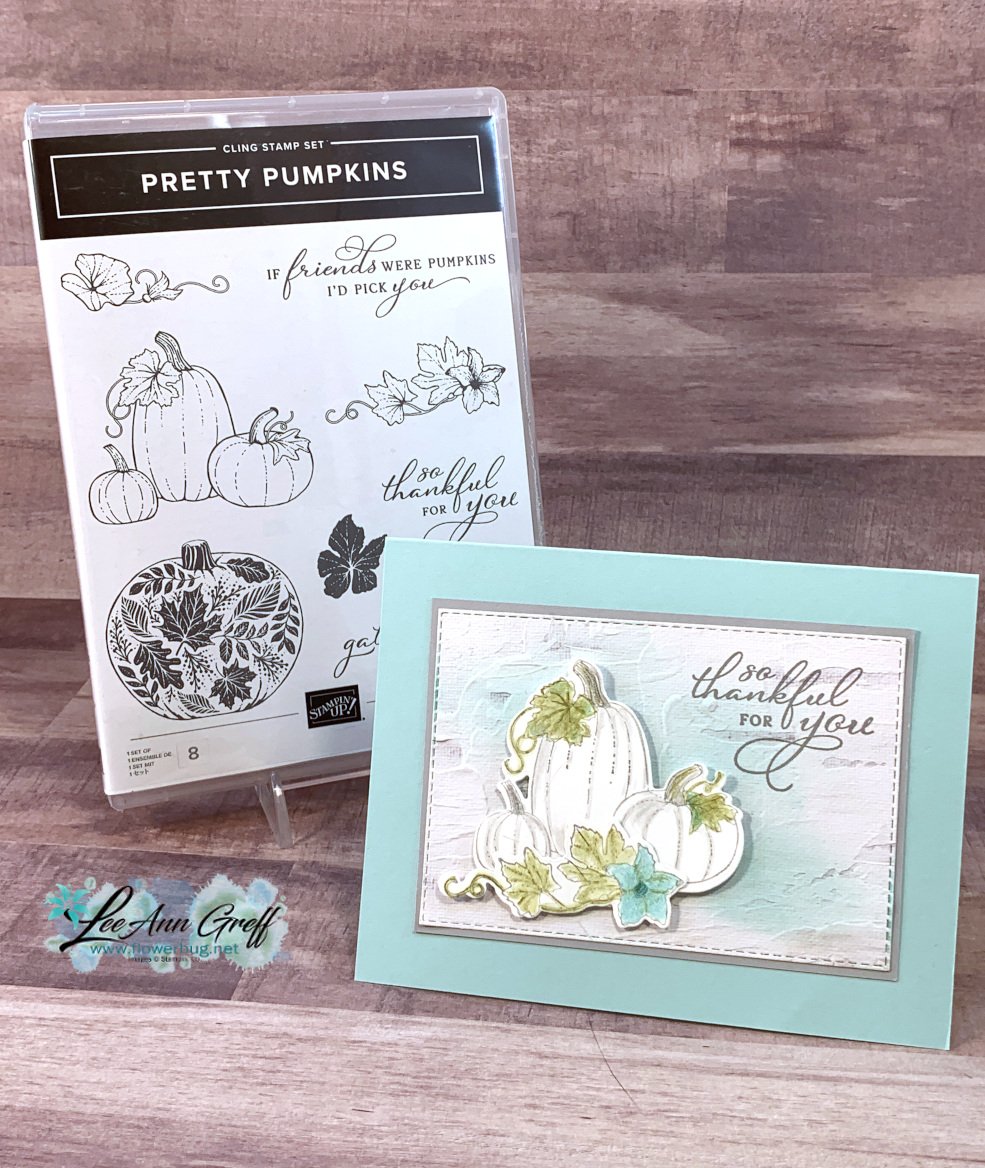
On Tuesday's FB Live I featured the Pretty Pumpkins bundle in out of the box colors. I was inspired by the white pumpkins that are trendy now and by a card made by Deb Crowley.
Isn't it gorgeous? The colors are Pool Party, Olive & Smoky Slate. I stamped the pumpkins in Smoky Slate onto White Basic card stock and colored them in with our Watercolor Pencils seen here. A Blender pen is the magic tool when using watercolor pencils! Watch the video below to see how.
I stamped the greeting directly onto the die-cut stitched rectangle using Smoky Slate ink. It's cut from In Good Taste designer paper. I used a blending brush to add a bit of Coastal Cabana ink behind the die-cut pumpkins.
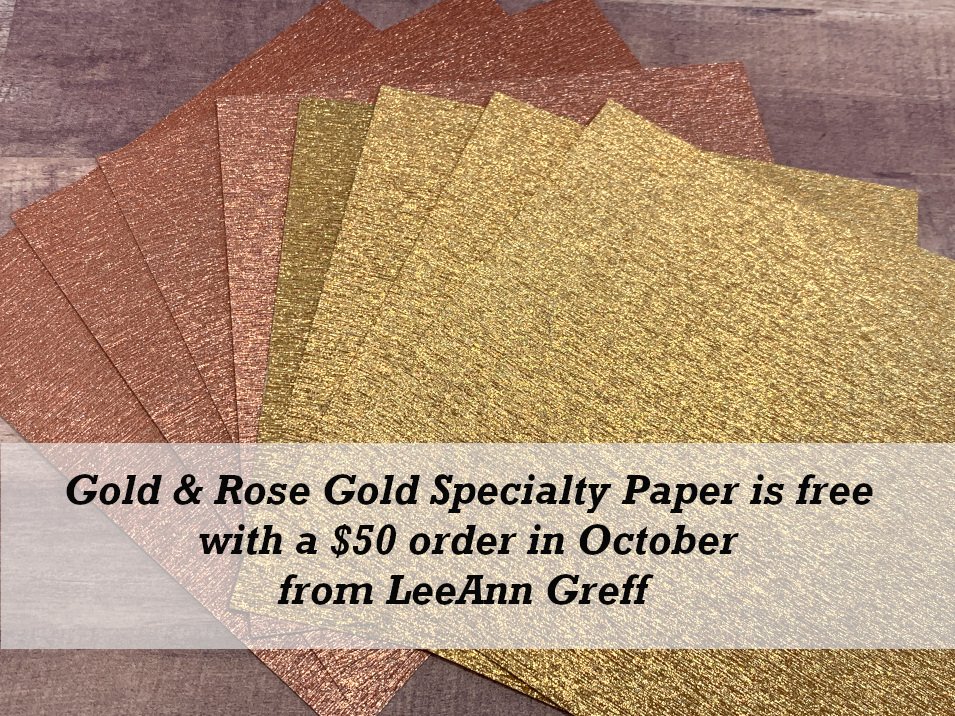
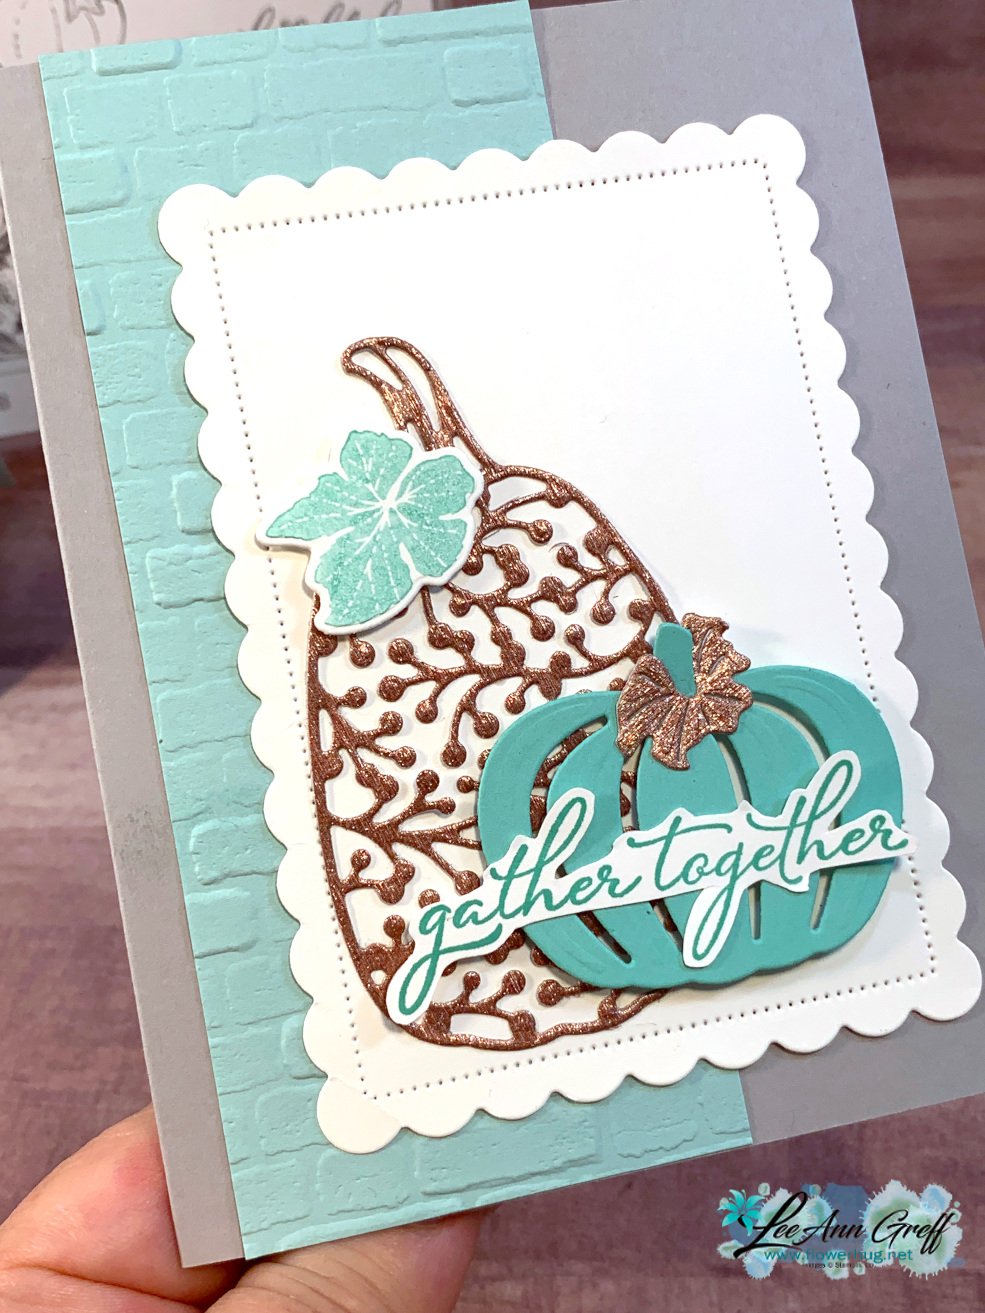
Next is another pretty card in Smoky Slate, Pool Party, Coastal Cabana and Rose Gold. This pretty specialty paper is in our Annual Catalog on page 134 seen here. It's also my free gift for orders in October! *see details below
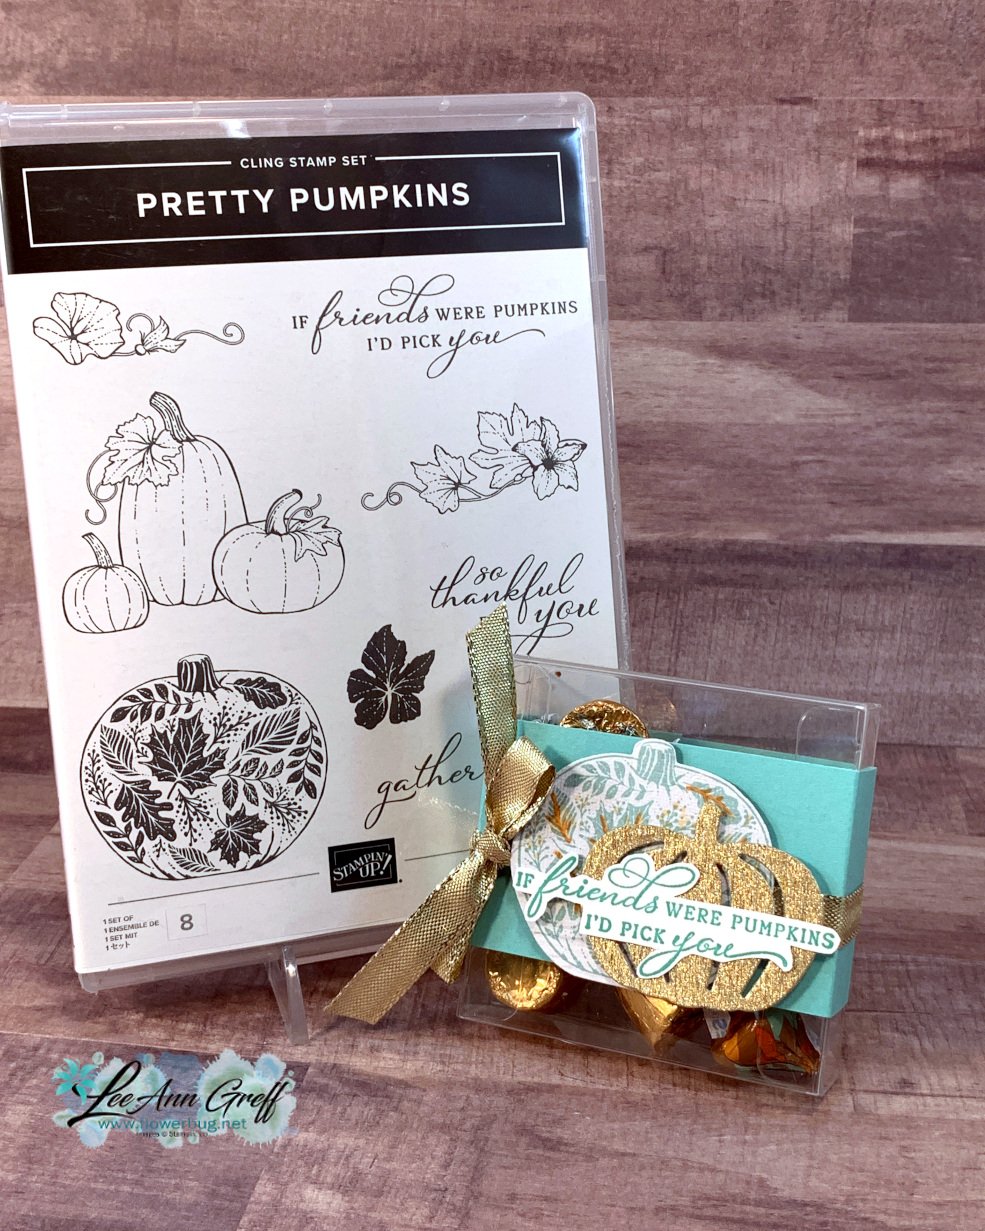
These pumpkin and leaf die-cuts are in the Detailed Pumpkin dies seen here. *Save 10% when you purchase the bundle – stamp set & dies. I did fussy cut the greeting after stamping it. The embossing folder is called Brick Wall.
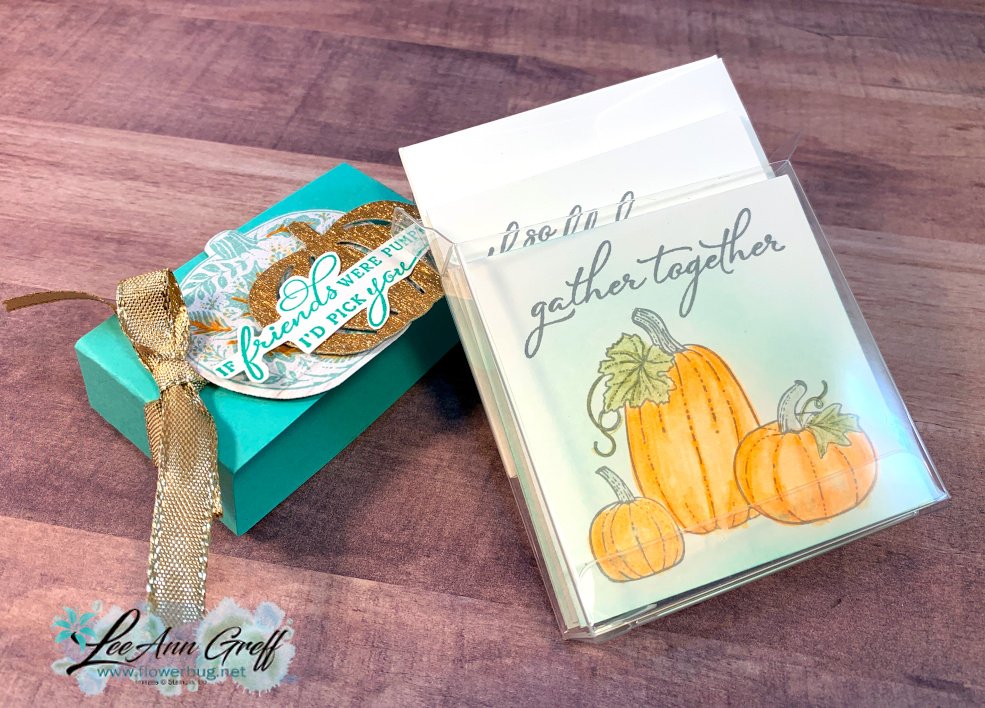
Look at this pretty & quick treats box. It's one of our 3 1/8" square Acetate boxes seen in the annual catalog here. You get 10 boxes for $6. Inside can hold either treats or 3 X 3 cards & envelopes.
Did you know we carry 3" square envelopes in the Annual Catalog? Check out page 136. They're perfect for little note cards and they fit in this box too!
You might wonder where you get 3 X 3" cards…. I made them from a piece of 12 X 12" card stock. It's the best size CS to start with. You'll get 8 small cards from one sheet with no waste! Watch my tip on this in the video below.
I think these cards would be great at each place setting on the Thanksgiving table! Think white pumpkins, autumn colored leaves & turquoise ribbon or accents. Mmm – I think I have a plan!
Notice: LeeAnn Greff, Independent Stampin’ Up! Demonstrator, Manager. The content of this website is my sole responsibility as an independent Stampin’ Up! demonstrator and the use of, and content of, the classes, services, or products offered on this website is not endorsed by Stampin’ Up! Copyright 2025



























Leave a Reply