/


Latest Post

3 in 1 Triple Panel cards


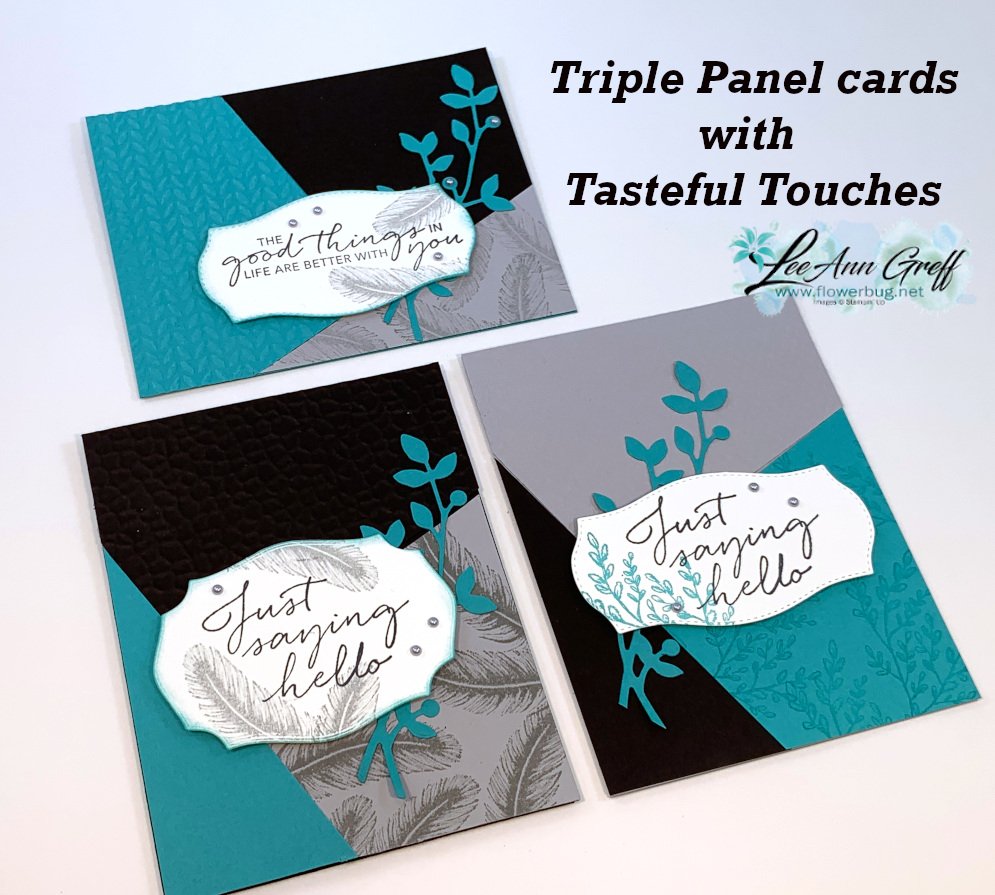
I made these pretty cards on last week's Facebook Live 'Stamp with Me' Monday night. *See video below

The 2nd & 4th Monday's you can stamp with me Live on Facebook here.  The next one is Monday, August 10th. I post the measurements & supplies ahead of time so you can prepare.  Then afterwards you can share your cards too! 

I chose to use a Triple Panel technique; at least that's what I'm calling it.  I saw a sketch like it and created my own version here.  You start out with 3 pieces of card stock or designer paper and cut them all the same way.  

I used Bumblebee, Night of Navy and Smoky Slate for the cards above along with the Tasteful Touches bundle.  That pretty leaf die-cut is from the Birds & More dies set. 
Measurements:
Three pieces of card stock or DSP measuring 4 1/4" X 5 1/2".
Cute one full 5 1/2" X 8 1/2" card base of each color you use.
 
Cutting directions:
1st cut: Cut the first small triangle off of each piece. (On the bottom right card it's the Navy piece) Make a mark 1 1/2" from the bottom left corner and 2" from the bottom right corner. Cut this triangle off of all three pieces.
2nd cut: Make a mark from the upper left corner across at 1 3/4". Make a mark 2" from the lower left angled edge. Cut.
The 3rd cut isn't necessary as you'll use the angled piece left from the first two cuts.
Now you have three different colored pieces for each card. Mix & match one color per card!

On the cards above the colors are Bermuda Bay, Black and Smoky Slate and the same Tasteful Touches bundle and leaf die from above. 


~~~

Bonus Days are here!

 
Redeem your $5 coupons now!  Don't forget!   

~~~

Current Host code is QW7SUYVX

Get a free package of new Iridescent Pearls in August with an online order over $55. 

Order online here

 Get my Flowers for Every Season pdf tutorial free with any online order in August
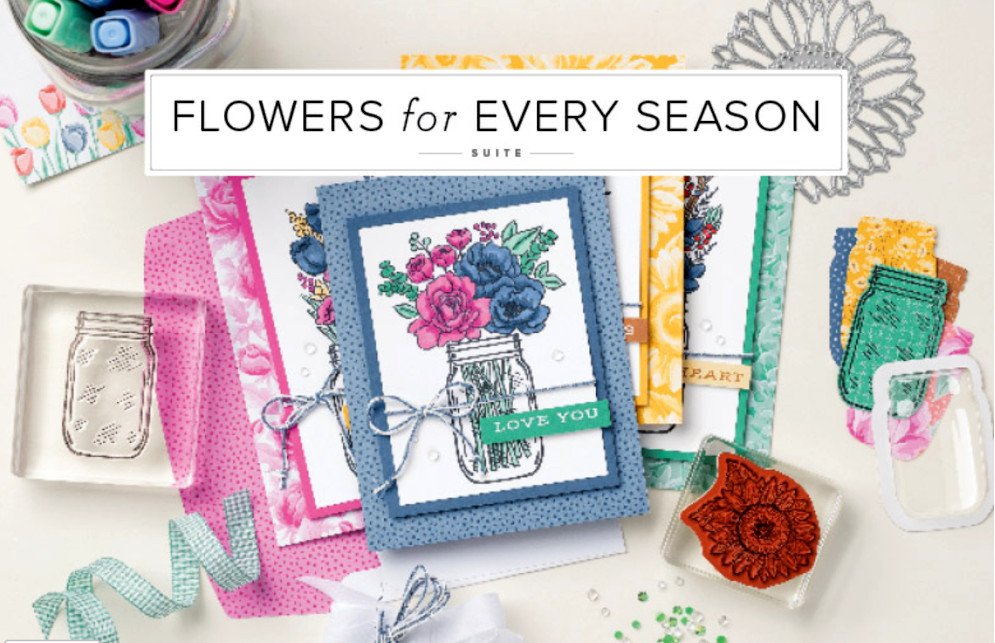

It includes directions, photos and measurements for 12 cards!
All Posts

  • CUTE Pillowbox ‘treat box’ you’ll love!


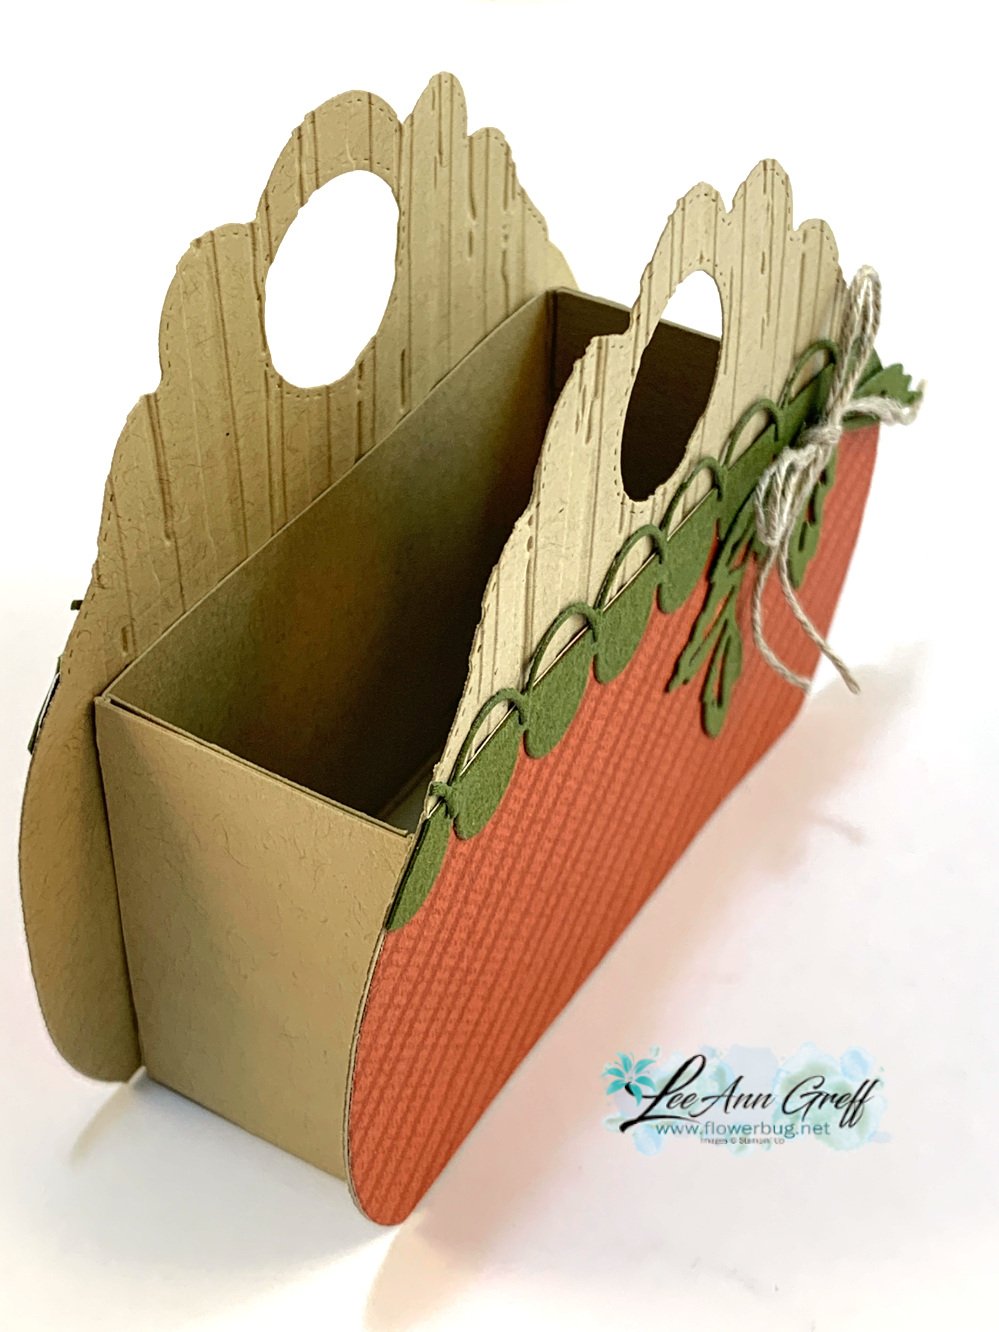
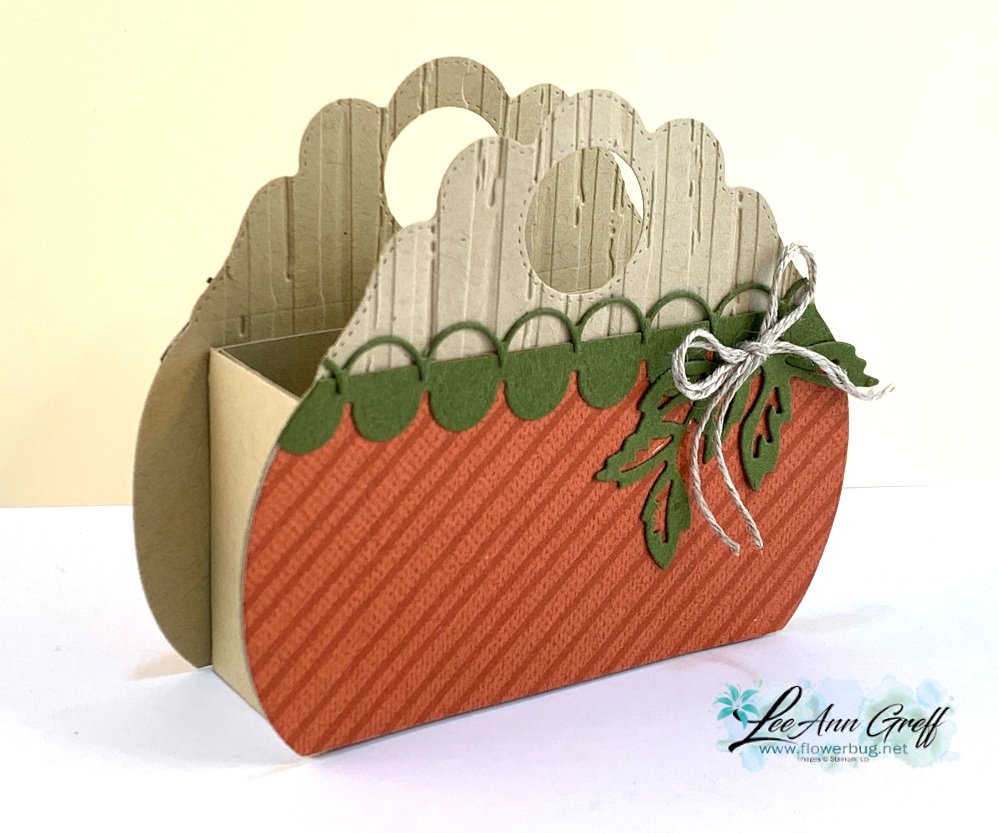
    I made this cute box using the Pretty Pillow Box dies.  Does it look like a pumpkin to you?  

    It does use the Pretty Pillow box dies for the flat shape of the front of this box, but the box itself is made from a piece of card stock (see measurements below). I found this idea from fellow demonstrator Lynda Emerson.  As usual I changed it up a bit from hers. 

    Products used:

    Crumb Cake card stock, He’s the Man DSP, strips of Mossy Meadow for apple die trim & for the leaves die-cuts, Pretty Pillow Box dies seen here, Stylish Shapes (for the circle die-cut), Penned Flower & Apple Blossom dies, Stripes & Spatters EF, Linen Thread for the bow, Simply Scored Scoring tool

    The inside of the box would hold quite a few treats; it's a good size!  

    Measurements:

    • Crumb Cake 5 ¼” X 7 ¼” scored at 2" on all 4 sides, plus two die-cut pillow box pieces
    • He’s the Man DSP 2 ¼” X 4 ½”

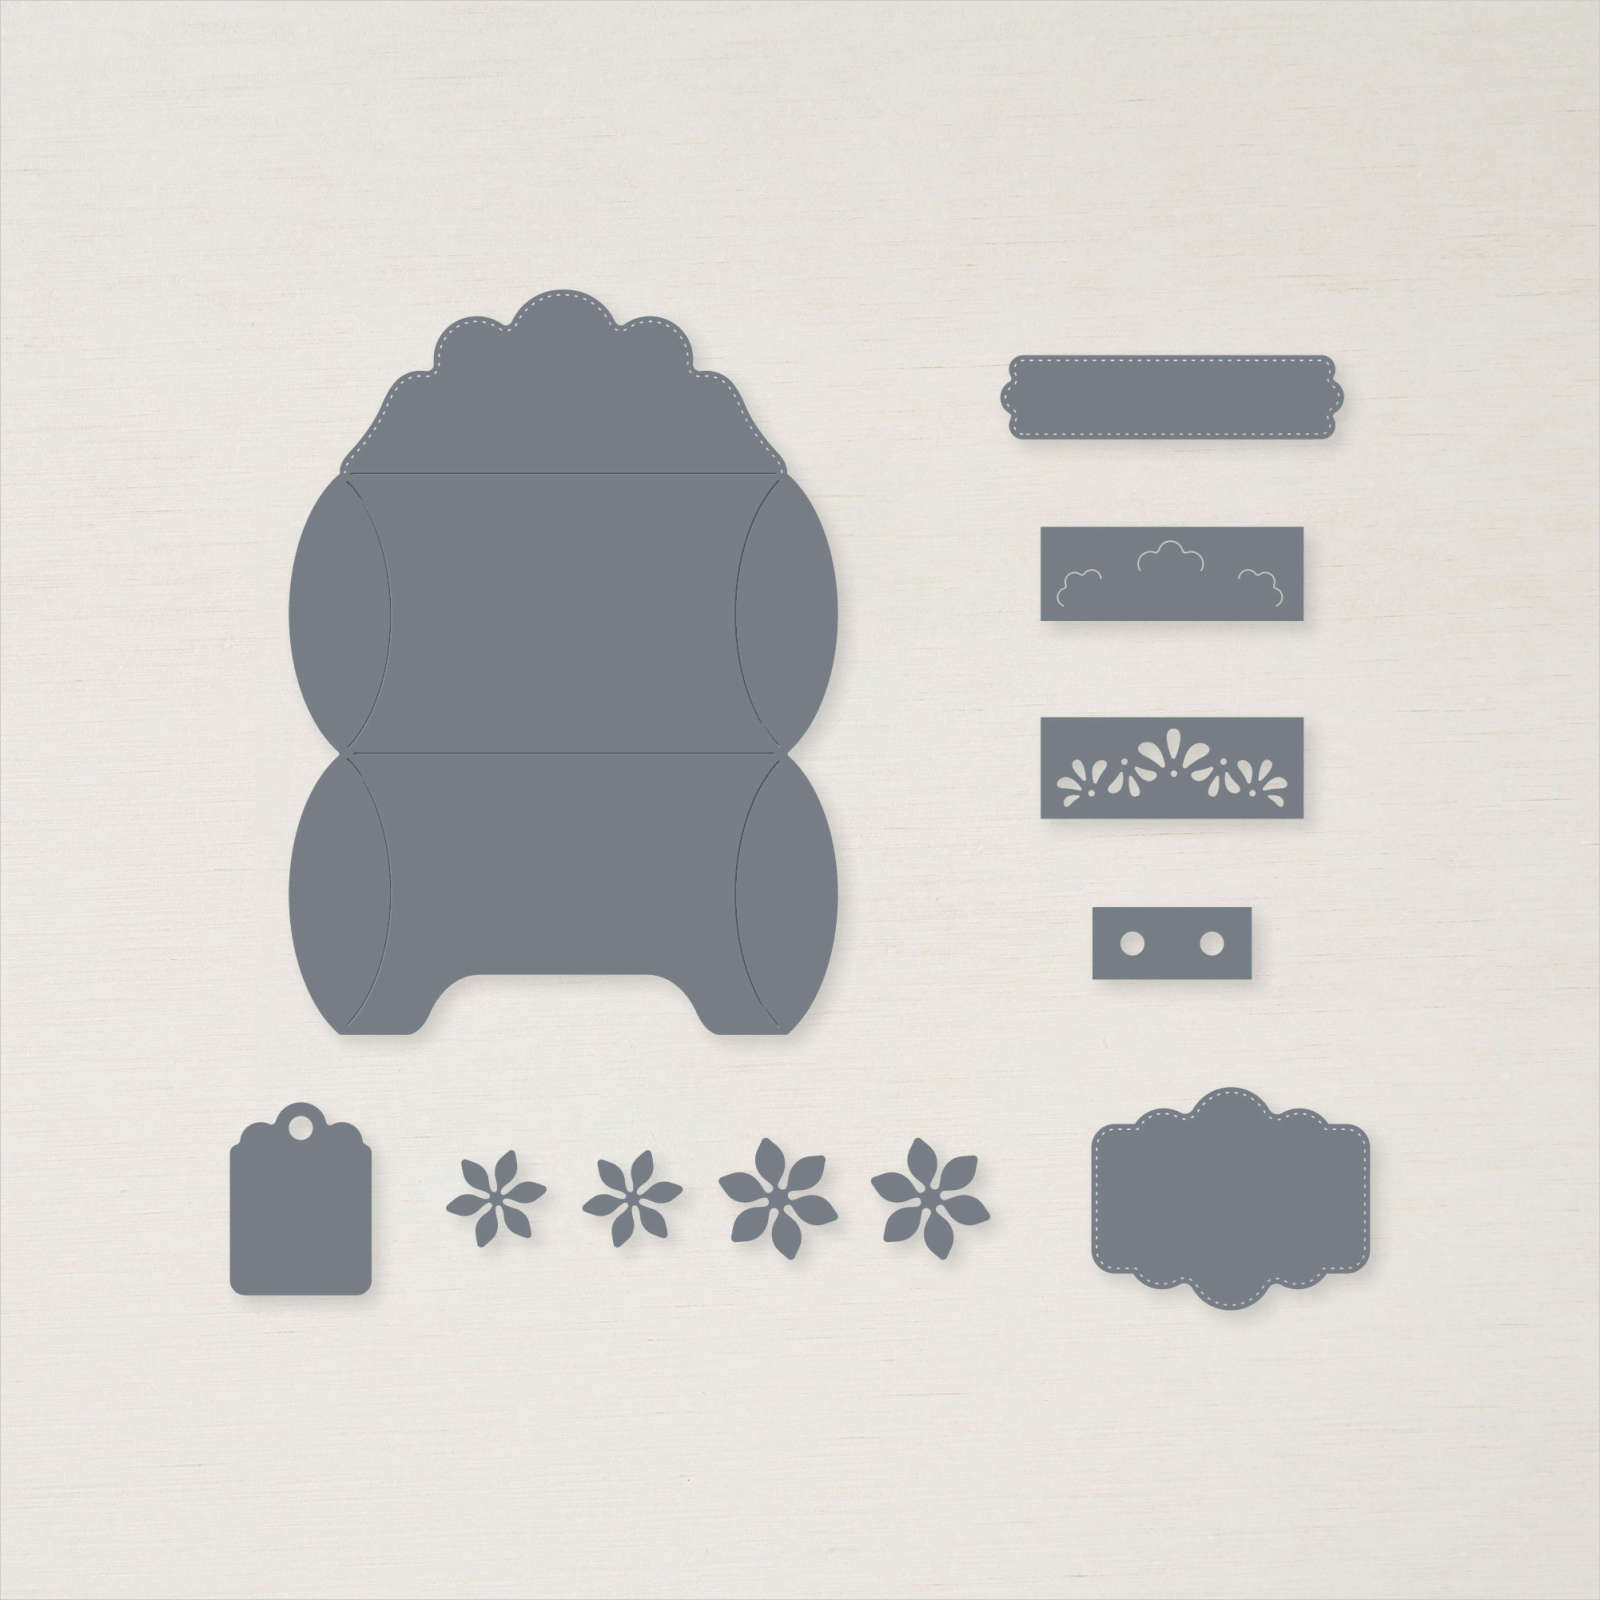
    Here is what the Pretty Pillow box dies look like: 

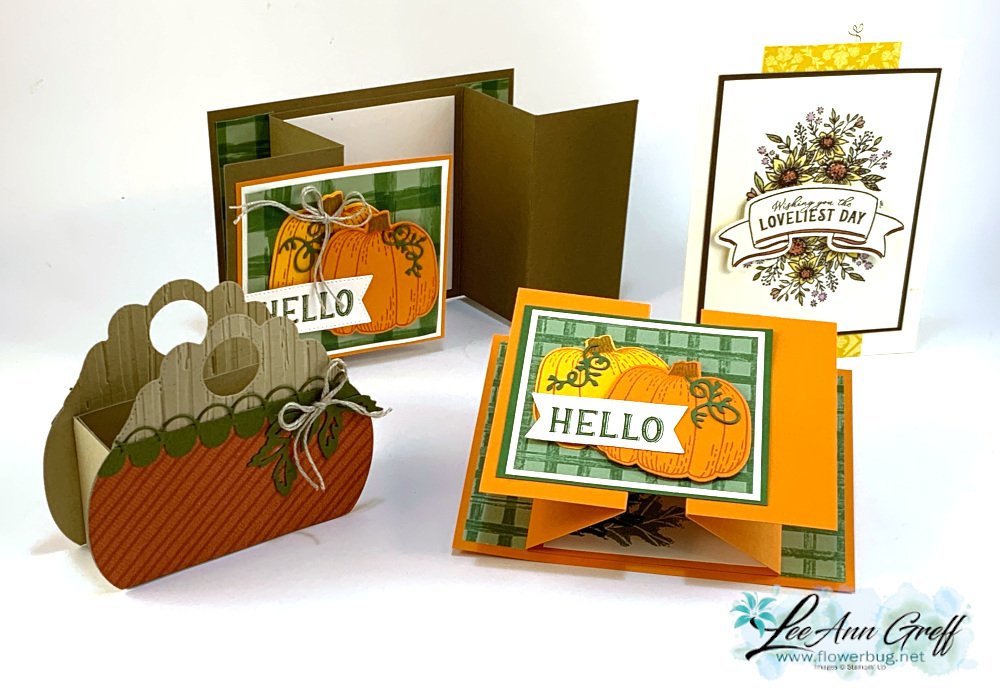
    Here are all of the projects I made. The other two cards feature the Hello Harvest bundle.  


    ~~~

    September Specials


    New weekly deals come out on September 1st, 8th, 15th & 22nd! 

    Order online here

    Host code links: KSAEED9Y or JPJ4FKYJ

    Get free cards from me with online orders!

    Earn free products with my loyalty rewards! 

    Click here to download yours and earn a $50 shopping spree!

    Leave a Reply

    Your email address will not be published. Required fields are marked *

  • Use the stamp in a new way on this card! Hello Harvest projects


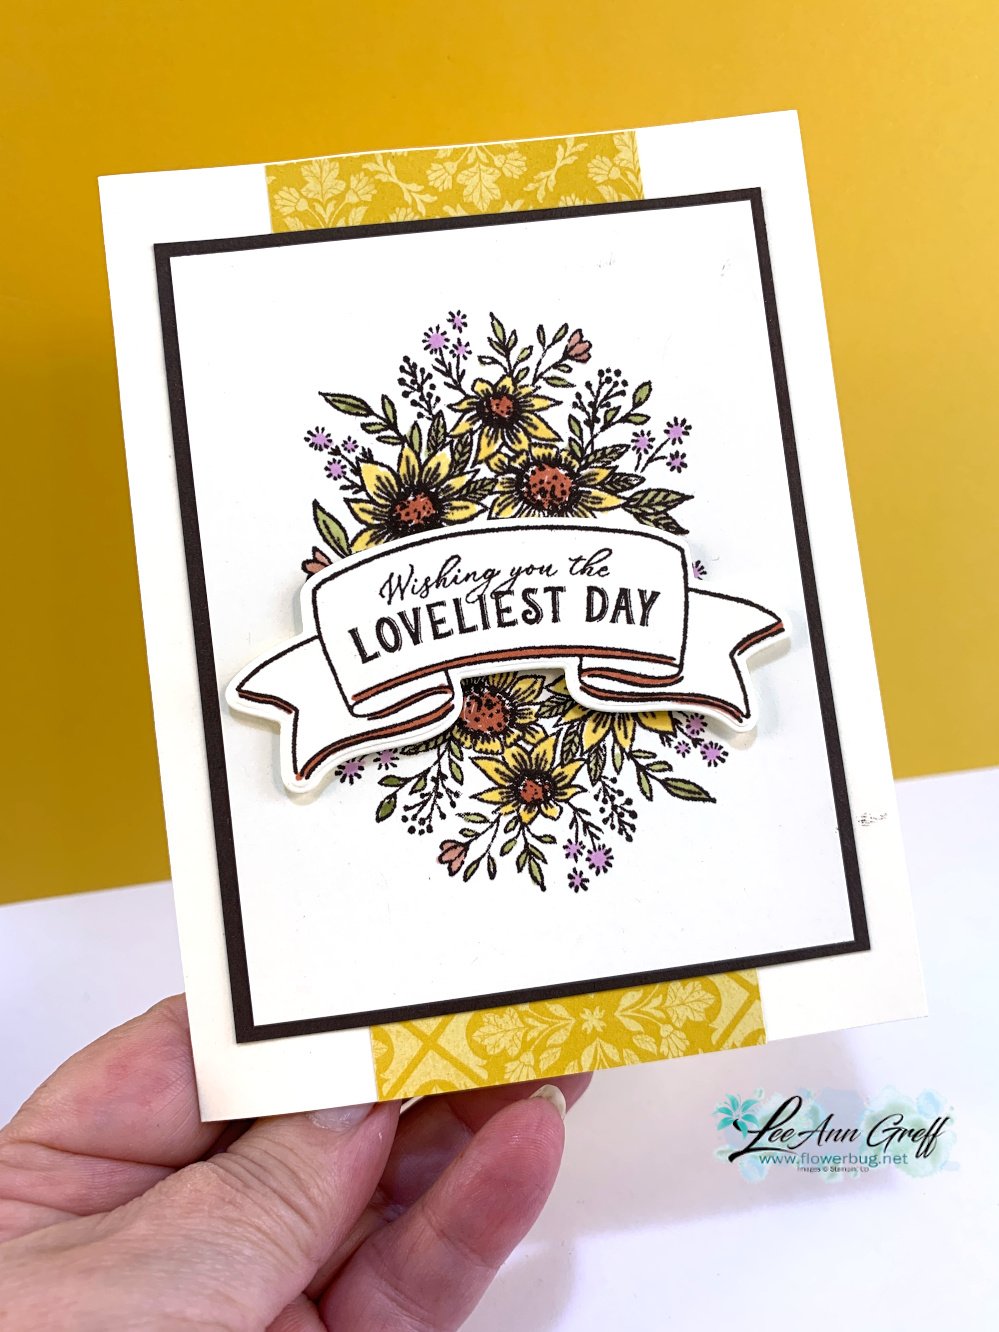
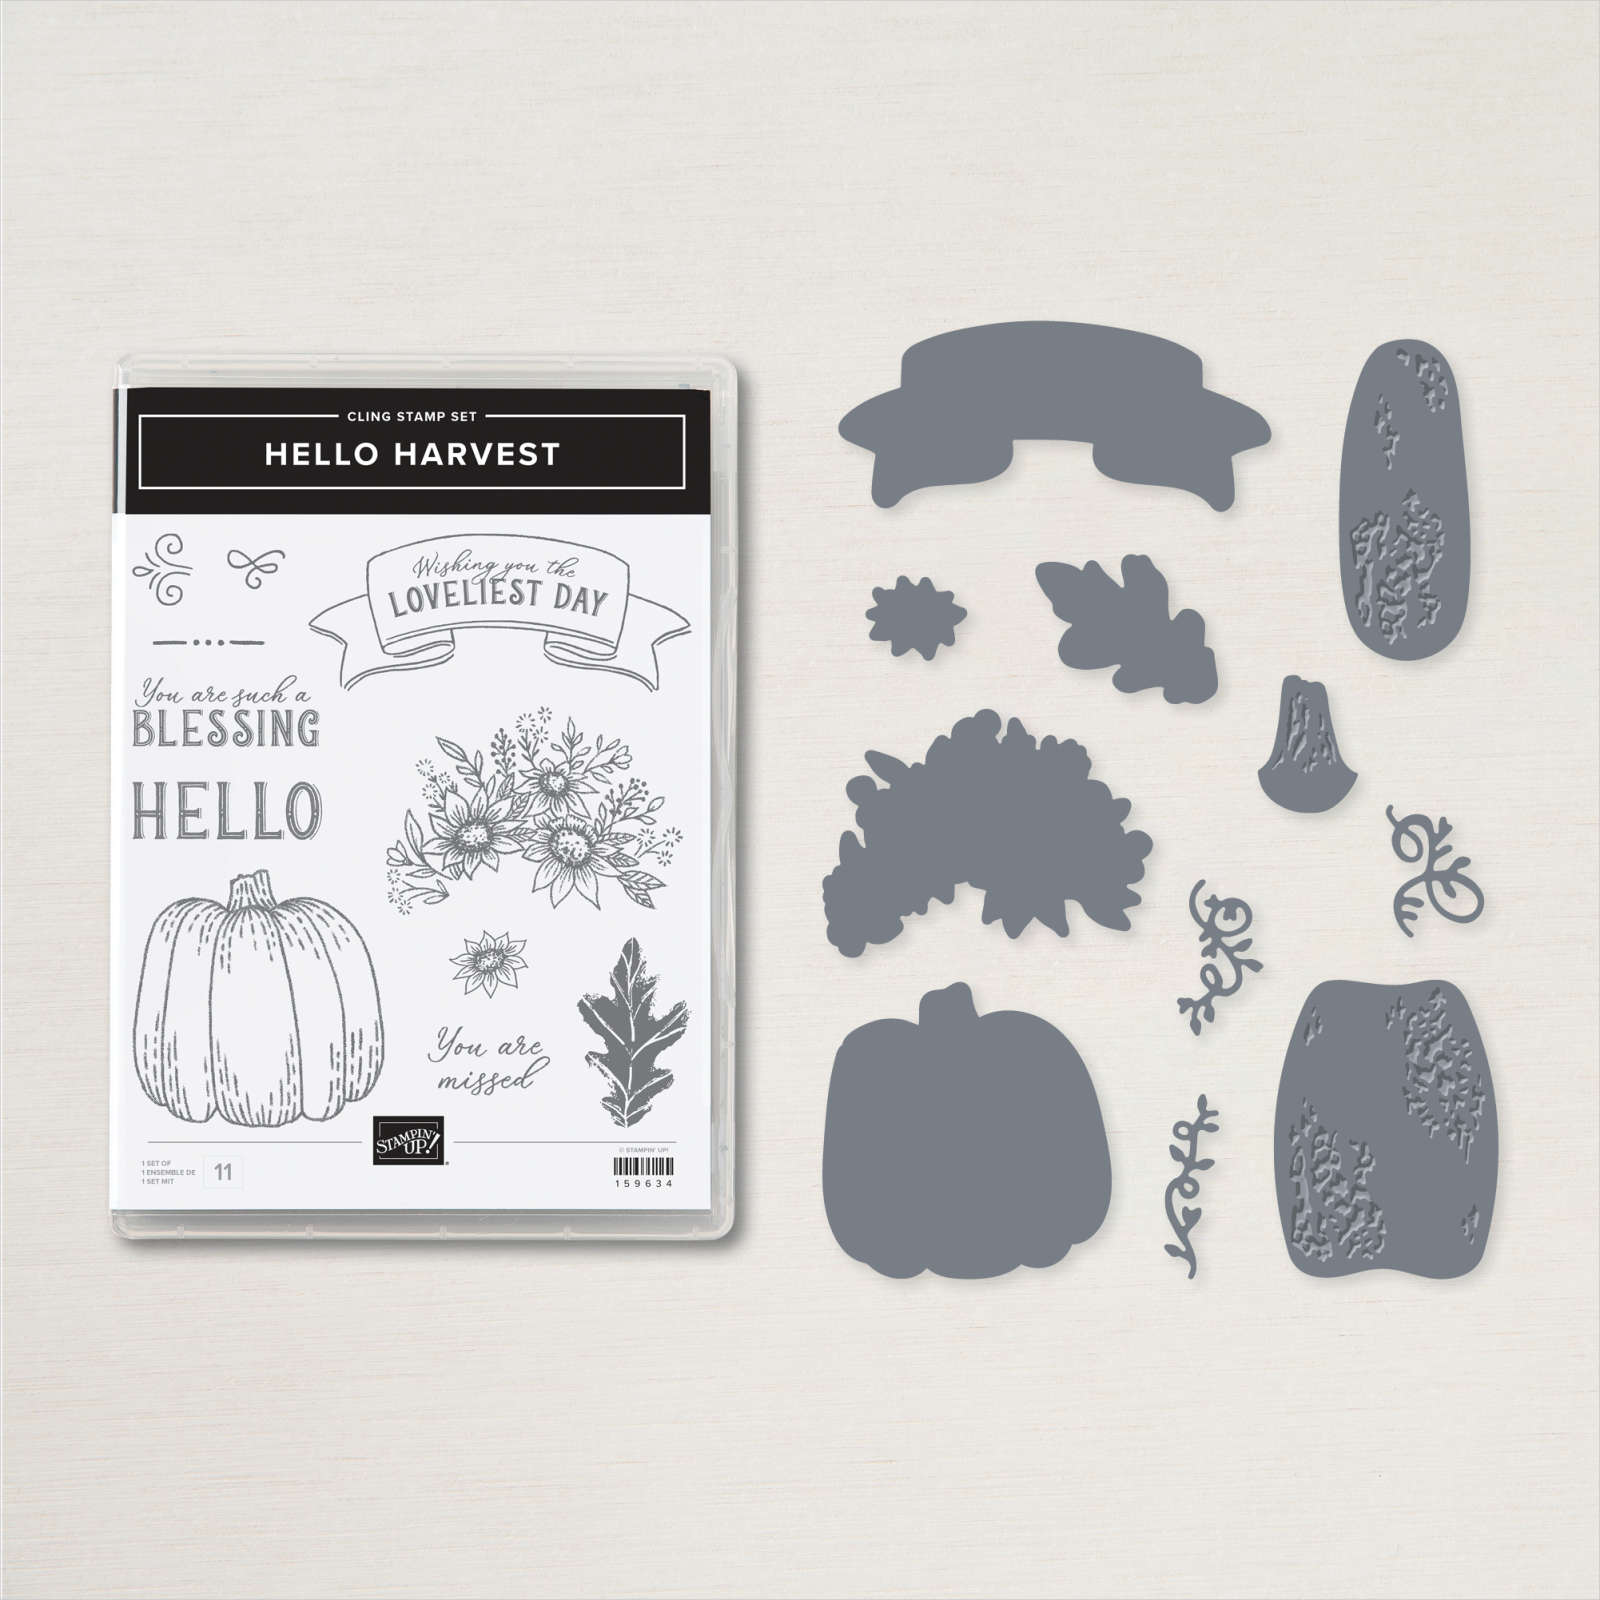
    Here's a pretty card I shared on last week's FB live video; it features the Hello Harvest bundle. 

    I cased the idea from my friend Dawn Olchefske; changing it up a bit.  The main floral image is stamped twice (once upside down) and the greeting covers where they meet.  You can see this image in the stamp set below. 

    It might look like there's an entire strip of designer paper under the main card layers.  But it's just a few small pieces of the Rustic Harvest DSP at the top & bottom of the Vanilla card. Check out the Hello Harvest bundle here.  

    I colored the floral image in with Blends markers in Daffodil, Fresh Freesia, Light Old Olive and Calypso Coral.  I also added a bit of color to the pretty greeting banner.  

    Measurements are: 

    • Vanilla 5 ½” X 8 ½”, 3 ½” X 4 ½” & scrap for greeting
    • Espresso 3 5/8” X 4 5/8”
    • DSP is 1” X 2 ¼”

    ~~~

    September Specials


    New weekly deals come out on September 1st, 8th, 15th & 22nd! 

    Order online here

    Host code links: KSAEED9Y or JPJ4FKYJ

    Get free cards from me with online orders!

    Earn free products with my loyalty rewards! 

    Click here to download yours and earn a $50 shopping spree!

    Leave a Reply

    Your email address will not be published. Required fields are marked *

  • Unique Hello Harvest Fun Fold card with measurements!


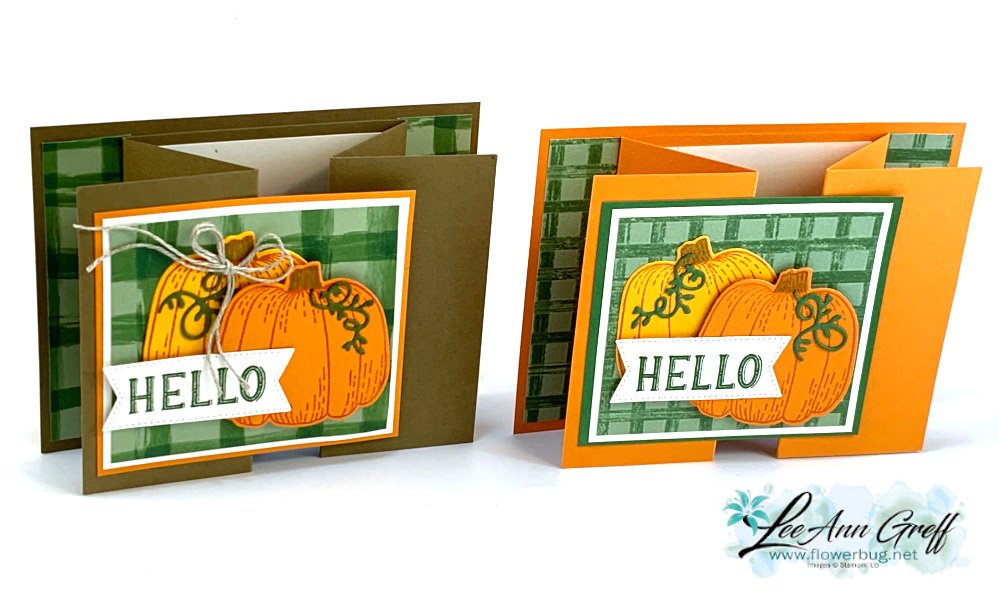
    I played with the Hello Harvest bundle on last week's FB Live video and this is one of the cards I made.  

    It's a unique fun fold that's quite easy. It's inspired by my friend Susie Wood. Check out her blog here; she does tons of fun fold cards!  I know you'll want to try this one!  

    I made the first card with a Soft Suede card base and then second guessed myself and made the second one in Pumpkin Pie. Which do you prefer?  

    Almost everything else is the same except the layers around the pumpkins & DSP layers.  

    Here are the measurements: 

    • Card base; 4” X 11” scored at 2” X 3 ¾” from each end, & 4 ¼” X 5 ½”
    • White 3 ½” X 3 ¼”, inside is 3 1/8” X 3 ¾” plus Stylish Shapes greeting die-cut
    • Gingham Cottage DSP 3 ¼” X 3” & 2 strips at 1" X 4", Green or pumpkin panel is 3 5/8” X 3 3/8”


    ~~~

    September Specials


    New weekly deals come out on September 1st, 8th, 15th & 22nd! 

    Order online here

    Host code: KSAEED9Y

    Get free cards from me with online orders!

    Earn free products with my loyalty rewards! 

    Click here to download yours and earn a $50 shopping spree!

    Leave a Reply

    Your email address will not be published. Required fields are marked *


Notice: LeeAnn Greff, Independent Stampin’ Up! Demonstrator, Manager. The content of this website is my sole responsibility as an independent Stampin’ Up! demonstrator and the use of, and content of, the classes, services, or products offered on this website is not endorsed by Stampin’ Up! Copyright 2025