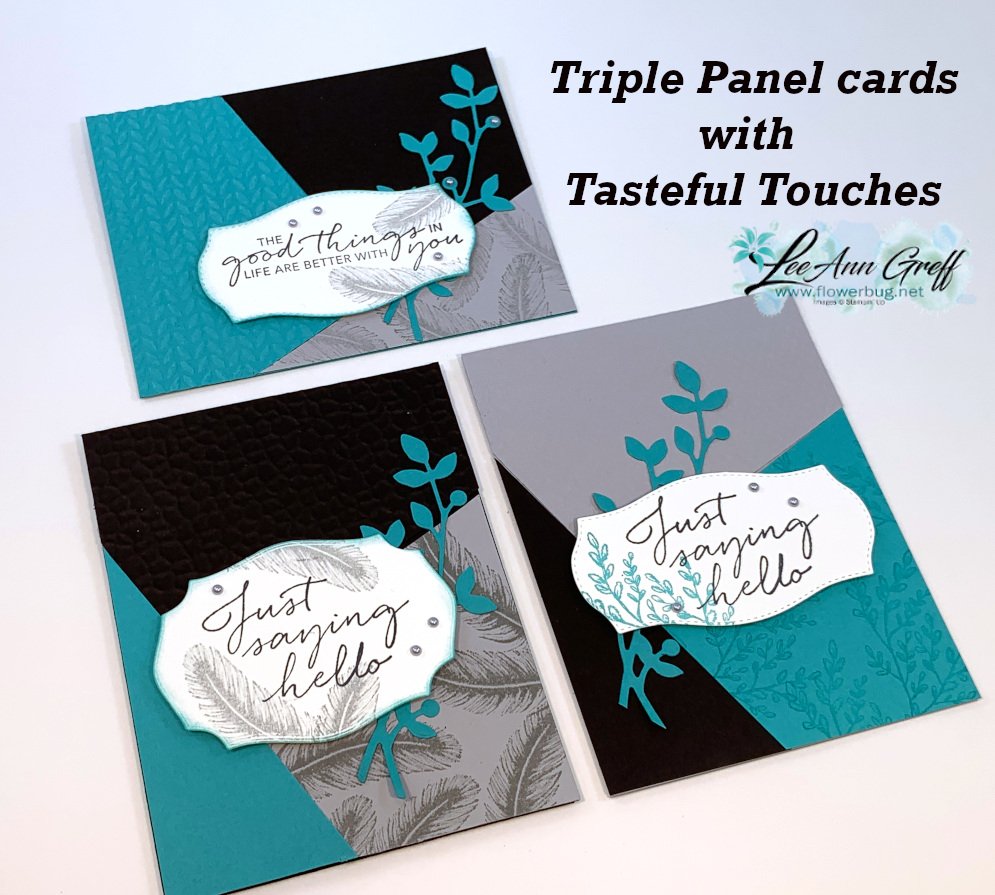
I made these pretty cards on last week's Facebook Live 'Stamp with Me' Monday night. *See video below
The 2nd & 4th Monday's you can stamp with me Live on Facebook here. The next one is Monday, August 10th. I post the measurements & supplies ahead of time so you can prepare. Then afterwards you can share your cards too!
I chose to use a Triple Panel technique; at least that's what I'm calling it. I saw a sketch like it and created my own version here. You start out with 3 pieces of card stock or designer paper and cut them all the same way.
I used Bumblebee, Night of Navy and Smoky Slate for the cards above along with the Tasteful Touches bundle. That pretty leaf die-cut is from the Birds & More dies set.
Measurements:
Three pieces of card stock or DSP measuring 4 1/4" X 5 1/2".
Cute one full 5 1/2" X 8 1/2" card base of each color you use.
Cutting directions:
1st cut: Cut the first small triangle off of each piece. (On the bottom right card it's the Navy piece) Make a mark 1 1/2" from the bottom left corner and 2" from the bottom right corner. Cut this triangle off of all three pieces.
2nd cut: Make a mark from the upper left corner across at 1 3/4". Make a mark 2" from the lower left angled edge. Cut.
The 3rd cut isn't necessary as you'll use the angled piece left from the first two cuts.
Now you have three different colored pieces for each card. Mix & match one color per card!
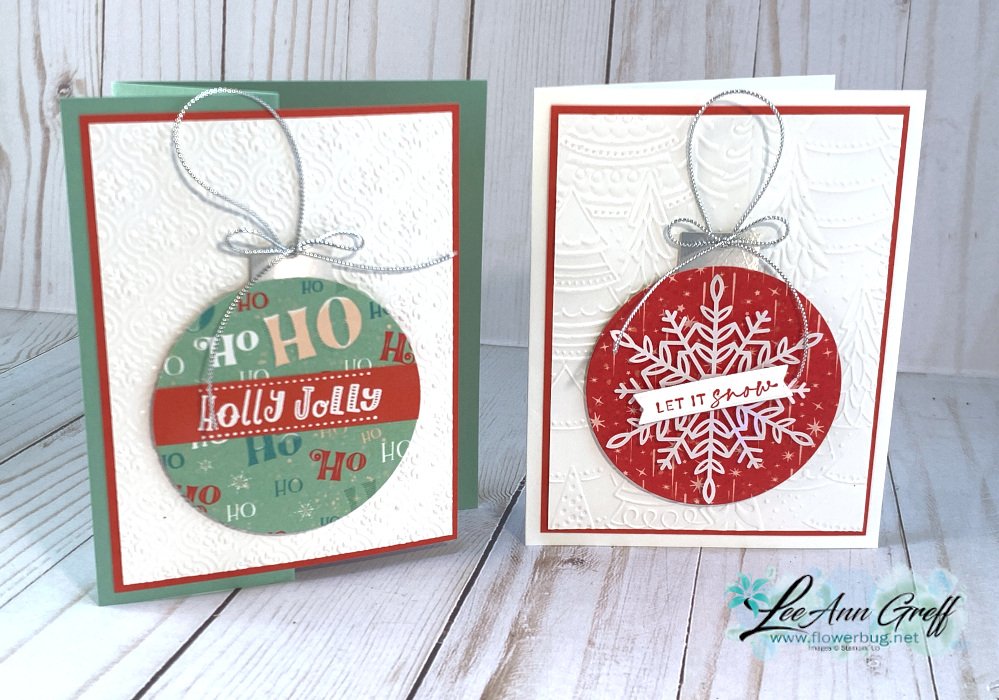
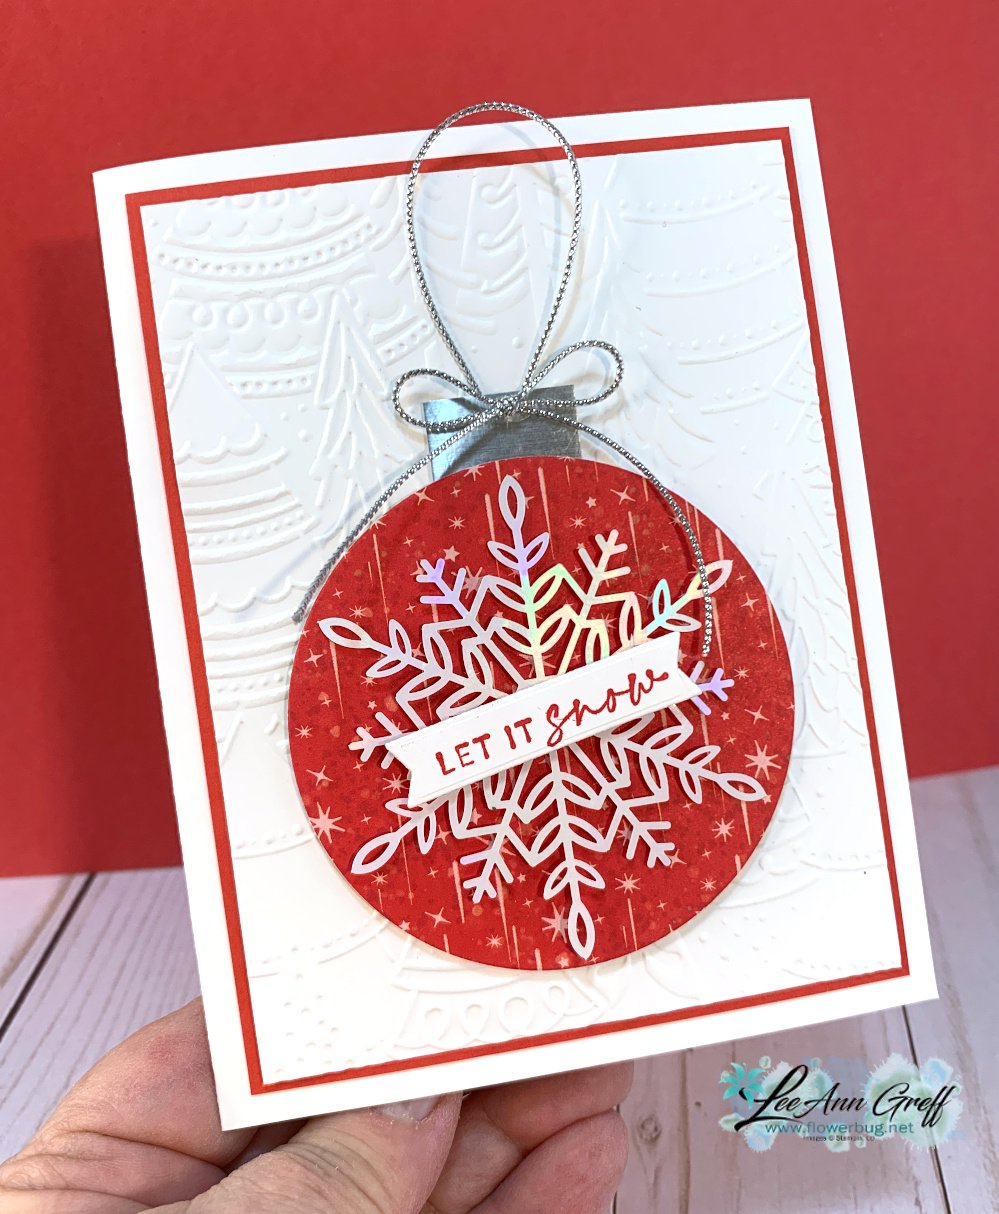
I chose an 'easy' card so those who feel rushed in getting their Christmas cards made. Plus these cards use your DSP and an embossing folder too; both make a card special.
Join me here when I share some tips on making these fun and easy cards tonight.
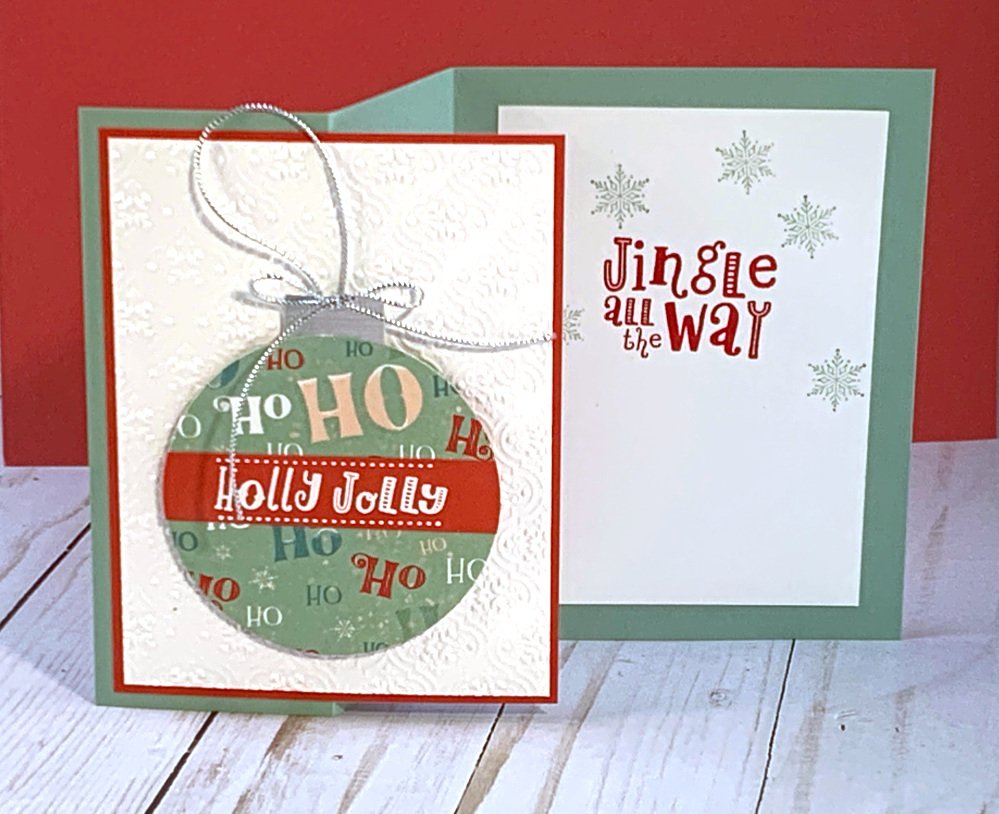
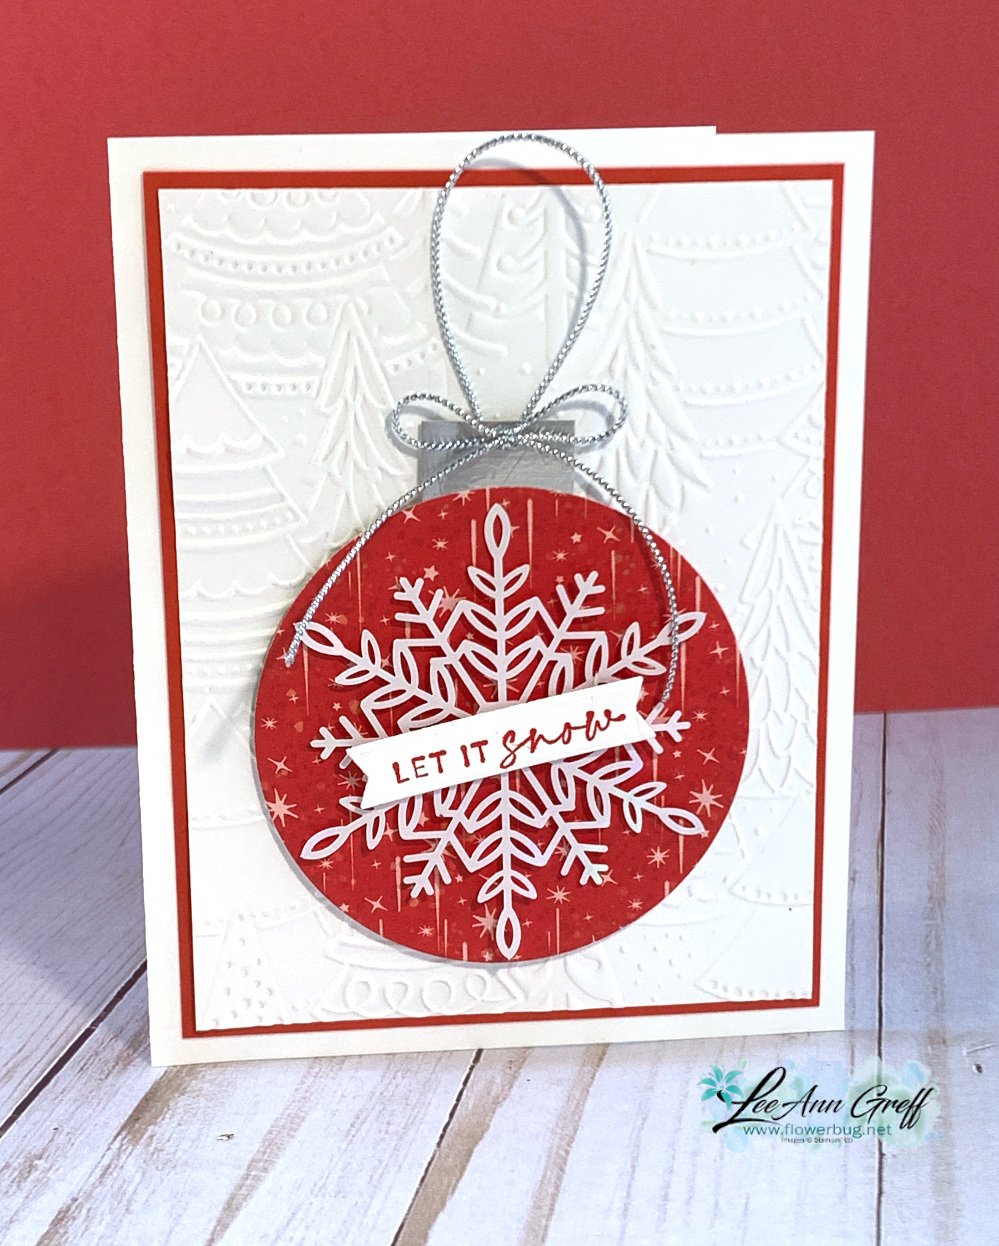
Gather these supplies:
Card bases 5 1/2" X 8 1/2"
White or neutral background layer 3 3/4" X 5", will be textured
Another layer 4" X 5 1/4"
'ornament' circles cut from DSP – mine are almost 3" around
Silver or gold paper (or other) for the top of the ornament
Twine or thin ribbon
Other items: Greeting stamps, ink, embossing folder, snowflakes
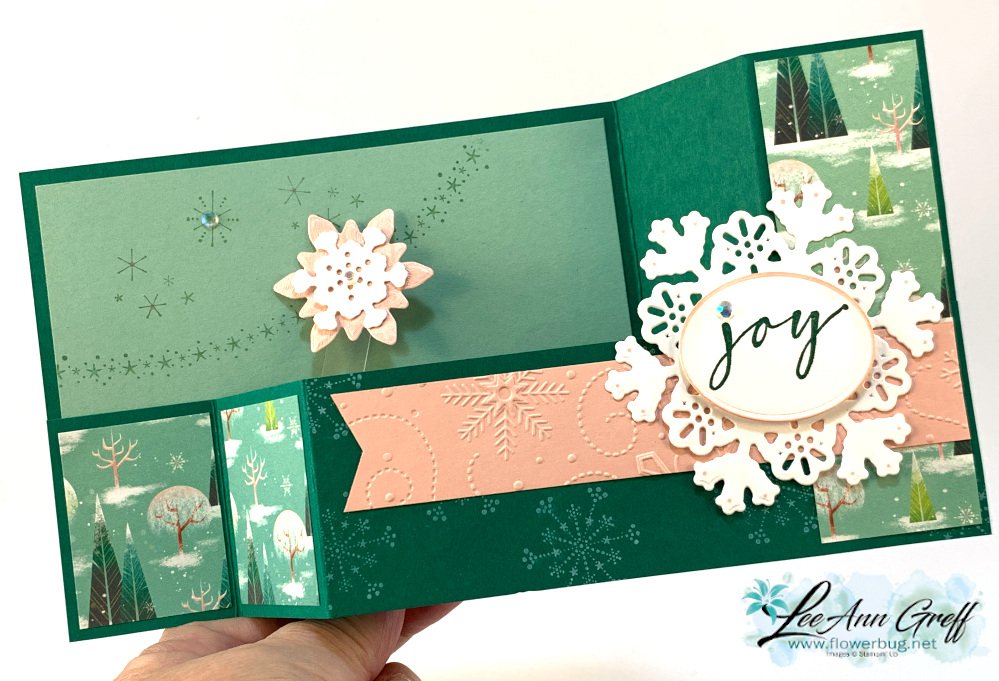
I made one card into an easy fun fold by folding the front of the card base back on itself. For this one I chose to add greetings from the Holly Jolly Wishes stamp set.
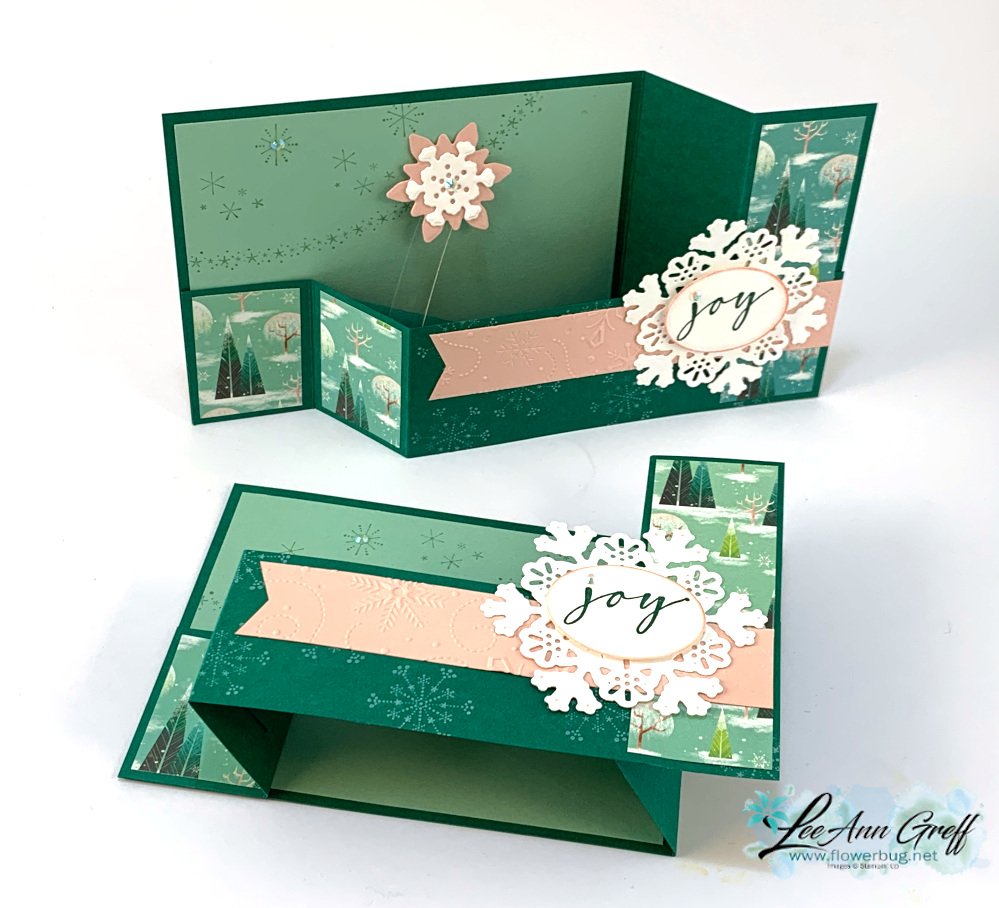
The colors include Shaded Spruce, Mint Macaron and Blushing Bride. Of course they came from the colors in the Santa Express DSP. This paper will be 40% off starting December 1st with the Last Chance sale. But remember it's while supplies last!
Inks include Shaded Spruce, Mint Macaron, White Craft & Blushing Bride. The 'Joy' greeting is from the Brightest Glow stamp set.
Here are the measurements of each piece. But honestly to figure out how to put it together you may want to watch the video.
Shaded Spruce 8 1/2" X 4 1/4" scored at 5 1/2" & 7", 8 1/2" X 2" scored at 5 1/2" & 7", inside piece is 2" X 1" scored at 1" to the corner diagonally • Mint Macaron 5 1/4" X 4" • Blushing Bride 5 1/4" X 1" & scraps for snowflakes • DSP 1 1/8" X 4" for right side, 2 pieces at 1 3/8" X 1 3/4" for left • White 5 1/4" X 4" for back and scraps for snowflakes & oval greeting
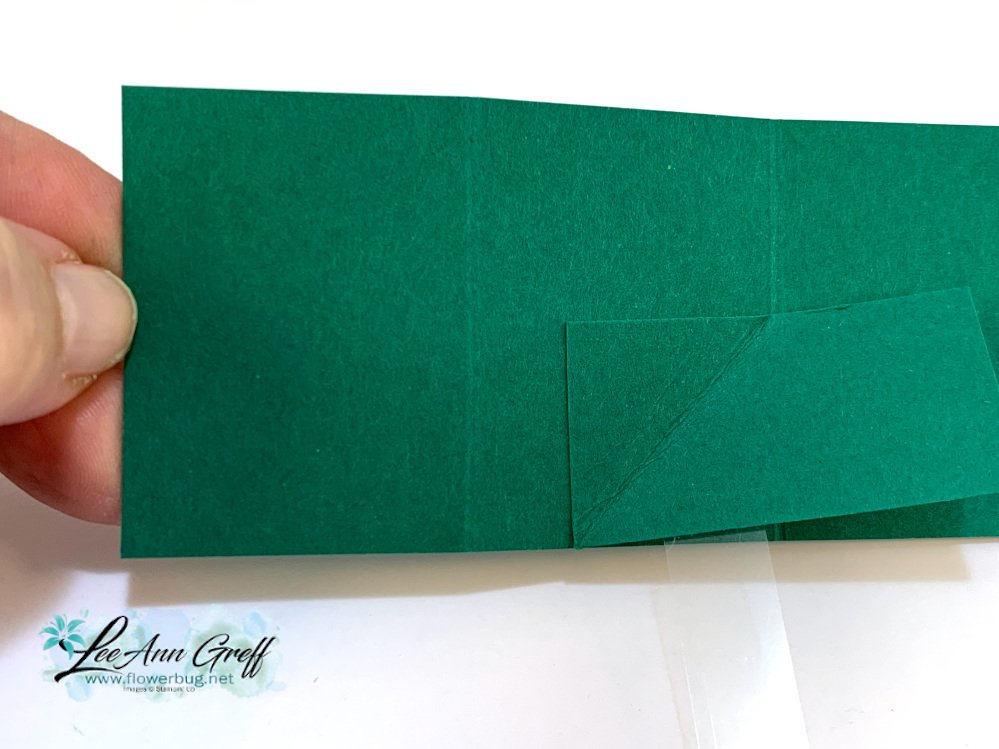
Here's a photo of the wiper mechanism. This is the scored end of the 8 1/2" X 2" layer.
It's a super fun card to open and then open again and again! There are endless possibilities to add to your wiper pop-up; think greetings, animals, balloons, stars….
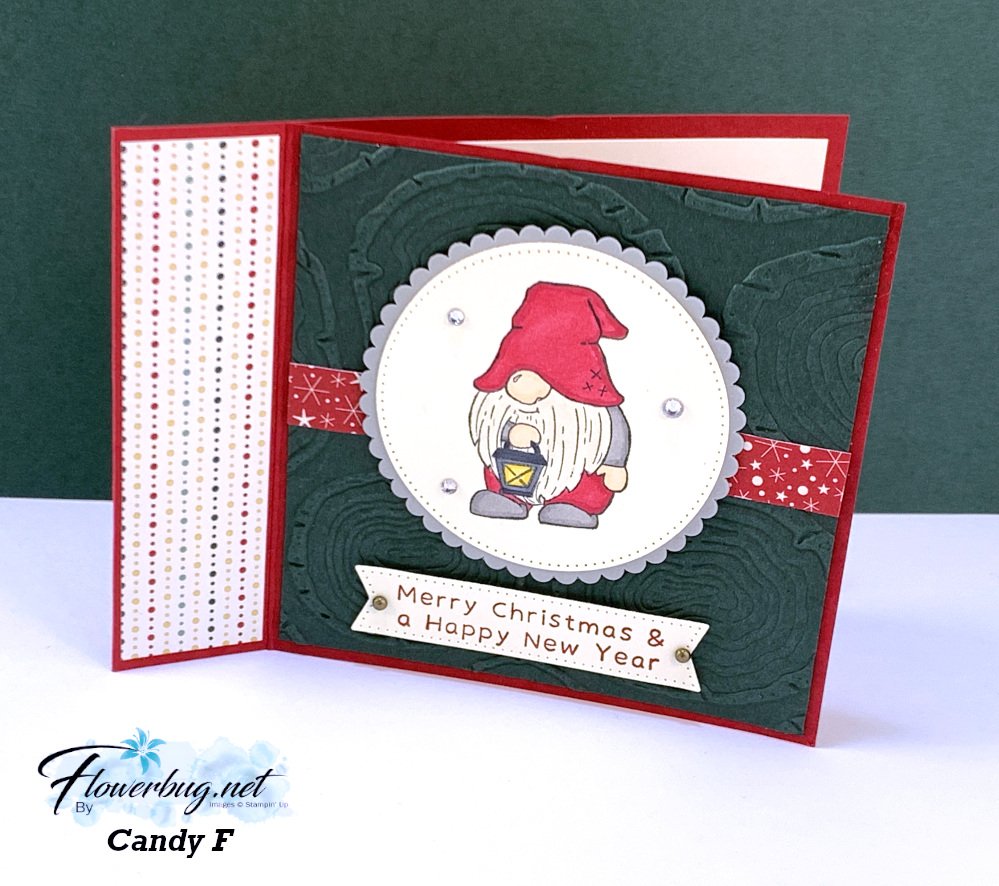
2 more fun fold card ideas for you; from the Flowerbugs!
Happy Thanksgiving!! I hope you enjoy a wonderful holiday weekend and spend it with friends or maybe stamping!
We'll be with our kids in Fargo and besides enjoying our turkey dinner we'll be playing games, going to an escape room and I'll be addressing some Christmas cards too.
~~~
Here are more of our Flowerbug's Team swaps featuring fancy folds.
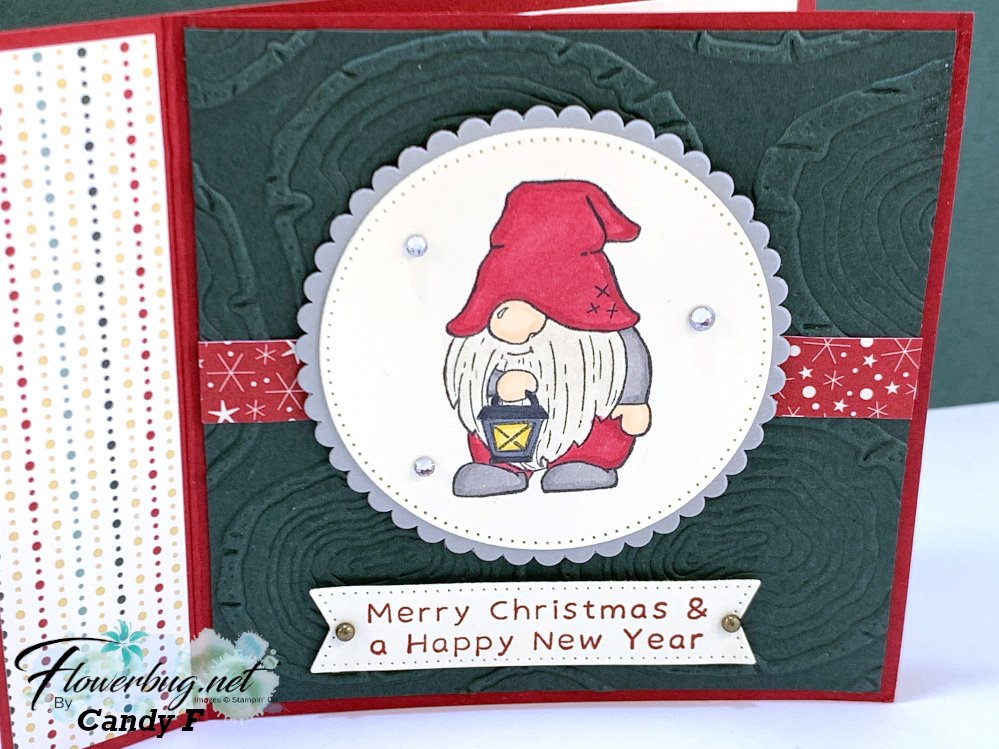
Candy made this 'book binding' card with the Kindest Gnomes; see it here.
Her colors include Petal Pink &Soft Sea Foam. It's finished size is 5" square so it does not fit into a standard A2 size envelope.
Measurements:
Card base 5" X 10". Score at 2 1/2" & 5". You'll find the upper center at 2 1/2" and make a mark. From the top, cut down on both sides to the first score line, removing those upper corners.
Then make a mark from the bottom up on each side at the 7 1/2" mark. Cut from the bottom center; also at 2 1/2", and cut to the 7 1/2" mark, removing the bottom outer corners.
Soft Sea Foam squares are 3 1/4"
Designer paper squares are 3"
Maybe someday I'll create one of these and share how it's done. It's a neat card!
Notice: LeeAnn Greff, Independent Stampin’ Up! Demonstrator, Manager. The content of this website is my sole responsibility as an independent Stampin’ Up! demonstrator and the use of, and content of, the classes, services, or products offered on this website is not endorsed by Stampin’ Up! Copyright 2025




























Leave a Reply