/


Latest Post

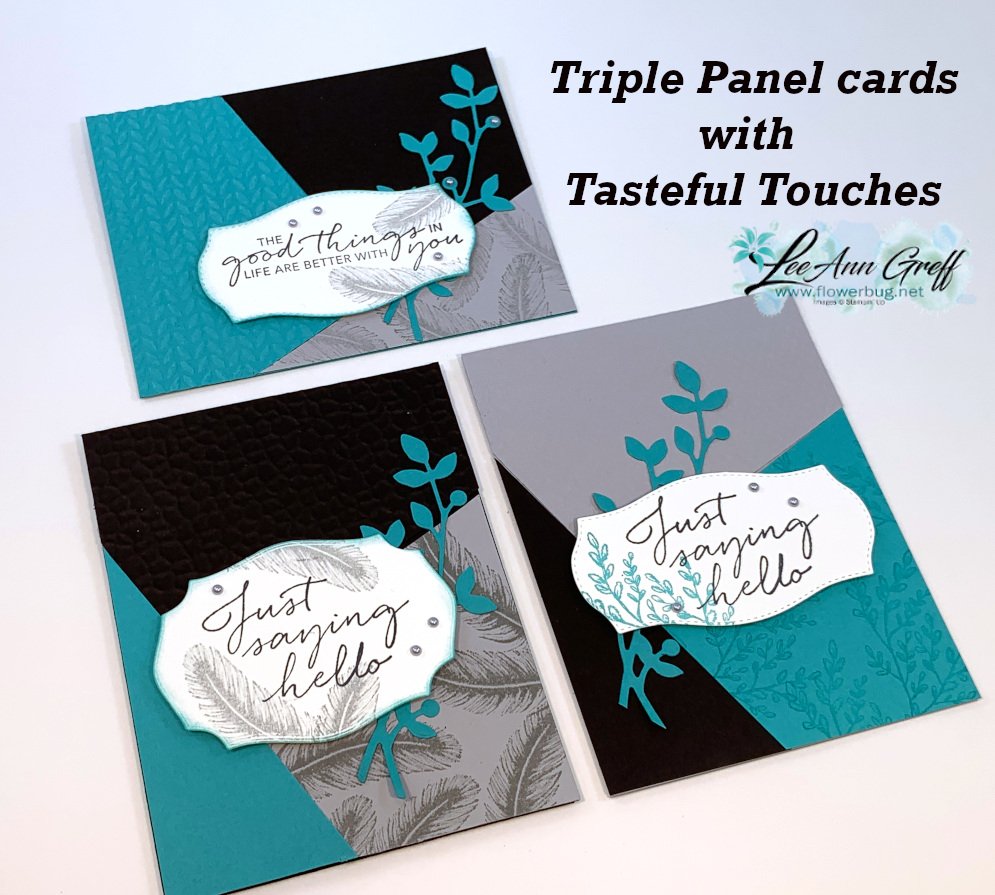
3 in 1 Triple Panel cards


I made these pretty cards on last week's Facebook Live 'Stamp with Me' Monday night. *See video below

The 2nd & 4th Monday's you can stamp with me Live on Facebook here.  The next one is Monday, August 10th. I post the measurements & supplies ahead of time so you can prepare.  Then afterwards you can share your cards too! 

I chose to use a Triple Panel technique; at least that's what I'm calling it.  I saw a sketch like it and created my own version here.  You start out with 3 pieces of card stock or designer paper and cut them all the same way.  

I used Bumblebee, Night of Navy and Smoky Slate for the cards above along with the Tasteful Touches bundle.  That pretty leaf die-cut is from the Birds & More dies set. 
Measurements:
Three pieces of card stock or DSP measuring 4 1/4" X 5 1/2".
Cute one full 5 1/2" X 8 1/2" card base of each color you use.
 
Cutting directions:
1st cut: Cut the first small triangle off of each piece. (On the bottom right card it's the Navy piece) Make a mark 1 1/2" from the bottom left corner and 2" from the bottom right corner. Cut this triangle off of all three pieces.
2nd cut: Make a mark from the upper left corner across at 1 3/4". Make a mark 2" from the lower left angled edge. Cut.
The 3rd cut isn't necessary as you'll use the angled piece left from the first two cuts.
Now you have three different colored pieces for each card. Mix & match one color per card!

On the cards above the colors are Bermuda Bay, Black and Smoky Slate and the same Tasteful Touches bundle and leaf die from above. 


~~~

Bonus Days are here!

 
Redeem your $5 coupons now!  Don't forget!   

~~~

Current Host code is QW7SUYVX

Get a free package of new Iridescent Pearls in August with an online order over $55. 

Order online here

 Get my Flowers for Every Season pdf tutorial free with any online order in August
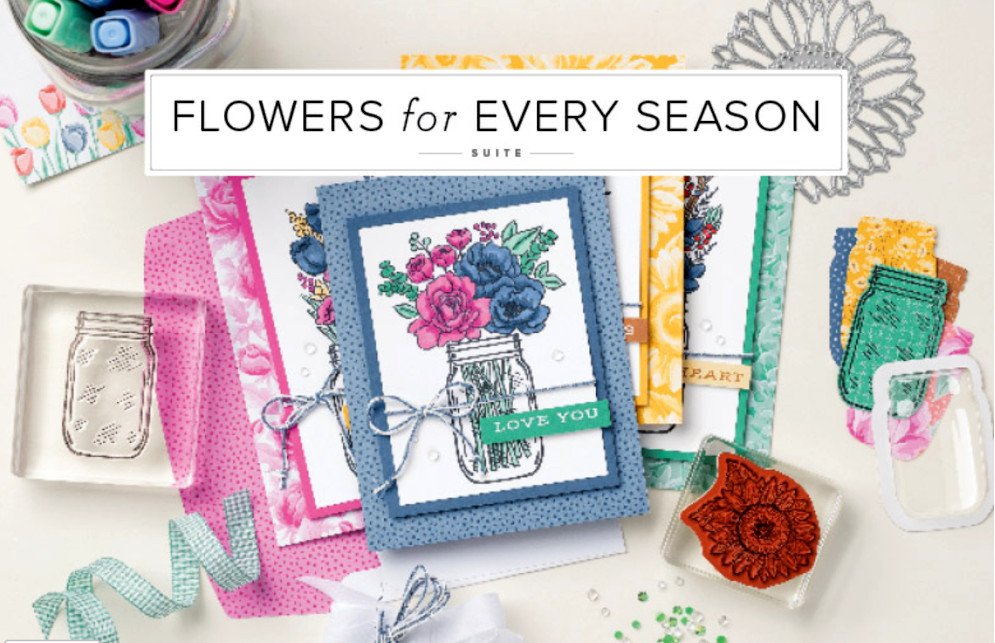

It includes directions, photos and measurements for 12 cards!
All Posts

  • The easy way to do the Whitewashing Technique; with video


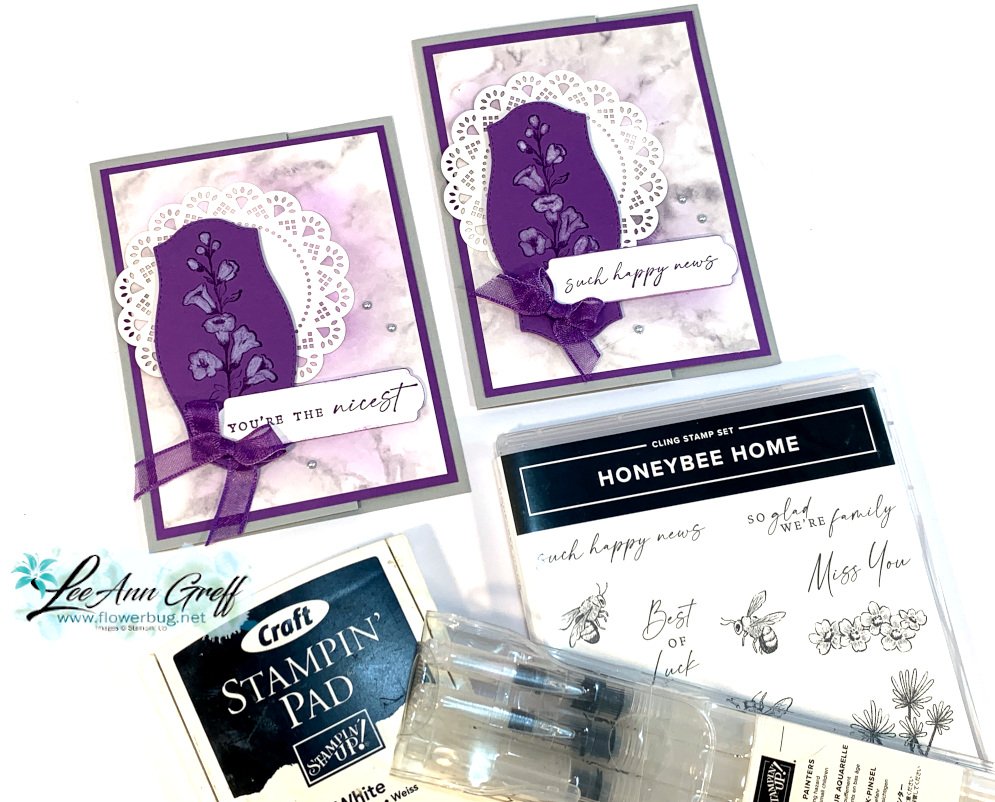
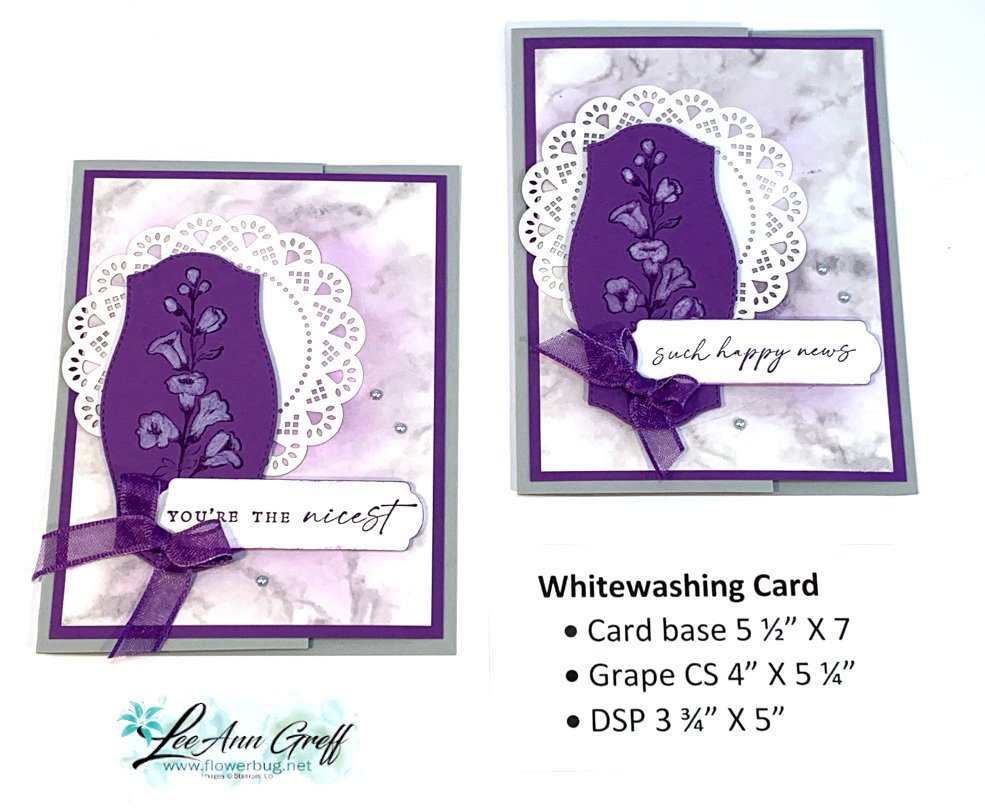
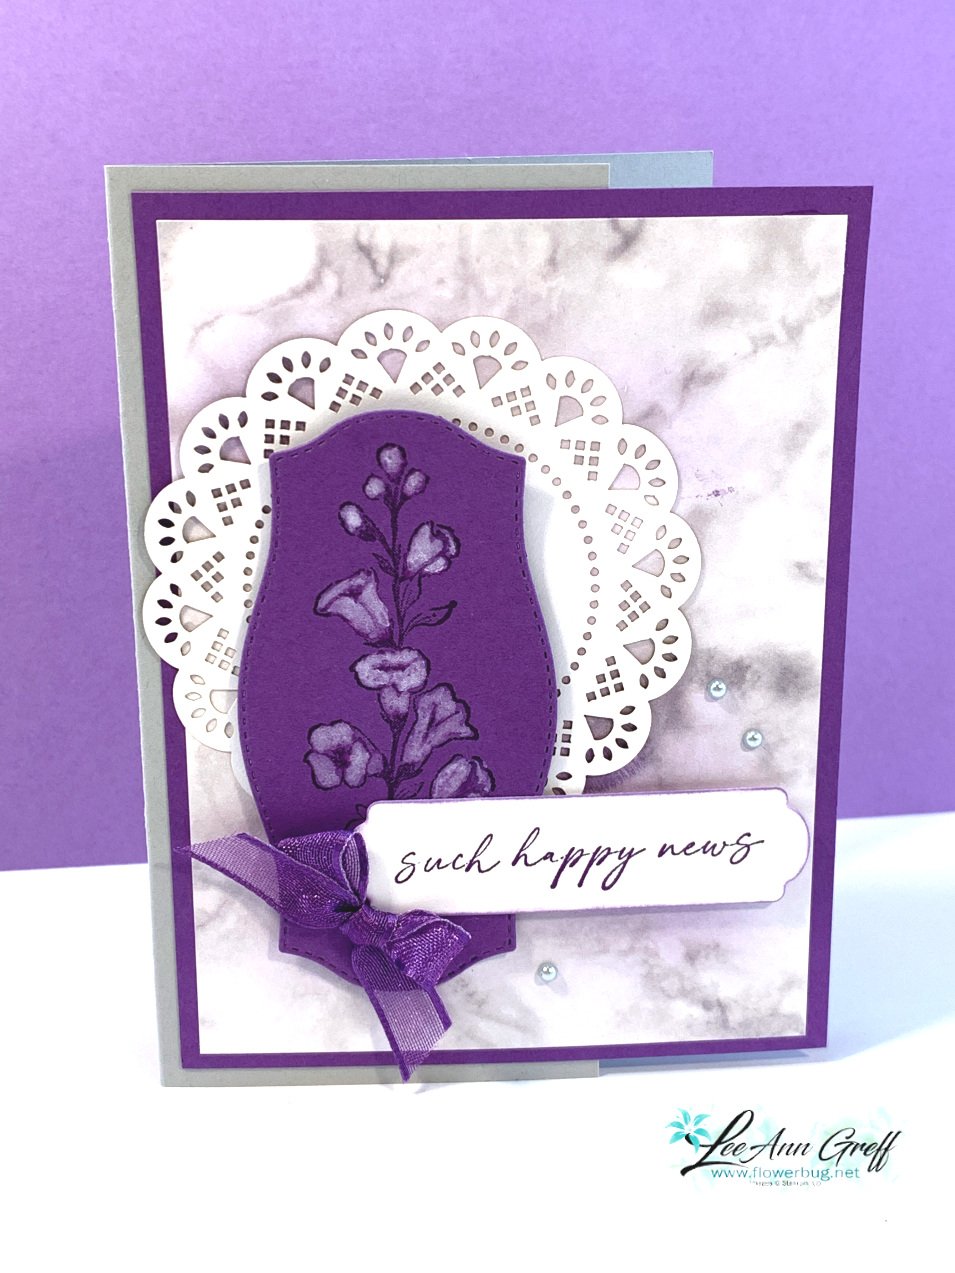
    I've been playing with the Whitewashing Technique lately. Today I'm sharing a card I made on Facebook Live with the Honeybee Home bundle. 

    You can see another group of cards I used this technique on here. 

    Please watch the video to see how to do this.  Here are some tips:

    • I stamped the main image using Gorgeous Grape ink onto the same color card stock.
    • Let it dry a bit and color the image in with White Craft ink and a water painter brush.
    • If you want to see the stamped image you'll want to use a light amount of White Craft ink. 
    • I add water to some White Craft ink in a puddle and use that to 'paint'.  
    • You can paint with strokes to indicate lines on your image. 

    I used the Heart & Home doilies under the Tasteful Label die-cut.  

    The background paper is the Simply Marbelous Sale-a-Bration DSP that I added a bit of Highland Heather ink to. 

    Here's the video!  Click on the picture below to watch it. The Whitewashing Technique is the 2nd project I share. 

    ~~~

     Hot Deals in February:

    Choose $125 in product PLUS any 2 stamp sets free in February!

    It's just $99. Get FREE shipping too!

    Click here to get yours.


    Host codes: 3WCHFFUW

     *click here to order 


    Use the host code above & get a free Easel Calendar kit

    & the Gingham embossing folder with a $55 order in February, 2022! 


    Get a free calendar kit with any size order in February!

    Leave a Reply

    Your email address will not be published. Required fields are marked *

  • How I made this neat Pop-up Gift Bag Fun Fold card


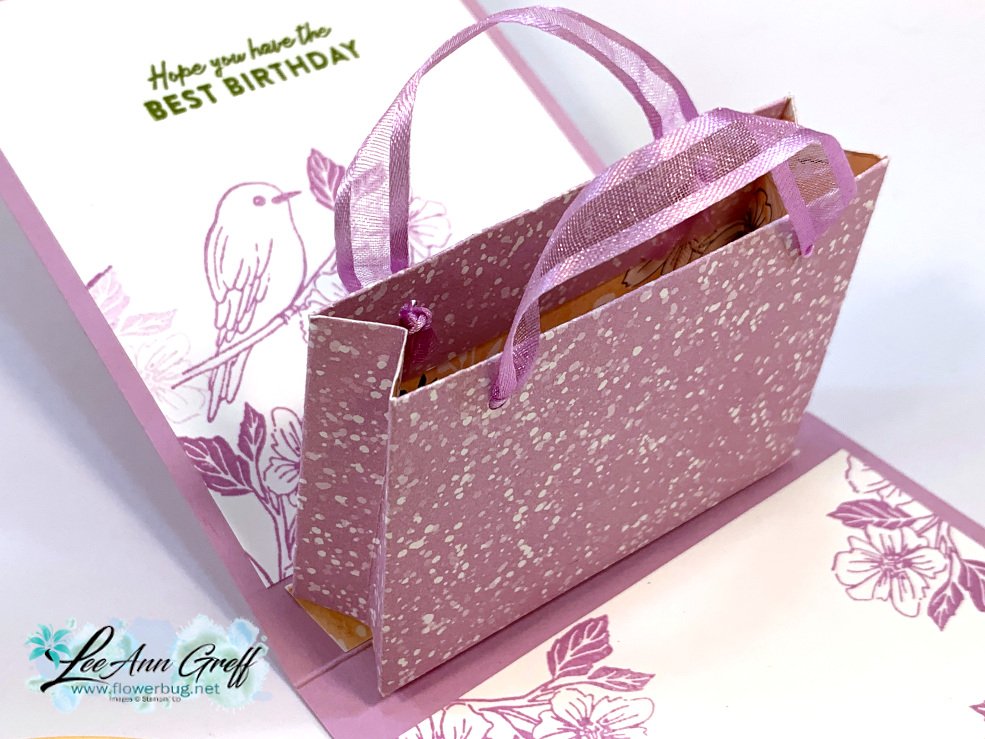
    We made this fantastic Pop-up Gift Bag fun fold card at my January card clubs. It's such a unique and special way to add a gift card or a little something extra inside a card! 

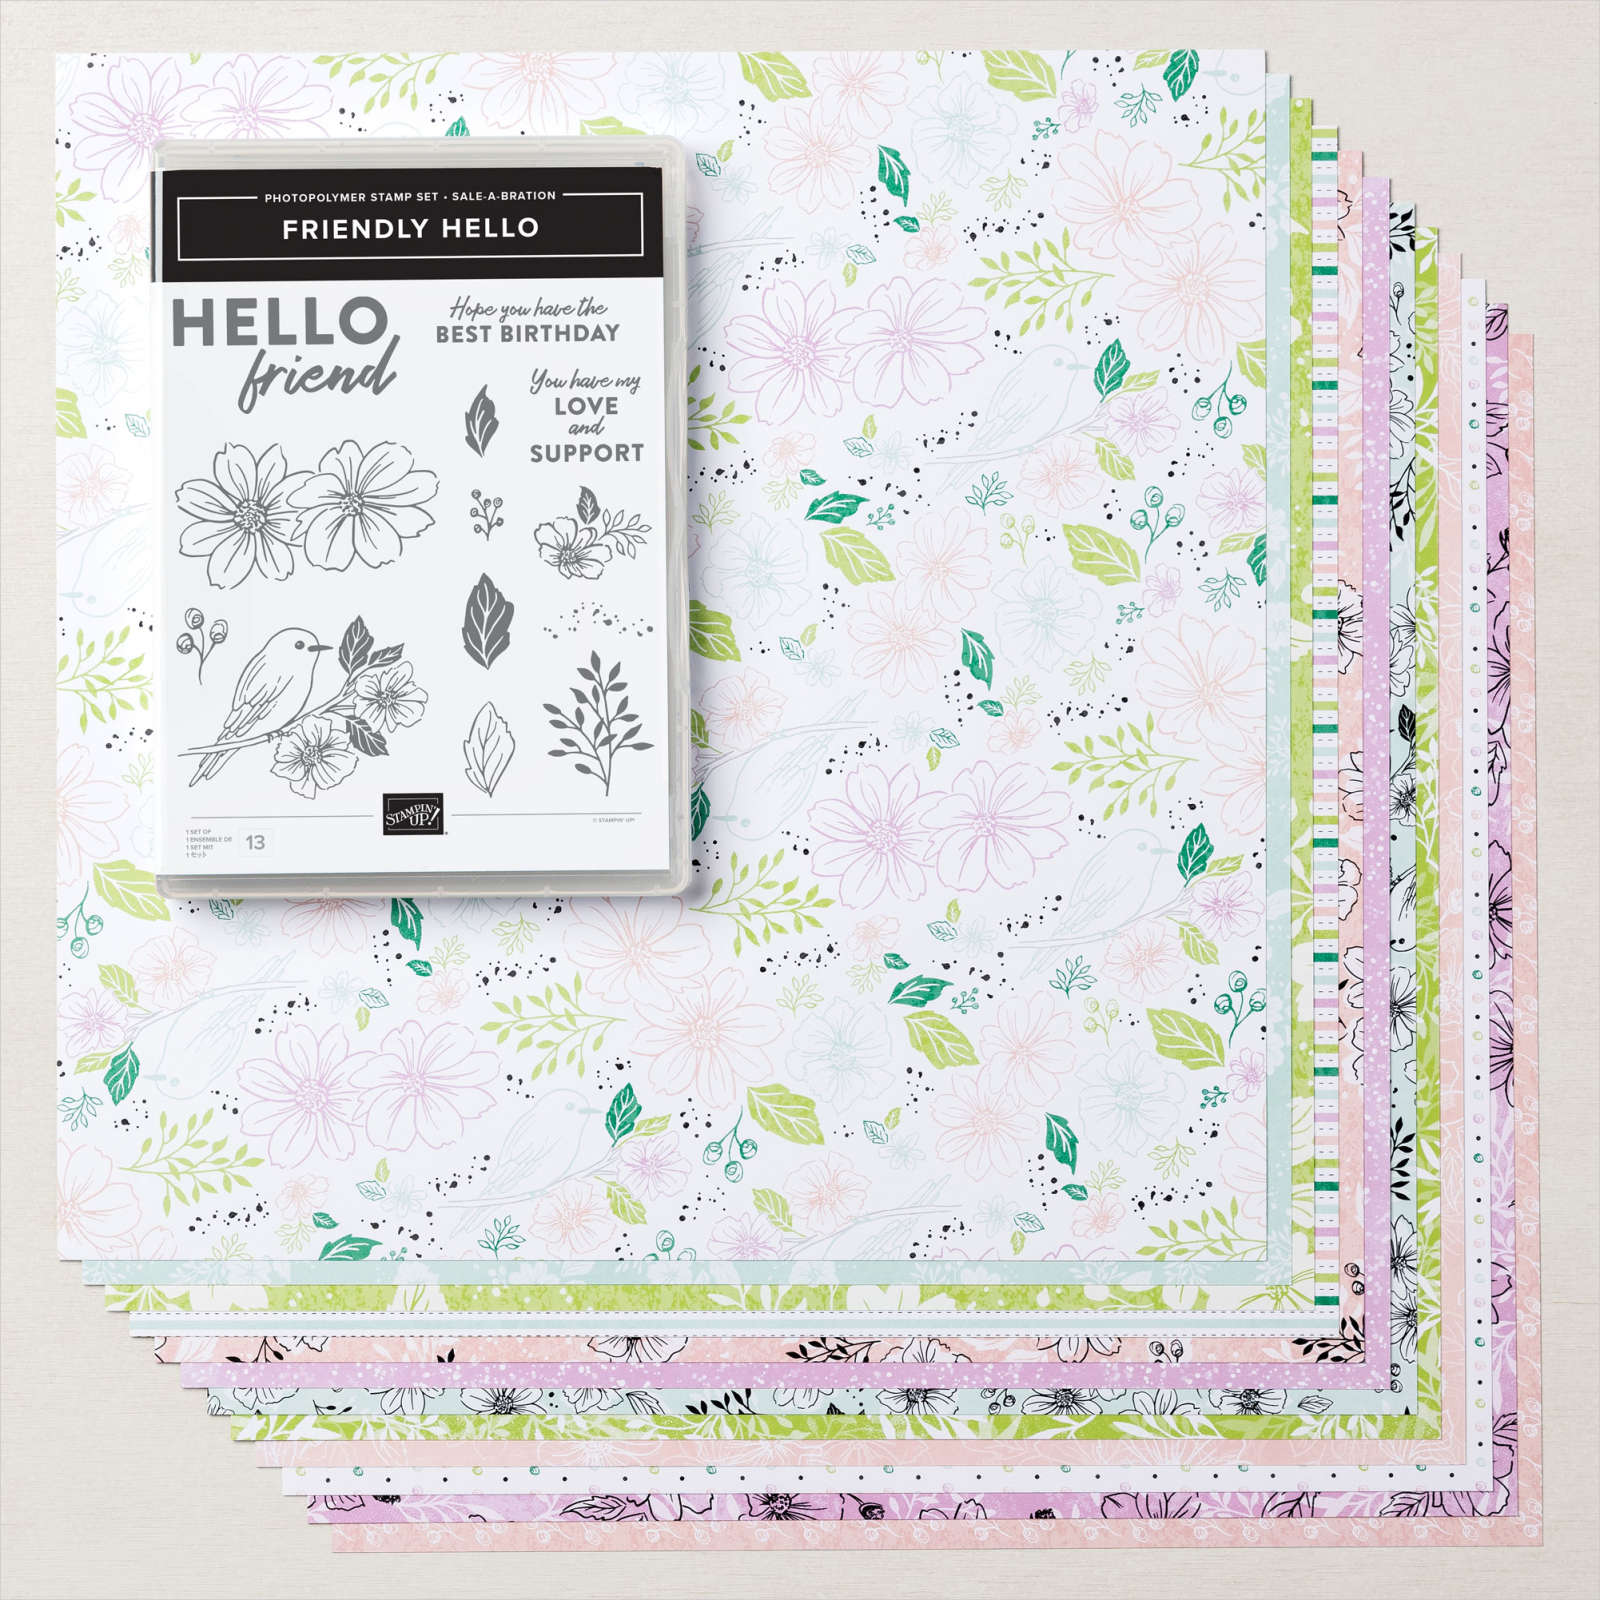
    I used the Friendly Hello bundle from our 2022 Sale-a-Bration brochure. See it here. It's free with any $100 purchase from my online Stampin' Up! store.  

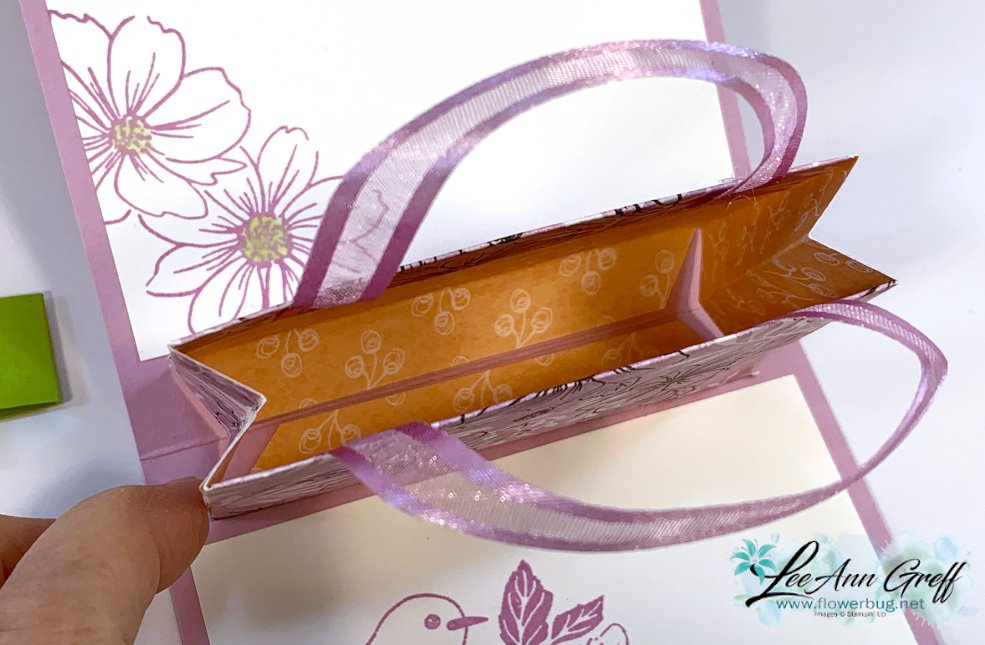
    Isn't it extraordinary!?  Everyone loved their finished card and most were surprised at how easy it was. Here's a close-up of the inside.

    Below is the template with measurements.  Your best bet is to watch the video below to see how to assemble it and adhere it inside a card.  

    I did turn this card into a fun fold as well with a belly band but you sure wouldn't have to.  It could be placed in the fold of any card you make! 

    The Friendly Hello bundle includes both a full photopolymer stamp set and a package of beautiful 12 X 12" pack of designer paper!  

    The colors include Fresh Freesia, Granny Apply Green Pool Party, Shaded Spruce, Black & Petal Pink.  I chose to focus on the Fresh Freesia & Granny Apple Green for this card. 

    Here are the measurements for the card: 

    • Card base 4 1/4" X 11" scored at 2" & 7 1/2"
      White 4" X 4 3/4" & 2 3/4" X 4" plus scrap for Hippo & Friends die-cut
      Pale Papaya scrap for Hippo & Friends die-cut
      Granny Apple Green 3/4" X 10" scored at 3 1/2" & 7 7/8"
      Friendly Hello DSP for bag – 4 X 9 1/2" scored on the 4" side at 1/2" & 3", and on the long side at 1/2", 4 1/2", 5", 5 1/2" & 9" & DSP for front 3 1/4" X 4" & 1 3/4" X 4"
    • the leaves & buds are punched with the Bough punch seen here

    You can see what the card looks like closed in the picture above; on the left.
    Click below to see the video on how to assemble this fun fold card & pop-up gift bag.

    ~~~

     Hot Deals in February:

    Choose $125 in product PLUS any 2 stamp sets free in February!

    It's just $99. Get FREE shipping too!

    Click here to get yours.


    Host codes: 3WCHFFUW

     *click here to order 


    Use the host code above & get a free Easel Calendar kit

    & the Gingham embossing folder with a $55 order in February, 2022! 


    Get a free calendar kit with any size order in February!

    Leave a Reply

    Your email address will not be published. Required fields are marked *

  • Who knew?!


    If someone had told me I'd be doing 8 videos a month 10 years ago I would have scoffed! 

    One of my best friends encouraged me to do videos years ago and I told here I would never, ever do videos.  She loved to remind me about that! *Sadly she passed away a few months ago.

    I've been watching my YouTube subscribers grow and grow and cannot believe that I now have over 15,000 people following me!  Incredible! 

    I get so many lovely comments from my followers; it truly means a lot that you are all enjoying and getting inspired by them.  

    Thank you, THANK YOU!!  You are why I LOVE what I do! 

    If you're not following me on YouTube yet, here's the link.

    Here are a few more links you might not know about:
     
    Shop online Here
    Best deal on Stampin' Up! products Here
    Subscribe to my newsletter here 

    Leave a Reply

    Your email address will not be published. Required fields are marked *


Notice: LeeAnn Greff, Independent Stampin’ Up! Demonstrator, Manager. The content of this website is my sole responsibility as an independent Stampin’ Up! demonstrator and the use of, and content of, the classes, services, or products offered on this website is not endorsed by Stampin’ Up! Copyright 2025