/


Latest Post

3 in 1 Triple Panel cards


I made these pretty cards on last week's Facebook Live 'Stamp with Me' Monday night. *See video below

The 2nd & 4th Monday's you can stamp with me Live on Facebook here.  The next one is Monday, August 10th. I post the measurements & supplies ahead of time so you can prepare.  Then afterwards you can share your cards too! 

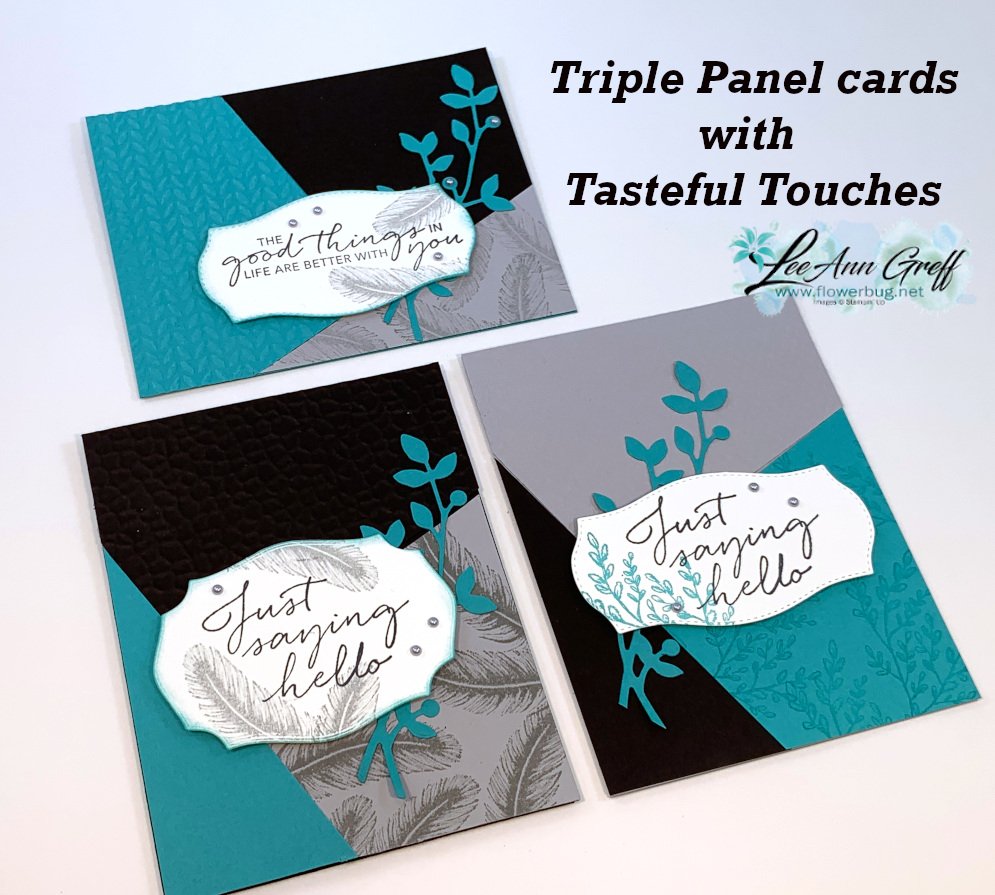
I chose to use a Triple Panel technique; at least that's what I'm calling it.  I saw a sketch like it and created my own version here.  You start out with 3 pieces of card stock or designer paper and cut them all the same way.  

I used Bumblebee, Night of Navy and Smoky Slate for the cards above along with the Tasteful Touches bundle.  That pretty leaf die-cut is from the Birds & More dies set. 
Measurements:
Three pieces of card stock or DSP measuring 4 1/4" X 5 1/2".
Cute one full 5 1/2" X 8 1/2" card base of each color you use.
 
Cutting directions:
1st cut: Cut the first small triangle off of each piece. (On the bottom right card it's the Navy piece) Make a mark 1 1/2" from the bottom left corner and 2" from the bottom right corner. Cut this triangle off of all three pieces.
2nd cut: Make a mark from the upper left corner across at 1 3/4". Make a mark 2" from the lower left angled edge. Cut.
The 3rd cut isn't necessary as you'll use the angled piece left from the first two cuts.
Now you have three different colored pieces for each card. Mix & match one color per card!

On the cards above the colors are Bermuda Bay, Black and Smoky Slate and the same Tasteful Touches bundle and leaf die from above. 


~~~

Bonus Days are here!

 
Redeem your $5 coupons now!  Don't forget!   

~~~

Current Host code is QW7SUYVX

Get a free package of new Iridescent Pearls in August with an online order over $55. 

Order online here

 Get my Flowers for Every Season pdf tutorial free with any online order in August
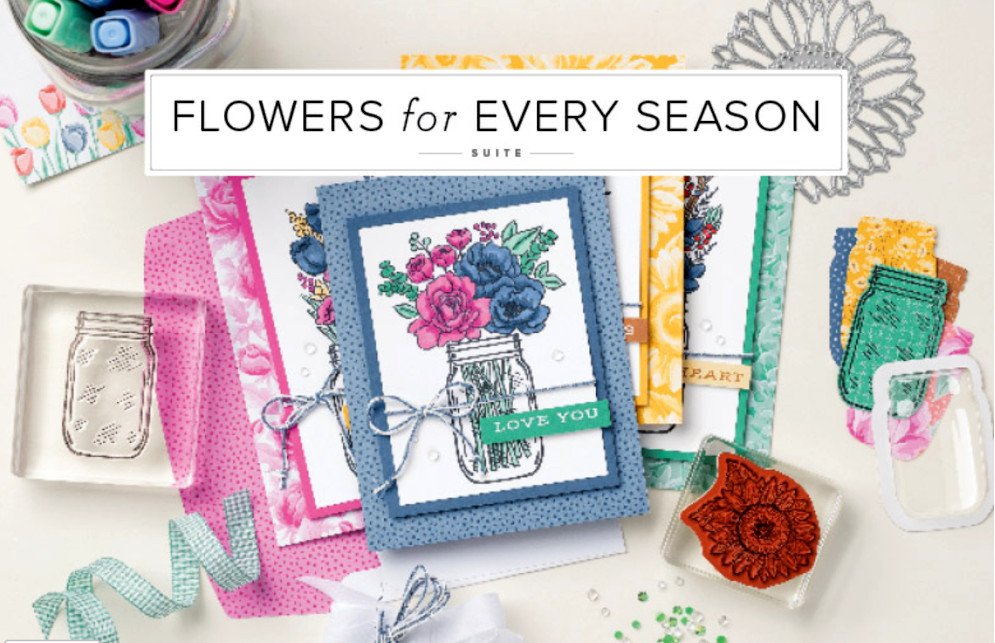

It includes directions, photos and measurements for 12 cards!

All Posts

  • Use your scraps with the Double Twisted Ribbon technique; live class tonight!


    If you like using up those paper scraps I have a fun technique to share.  It's called the Double Twisted Ribbon technique. 

    I'll be demonstrating it on tonight's Stamp with Me Live on Facebook.  It's at 7:30 pm Central time on the last Monday of the month and it's a free class!  See the replay here

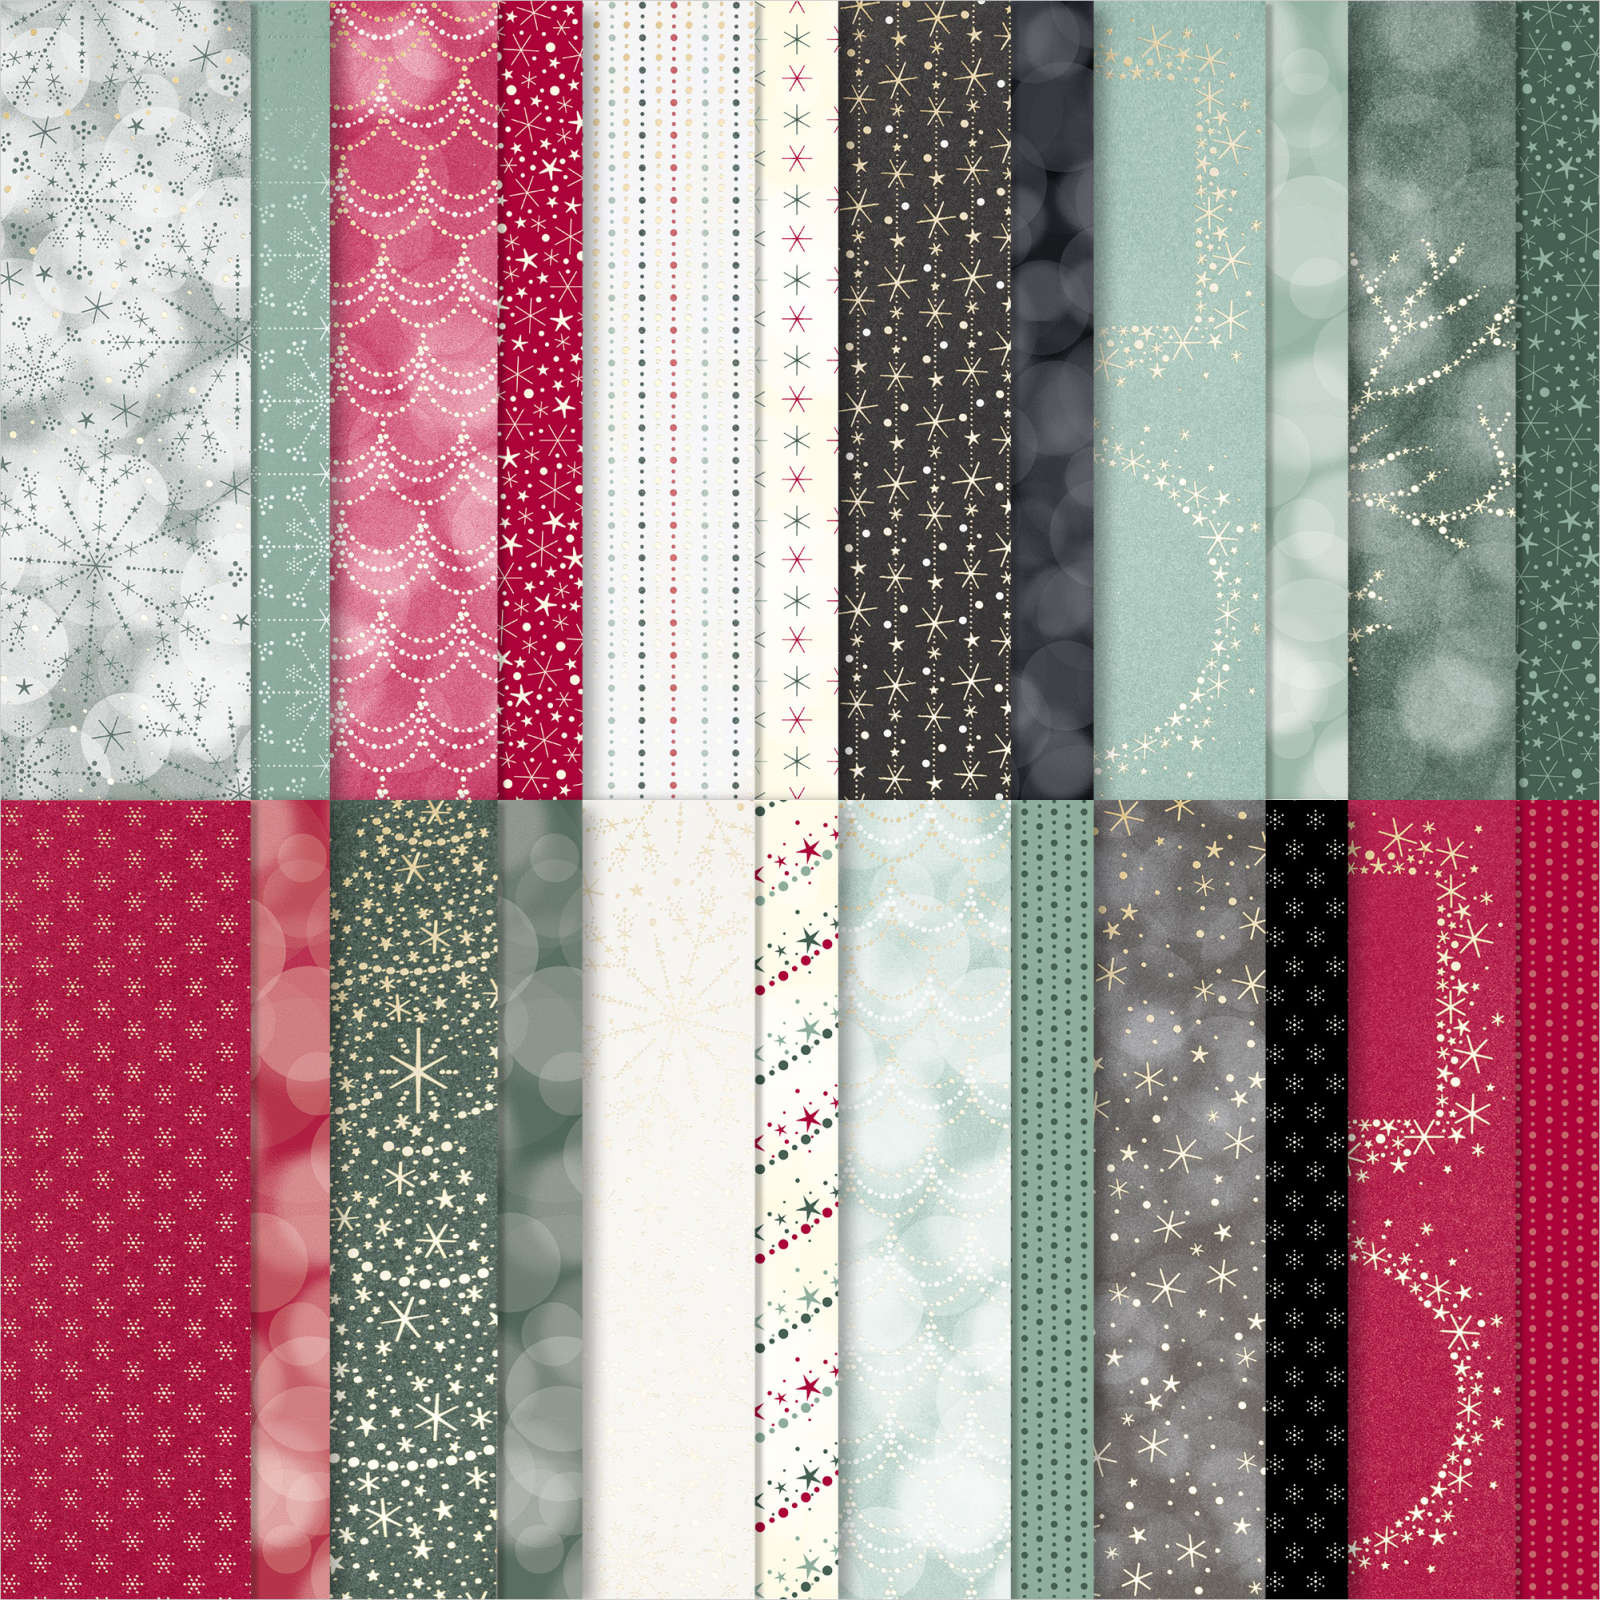
    I chose to use the Lights Aglow specialty designer paper seen here for my card samples.  It's so pretty with the gold foil accents and fine patterns.  

    Tips:

    • You'll need 6 strips of two different patterns; you can also use card stock for them.  I cut them into 1/2" X 4" strips.  
    • The strips are adhered to a White piece measuring 2 1/2" X 5 1/4".  This is scored every 1" from the top down.  These score lines help you when adhering your strips. 
    • Once your strips are adhered you will add it to a layer measuring 2 3/4" X 5 1/2".  I recommend you use a color that coordinates with a color in your DSP.  

    For this card I chose to use the Holly Berry dies for the leaves & berries.  The greeting die-cut is from the All That dies.  

    My card base is Evening Evergreen.  The greeting is from the upcoming Framed & Festive stamp set.  It's new and available to Demonstrators in October, but will be out for customers in November.  

    For this next card I stamped the greeting (also from the Framed & Festive stamp set) onto a die-cut circle from the Stylish Shapes dies.

    That pretty gold leaf die-cut is from the upcoming Framed Floret dies – also coming out in November for customers.  I added a few Festive Pearls for berries.  

    Click on the photo below to watch the video: 

    Which one is your favorite? 

    ~~~

    October Specials

    Starter Kit special! Get $155 in product for just $99

    click here

    ~~~

    Order online here

    Host code links: GDCBRHF7 or SVBHWRCY

    Get a free embellishment from me with online orders over $50!


    Earn free products with my loyalty rewards! 

    Click here to download yours and earn a $50 shopping spree!

    Leave a Reply

    Your email address will not be published. Required fields are marked *

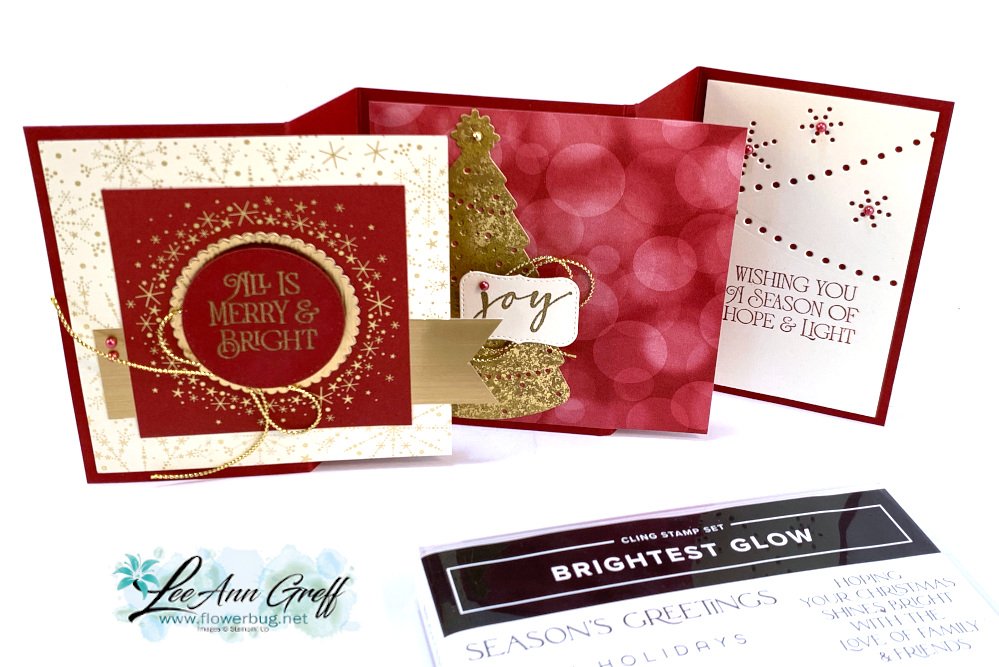
  • Triple Accordion fun fold card with Lights Aglow DSP; easy but WOW!


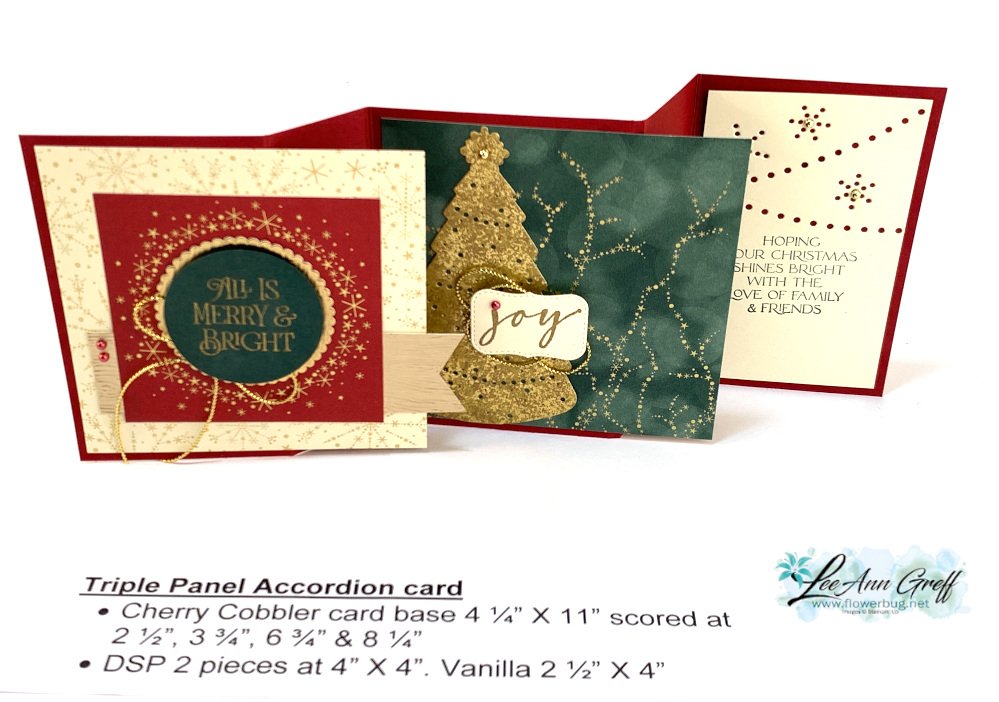
    I love this unique fun fold card; I'm calling it a triple accordion card.  I demonstrated it on this week's FB Live video.  See it here on my YouTube channel.  


    I featured the Lights Aglow specialty designer paper seen here.  It's so beautiful in Cherry Cobbler, Soft Succulent, Black, Evening Evergreen and pretty gold foil accents. Luckily it's back in stock right now. 


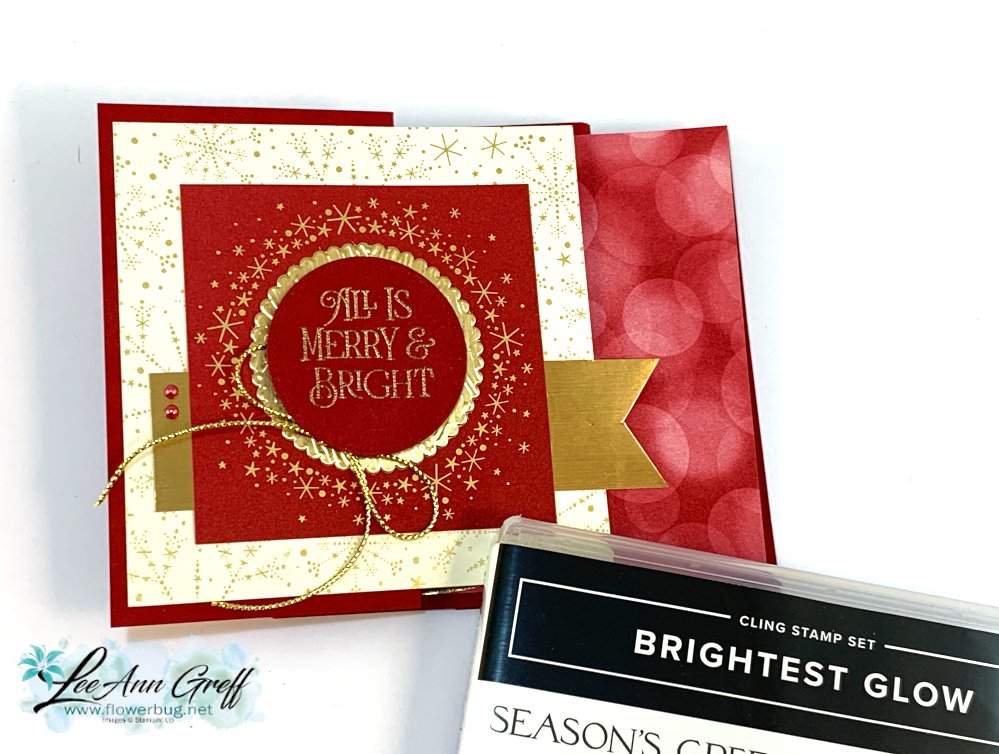
    Here's what the card looks like folded flat.  It shows off multiple sheets of the designer paper and fits in a standard A2 envelope, measuring 5 1/2" X 4 1/4". 

    I used a few other products here; especially gold themed items. 

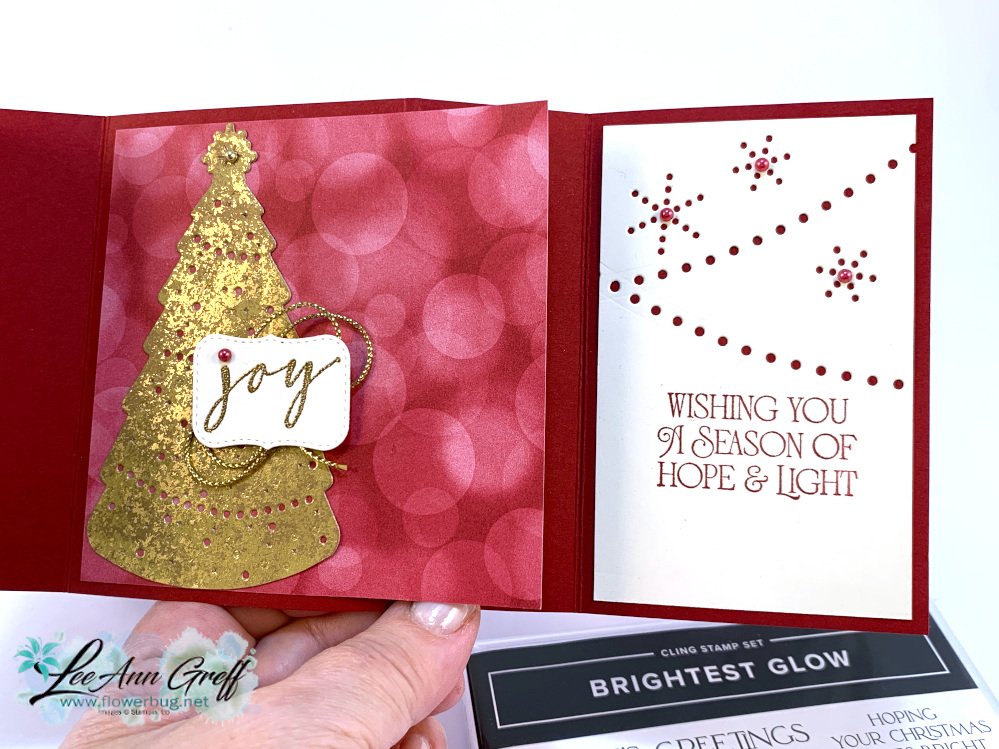
    Gold foil and Gold Distressed paper, Elegant Metallic trim, Gold embossing powder & Festive Pearls.  I also used the Twinkling Lights and Layering Circle dies and the Brightest Glow stamp set.

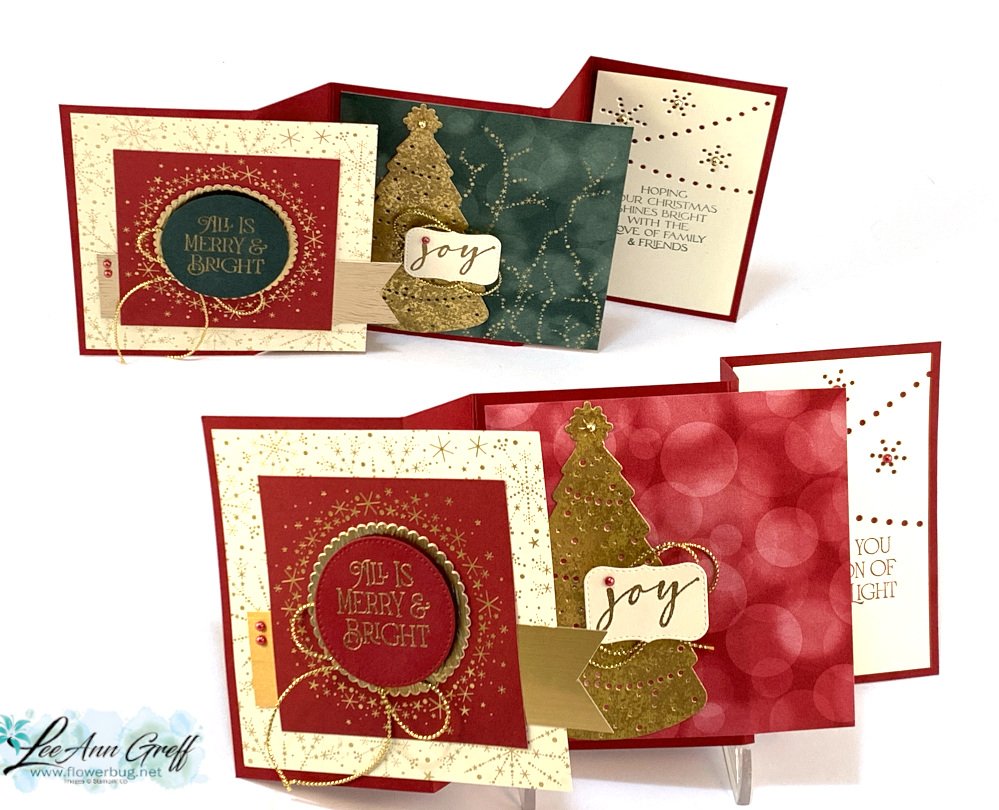
    For variety I added some Evening Evergreen to the next card.  

    Measurements: 

    • Cherry Cobbler card base 4 ¼” X 11” scored at 2 ½”, 3 ¾”, 6 ¾” & 8 ¼”
    • DSP 2 pieces at 4” X 4”, the center Cherry square is 3". Vanilla 2 ½” X 4”

    Below you can see the gold tree & dotted die-cut snowflakes & garland from the Twinkling Lights dies here.  Again, the greetings are all from the Brightest Glow stamp set seen here. 

    The greeting die-cut for the 'joy' is from the Potted Succulents dies; a few loops of gold cord are added underneath it.  


    Which one do you prefer; the card with some Evergreen or the one all Cherry Cobbler?  


    Click on the photo below to watch this card tutorial demonstration.  

    ~~~

    October Specials

    Starter Kit special! Get $155 in product for just $99

    click here

    ~~~

    Order online here

    Host code links: GDCBRHF7 or SVBHWRCY

    Get a free embellishment from me with online orders over $50!


    Earn free products with my loyalty rewards! 

    Click here to download yours and earn a $50 shopping spree!

    Leave a Reply

    Your email address will not be published. Required fields are marked *

  • Look what you can do with the Charming Landscapes embossing folders


    I shared a fun way to use the Charming Landscapes embossing folders in this week's FB Live video.  Look! 

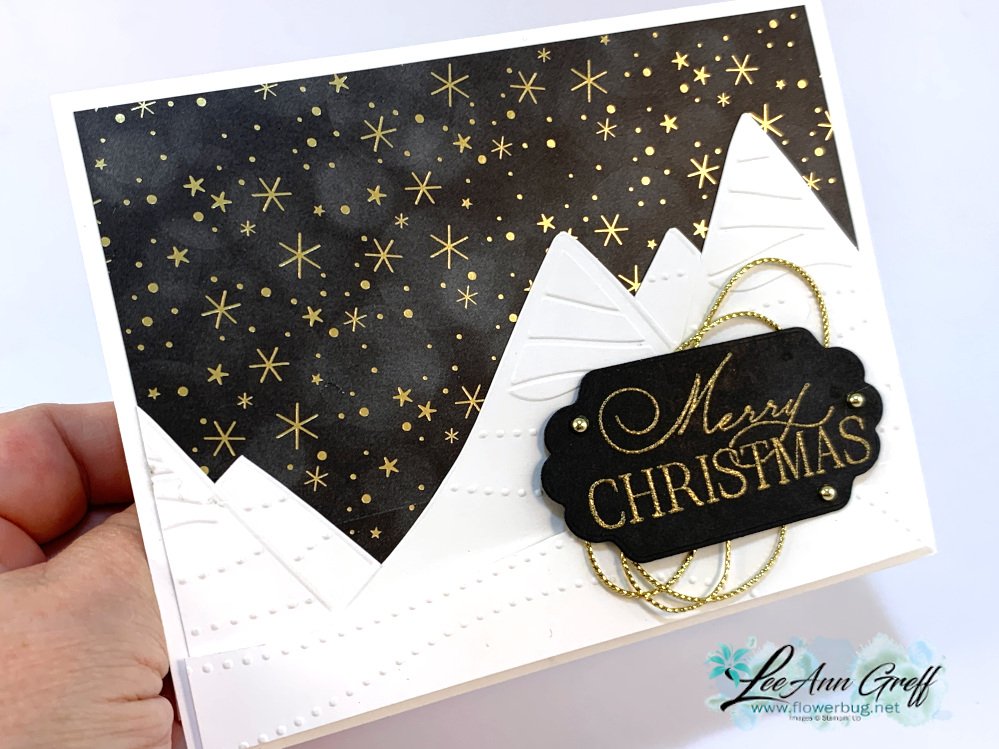
    After I textured White card stock with the folders I trimmed the excess off and adhered it over a piece of Lights Aglow designer paper and then onto my White card base.  So simple with just a little bit of fussy cutting.  See the Charming Landscapes embossing duo here. 

    The greeting is from the Brightest Glow stamp set, heat embossed with Gold embossing powder.  A few loops of gold cording is added to the back.  

    Here's another version; a bit more fussy cutting on this one though! 

    This one did take more time to trim….  I added light So Saffron Blends marker and Wink of Stella to the little village houses.

    What do you think?  I love the elegance of the Black, White & Gold colors.  


    Below is the video where I show these cards and a special fun fold card too.  All made with the beautiful Lights Aglow specialty designer paper seen here.  


    There are still a few spots left in my Lights Aglow Christmas card kit to go.  Click here to see it.  Or get the PDF tutorial here.  

    ~~~

    October Specials

    Starter Kit special! Get $155 in product for just $99

    click here

    ~~~

    Order online here

    Host code links: GDCBRHF7 or SVBHWRCY

    Get a free embellishment from me with online orders over $50!


    Earn free products with my loyalty rewards! 

    Click here to download yours and earn a $50 shopping spree!

    Leave a Reply

    Your email address will not be published. Required fields are marked *


Notice: LeeAnn Greff, Independent Stampin’ Up! Demonstrator, Manager. The content of this website is my sole responsibility as an independent Stampin’ Up! demonstrator and the use of, and content of, the classes, services, or products offered on this website is not endorsed by Stampin’ Up! Copyright 2025