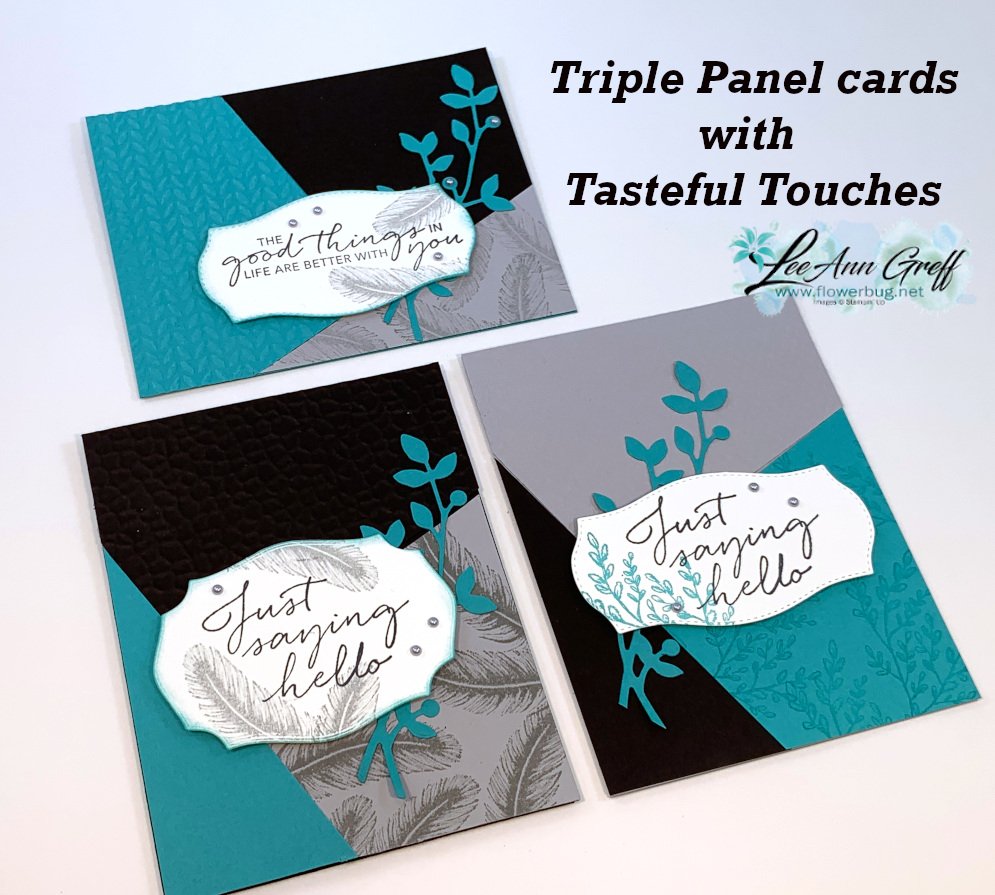
I made these pretty cards on last week's Facebook Live 'Stamp with Me' Monday night. *See video below
The 2nd & 4th Monday's you can stamp with me Live on Facebook here. The next one is Monday, August 10th. I post the measurements & supplies ahead of time so you can prepare. Then afterwards you can share your cards too!
I chose to use a Triple Panel technique; at least that's what I'm calling it. I saw a sketch like it and created my own version here. You start out with 3 pieces of card stock or designer paper and cut them all the same way.
I used Bumblebee, Night of Navy and Smoky Slate for the cards above along with the Tasteful Touches bundle. That pretty leaf die-cut is from the Birds & More dies set.
Measurements:
Three pieces of card stock or DSP measuring 4 1/4" X 5 1/2".
Cute one full 5 1/2" X 8 1/2" card base of each color you use.
Cutting directions:
1st cut: Cut the first small triangle off of each piece. (On the bottom right card it's the Navy piece) Make a mark 1 1/2" from the bottom left corner and 2" from the bottom right corner. Cut this triangle off of all three pieces.
2nd cut: Make a mark from the upper left corner across at 1 3/4". Make a mark 2" from the lower left angled edge. Cut.
The 3rd cut isn't necessary as you'll use the angled piece left from the first two cuts.
Now you have three different colored pieces for each card. Mix & match one color per card!
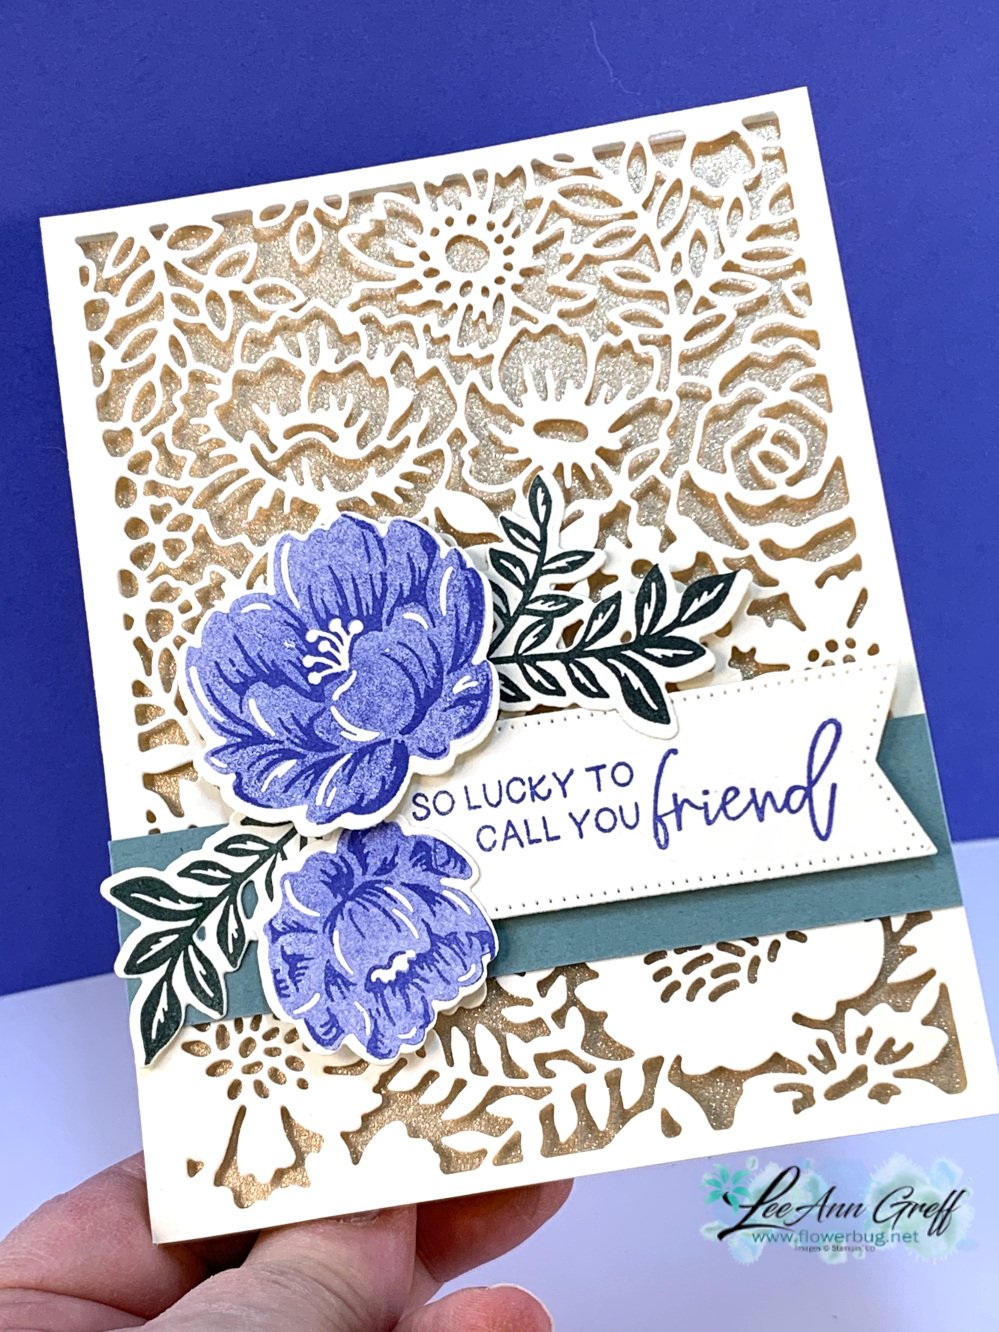
That pretty Gold paper is part of the Fine Shimmer Specialty paper in the Spring catalog. It has 2 each of 3 colors including Gold, Soft Succulent & Fresh Freesia. See it here.
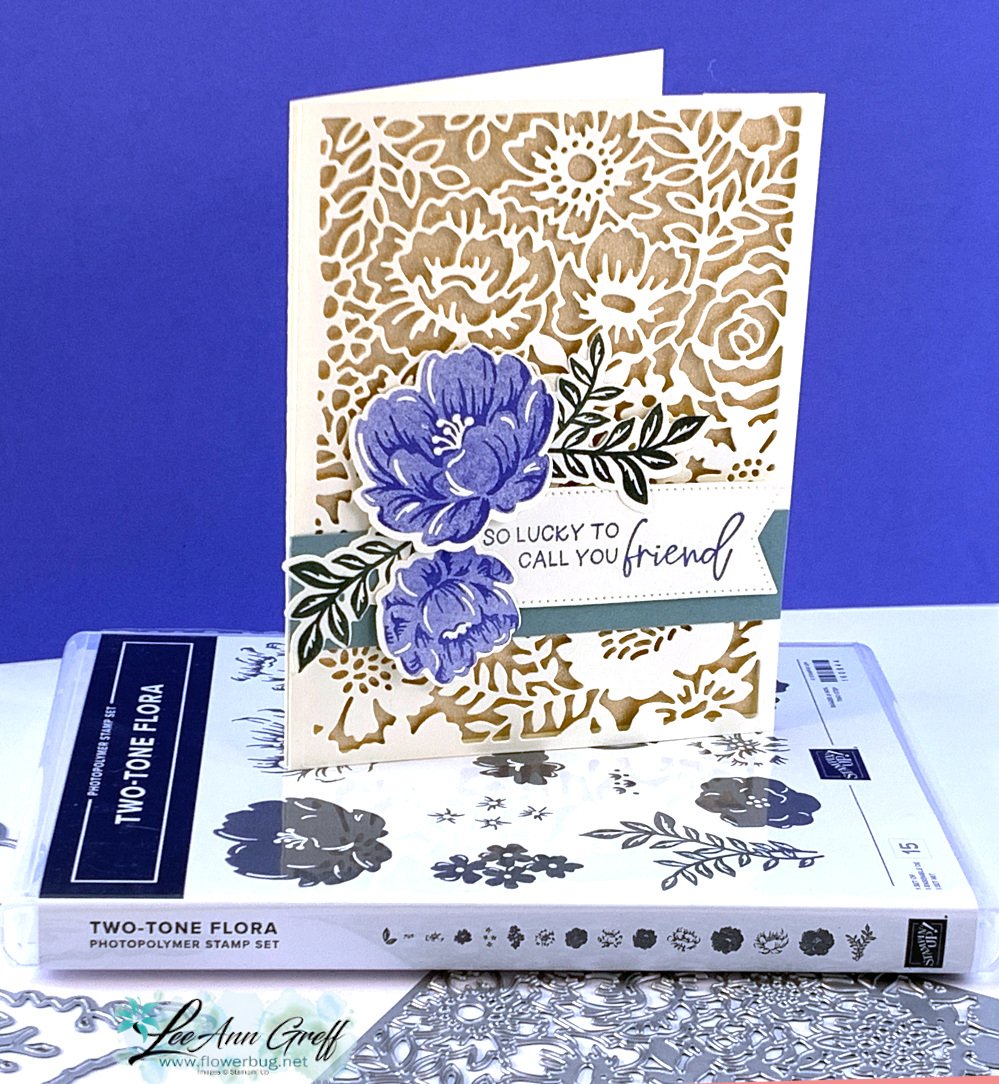
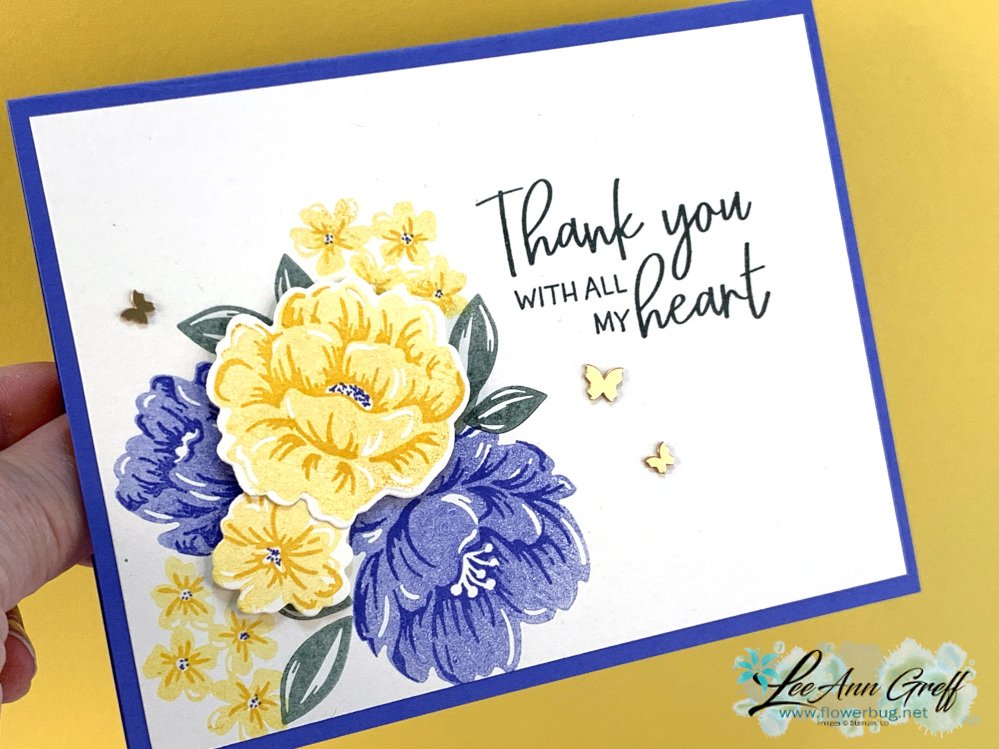
I stamped a few flowers and leaves from the bundle and die-cut them out with the coordinating dies. Then I added a 1" strip of Soft Succulent to anchor the flowers and the die-cut greeting onto. The greeting is from the Framed Florets stamp set.
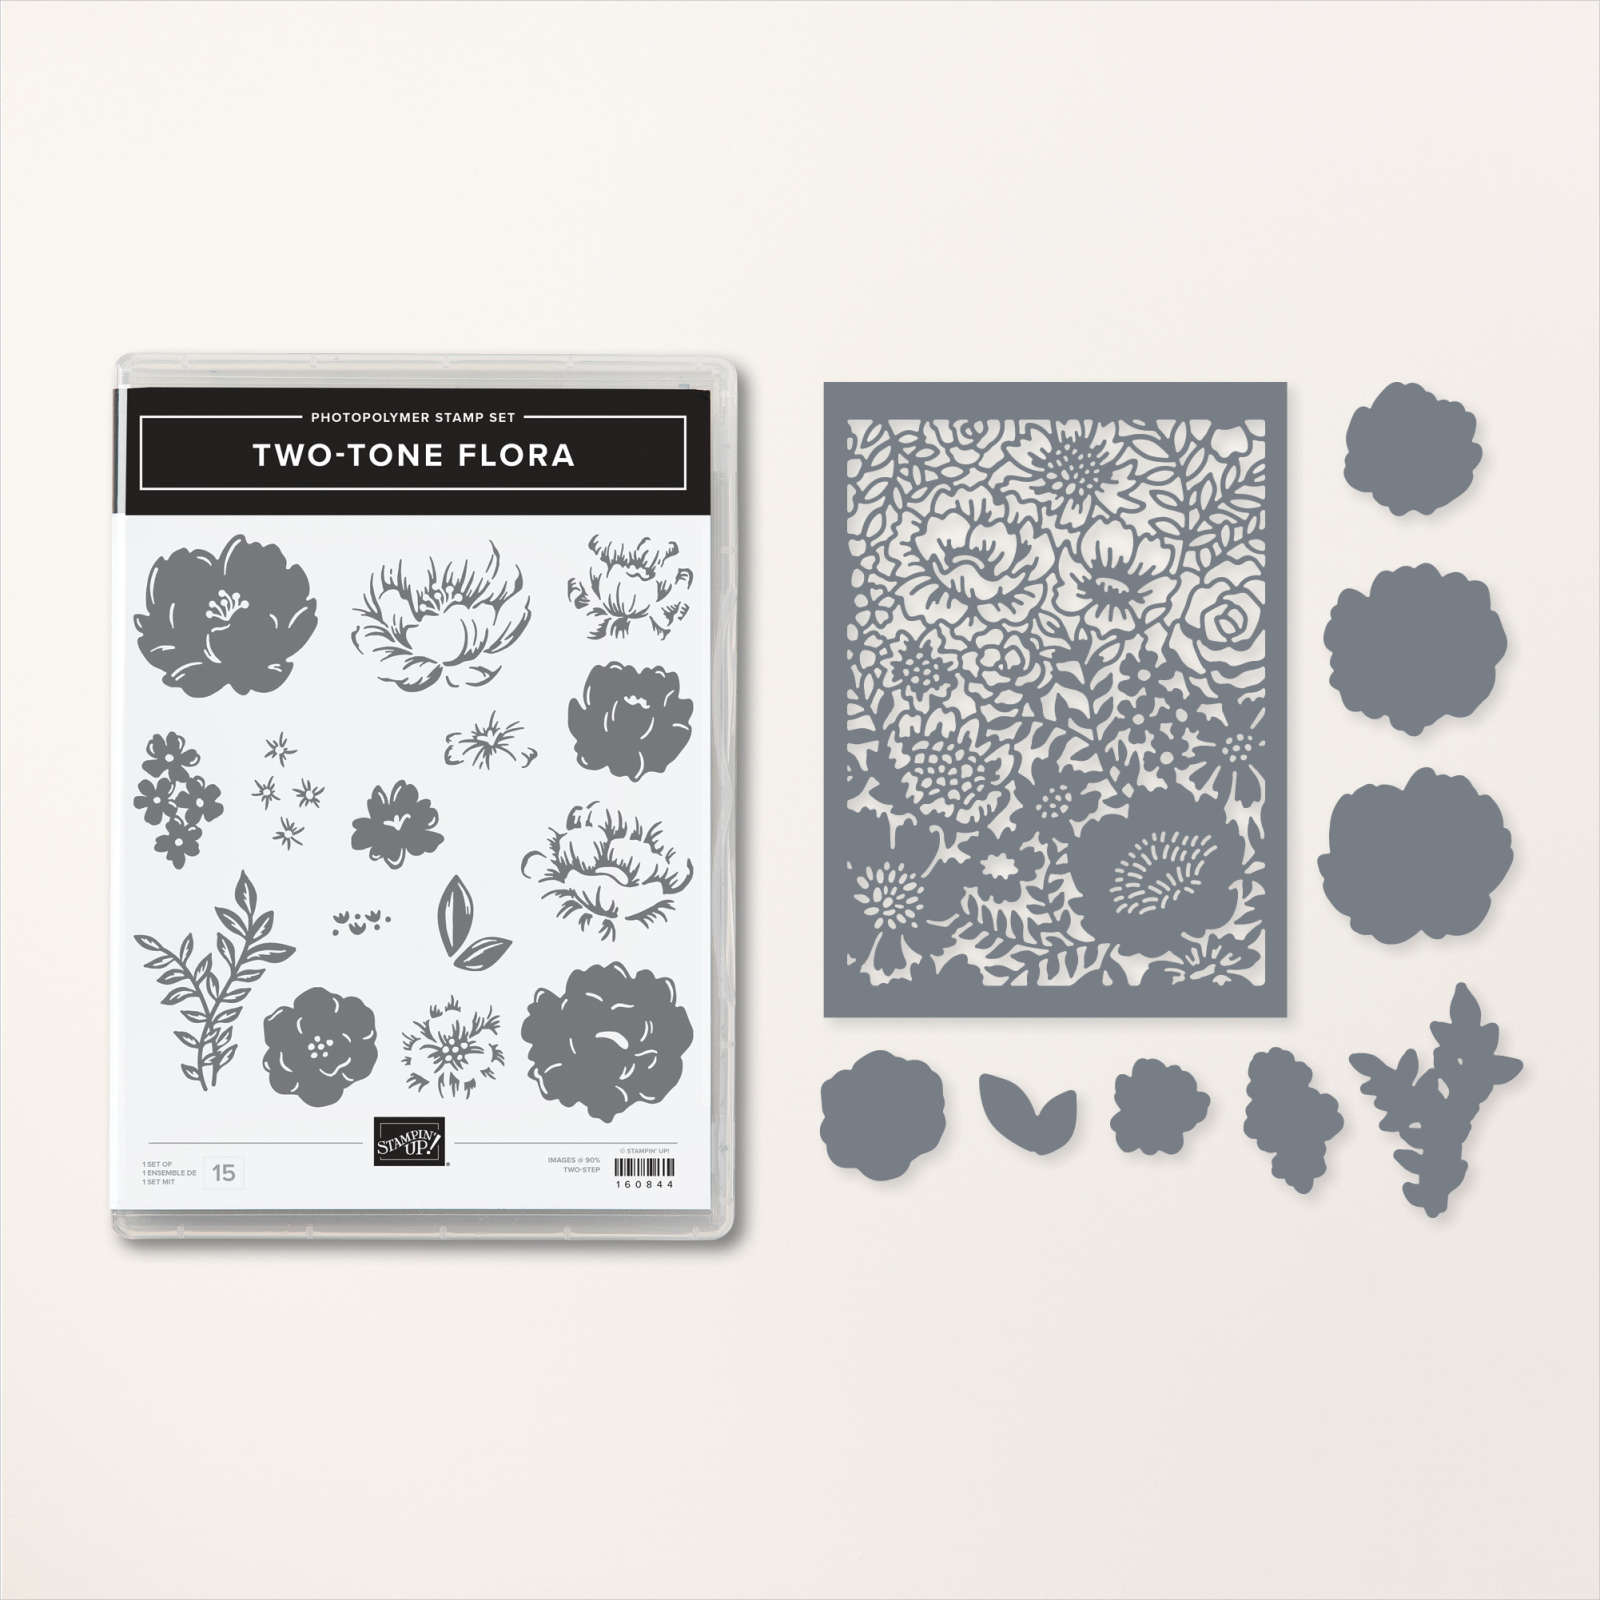
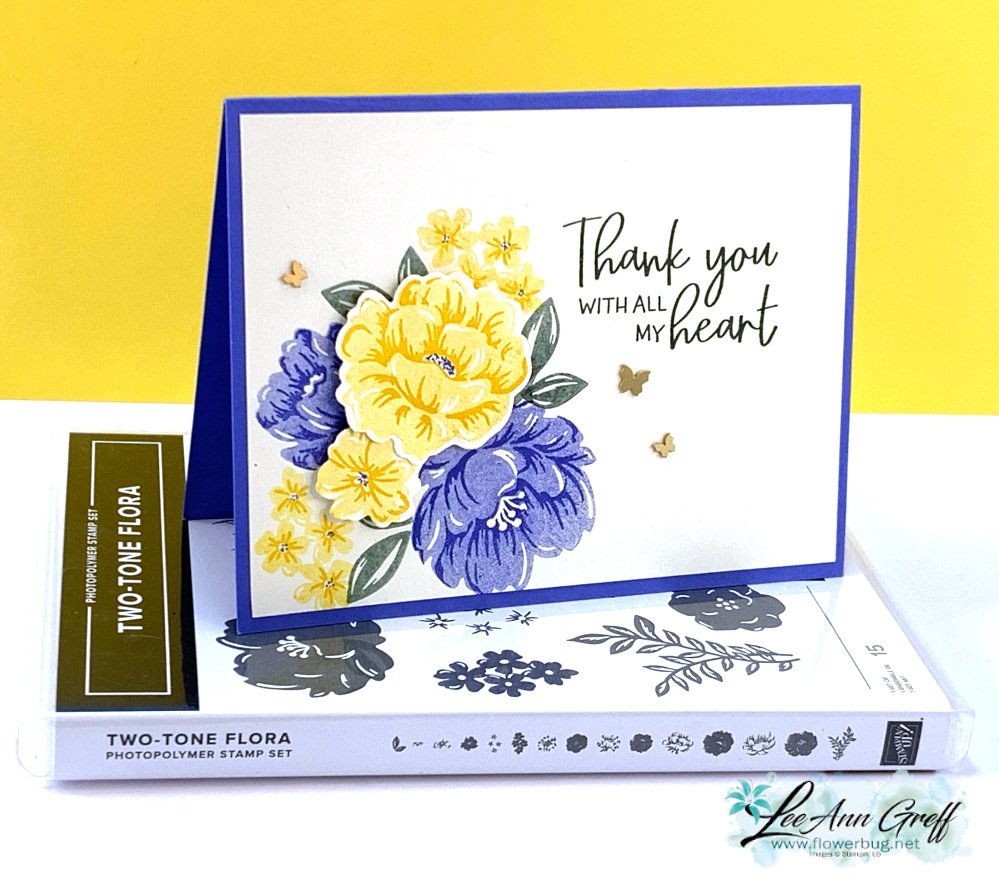
Below is a photo of the bundle; it's a 2-step stamp set which means there are two images that match and are meant to be stamped over each other. One is a solid image and the other is a detailed image. You can stamp both with the same ink, the solid in a lighter hue (stamp off once first) and the detailed image over it without stamping off.
Some people stamp the solid image first and add the detailed over it. I found it easier to stamp the detailed first as it's a darker ink and more difficult to see through. Try it both ways to see what works for you.
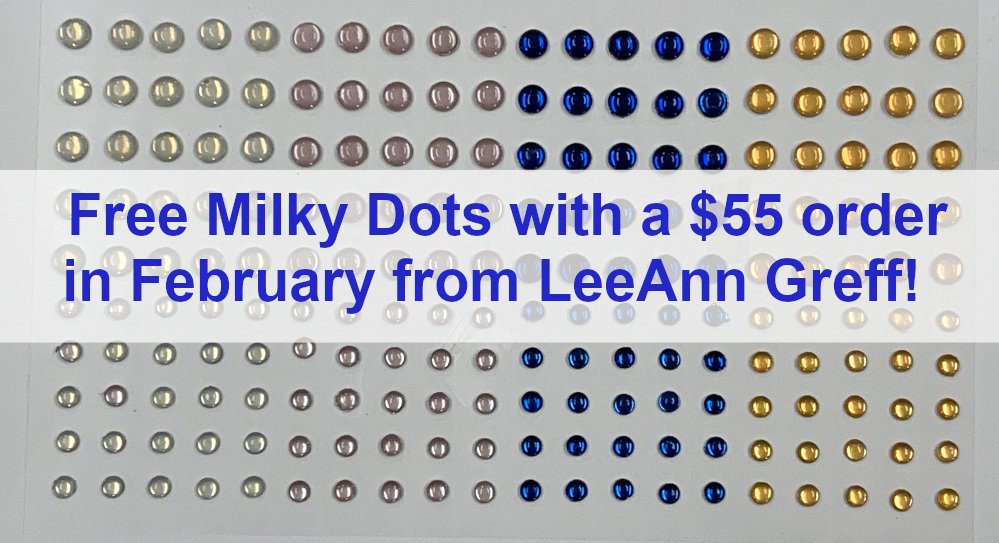
This pretty bundle qualifies you to receive a free Sale-a-Bration choice if purchased during February. See all of the choices here.
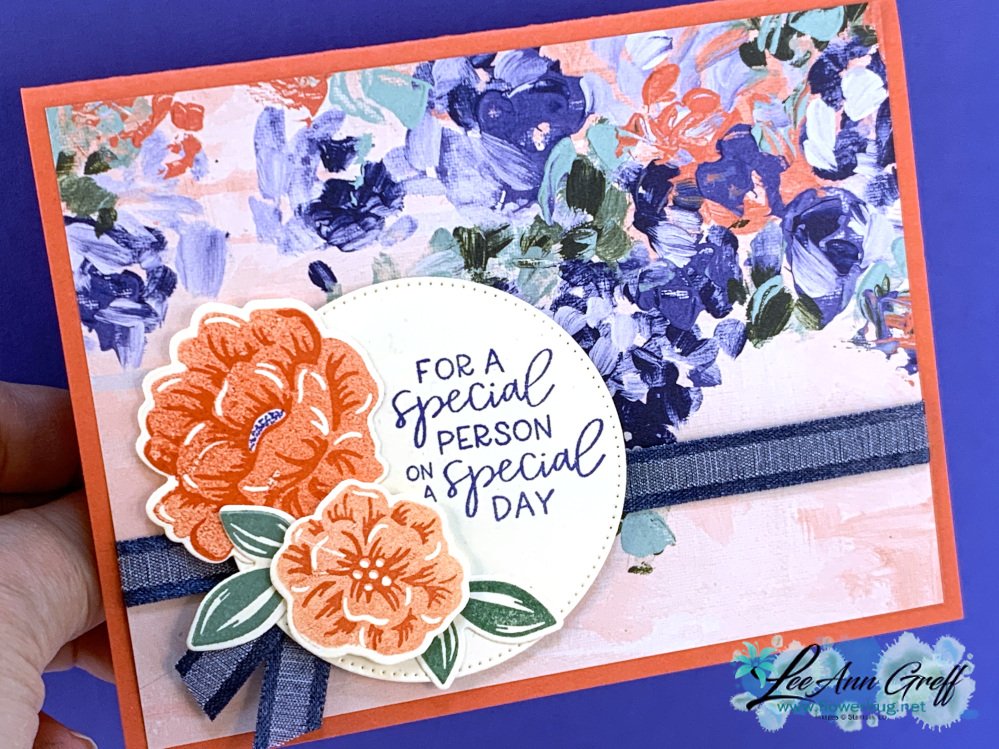
Next is a gorgeous card featuring this same bundle but also adding in the Fancy Flora DSP. See it here. The patterns remind me of palette painting and the color combos are amazing! The Stampin' Up! artists are incredibly talented.
I added a bit of the new Navy Bordered ribbon from the Spring catalog and a stitched circle die-cut from the Stylish Shapes dies. These dies are so popular they cannot keep them in stock. They are currently in low inventory 'again'!
They've updated the Clearance Rack with more products! Including stamp sets! But beware that many are in French. Be sure you get English if you want it. See it all here.
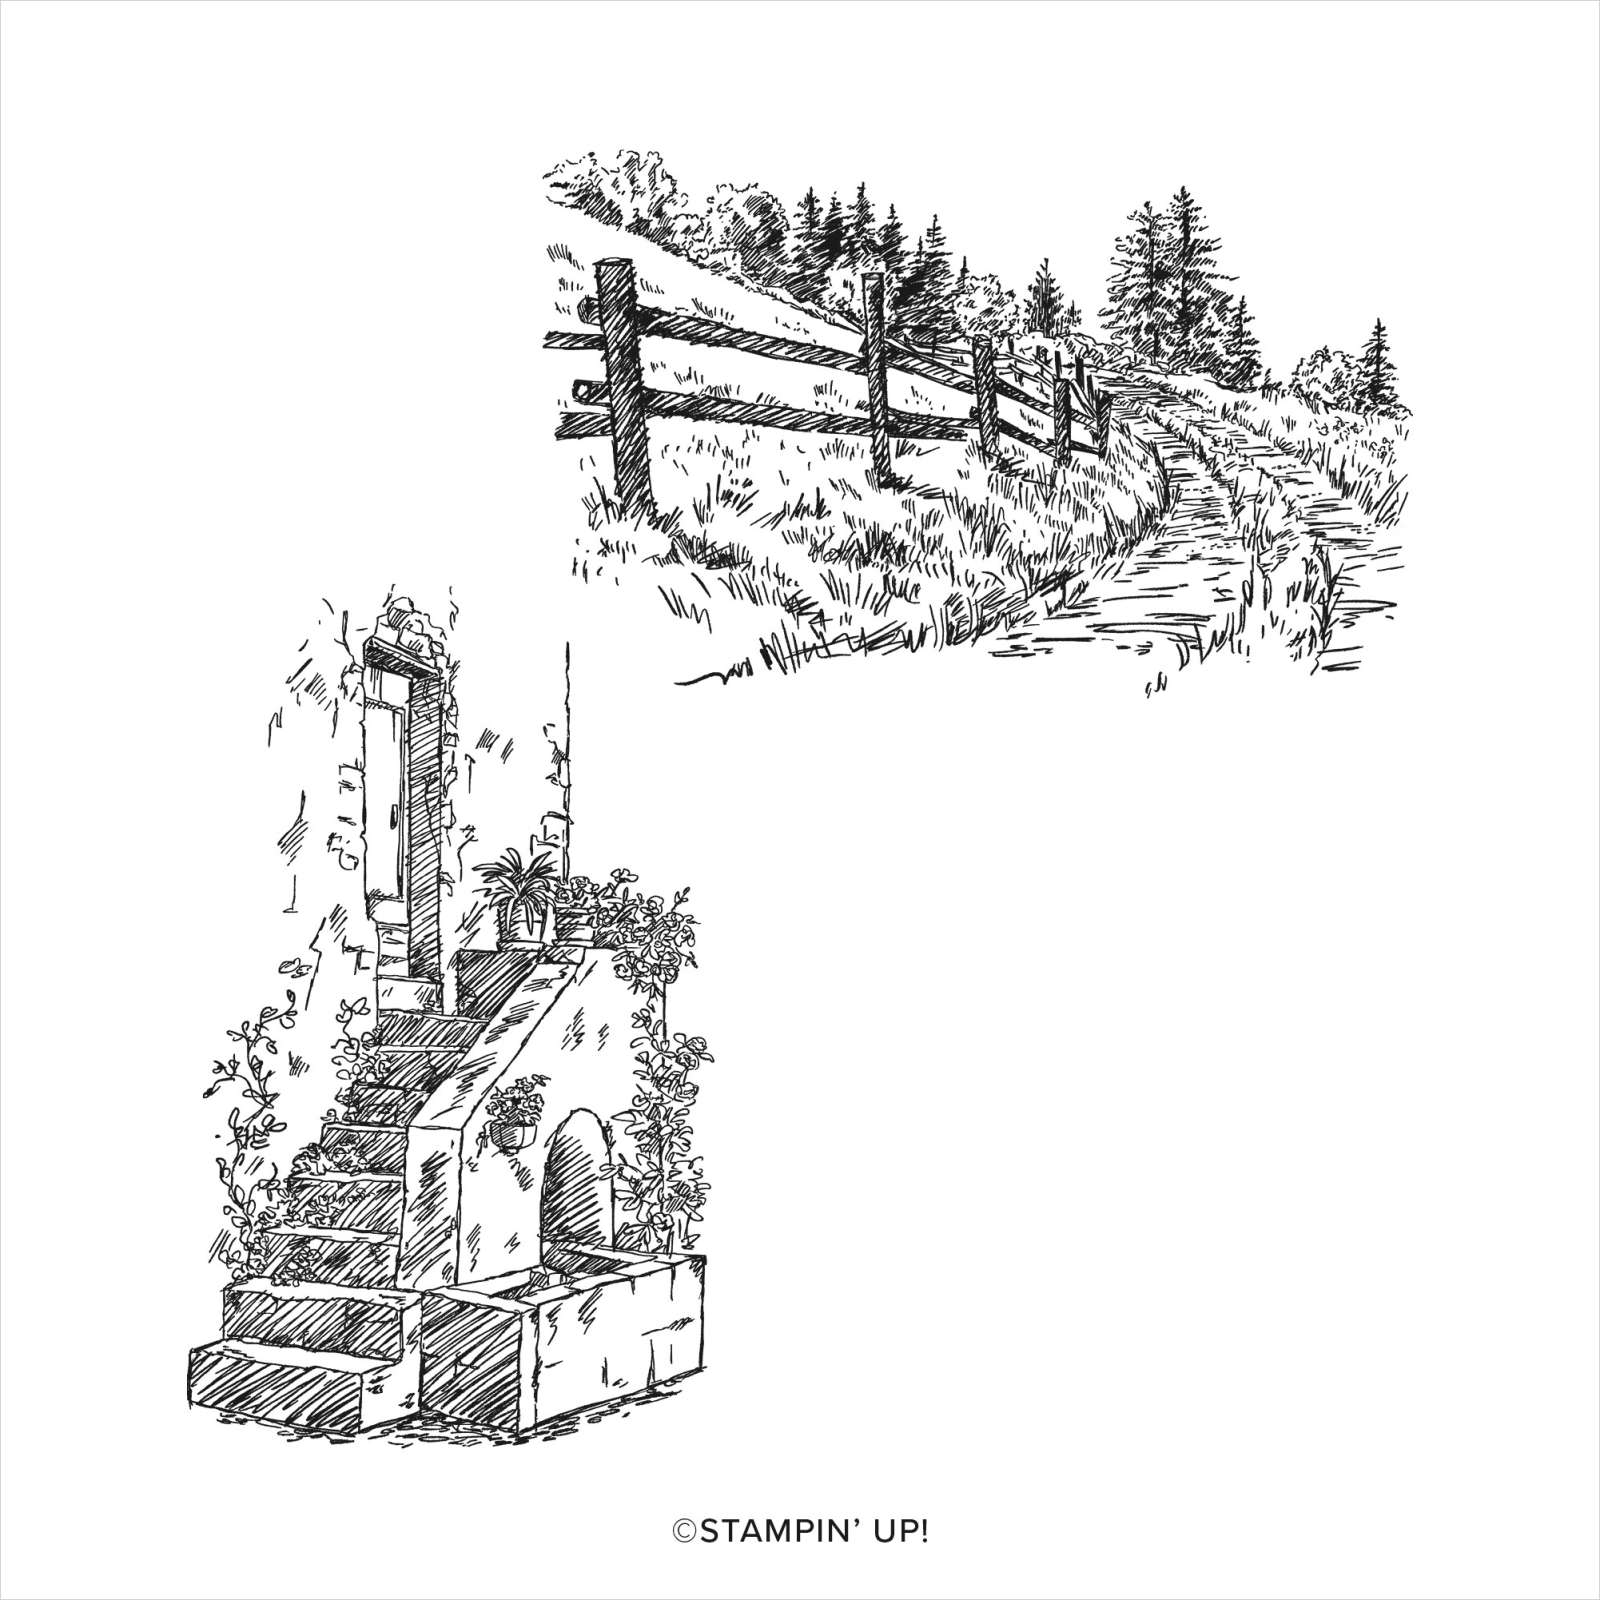
I made this pretty card using the In the Country stamp set from our Sale-a-Bration promotion. It's called a Triptych layout. It's a great way to showcase a detailed stamp set.
Notice: LeeAnn Greff, Independent Stampin’ Up! Demonstrator, Manager. The content of this website is my sole responsibility as an independent Stampin’ Up! demonstrator and the use of, and content of, the classes, services, or products offered on this website is not endorsed by Stampin’ Up! Copyright 2025
























Leave a Reply