/


Latest Post

3 in 1 Triple Panel cards


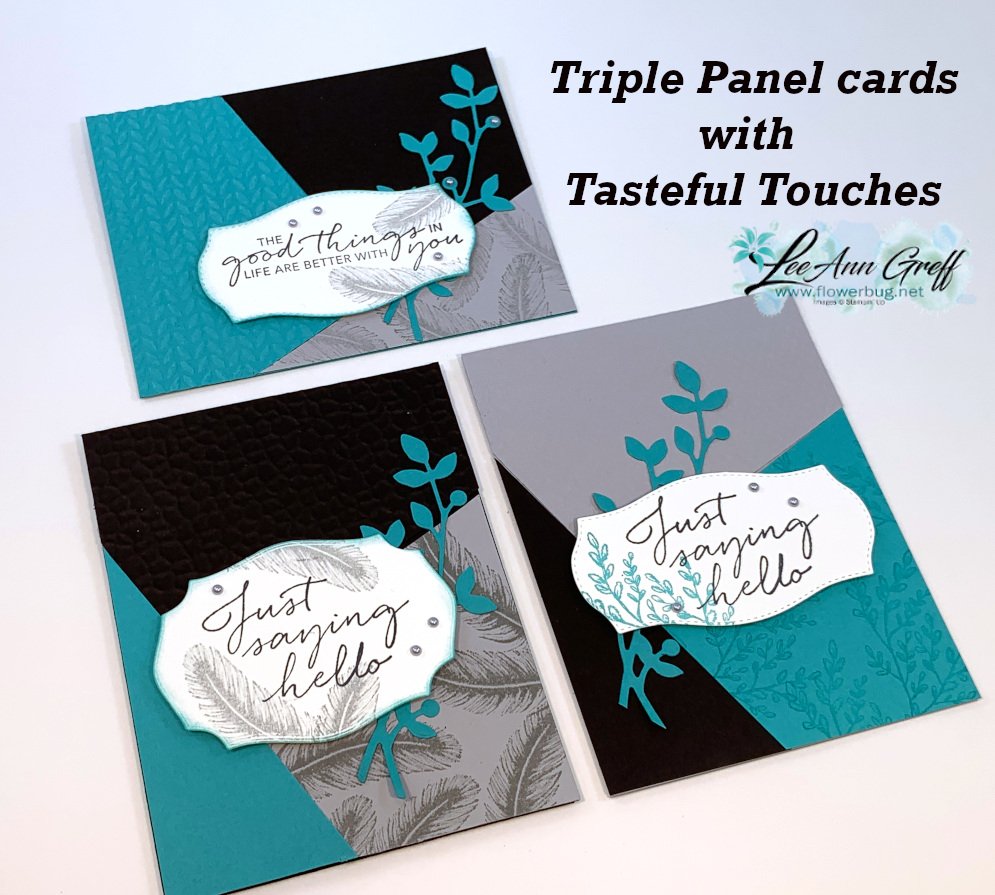
I made these pretty cards on last week's Facebook Live 'Stamp with Me' Monday night. *See video below

The 2nd & 4th Monday's you can stamp with me Live on Facebook here.  The next one is Monday, August 10th. I post the measurements & supplies ahead of time so you can prepare.  Then afterwards you can share your cards too! 

I chose to use a Triple Panel technique; at least that's what I'm calling it.  I saw a sketch like it and created my own version here.  You start out with 3 pieces of card stock or designer paper and cut them all the same way.  

I used Bumblebee, Night of Navy and Smoky Slate for the cards above along with the Tasteful Touches bundle.  That pretty leaf die-cut is from the Birds & More dies set. 
Measurements:
Three pieces of card stock or DSP measuring 4 1/4" X 5 1/2".
Cute one full 5 1/2" X 8 1/2" card base of each color you use.
 
Cutting directions:
1st cut: Cut the first small triangle off of each piece. (On the bottom right card it's the Navy piece) Make a mark 1 1/2" from the bottom left corner and 2" from the bottom right corner. Cut this triangle off of all three pieces.
2nd cut: Make a mark from the upper left corner across at 1 3/4". Make a mark 2" from the lower left angled edge. Cut.
The 3rd cut isn't necessary as you'll use the angled piece left from the first two cuts.
Now you have three different colored pieces for each card. Mix & match one color per card!

On the cards above the colors are Bermuda Bay, Black and Smoky Slate and the same Tasteful Touches bundle and leaf die from above. 


~~~

Bonus Days are here!

 
Redeem your $5 coupons now!  Don't forget!   

~~~

Current Host code is QW7SUYVX

Get a free package of new Iridescent Pearls in August with an online order over $55. 

Order online here

 Get my Flowers for Every Season pdf tutorial free with any online order in August
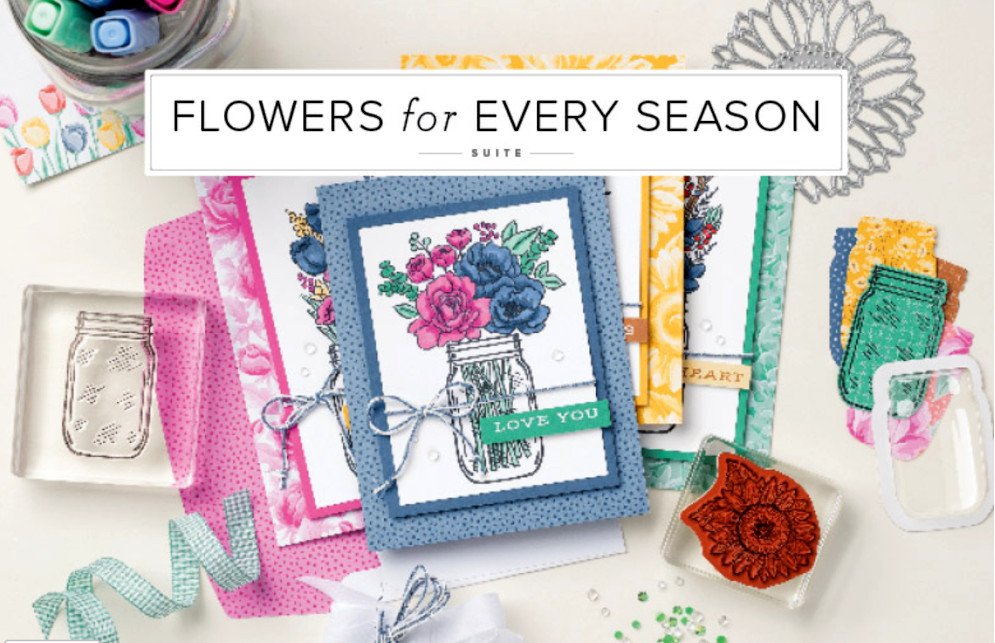

It includes directions, photos and measurements for 12 cards!
All Posts

  • Translucent Florals card made with colored vellum


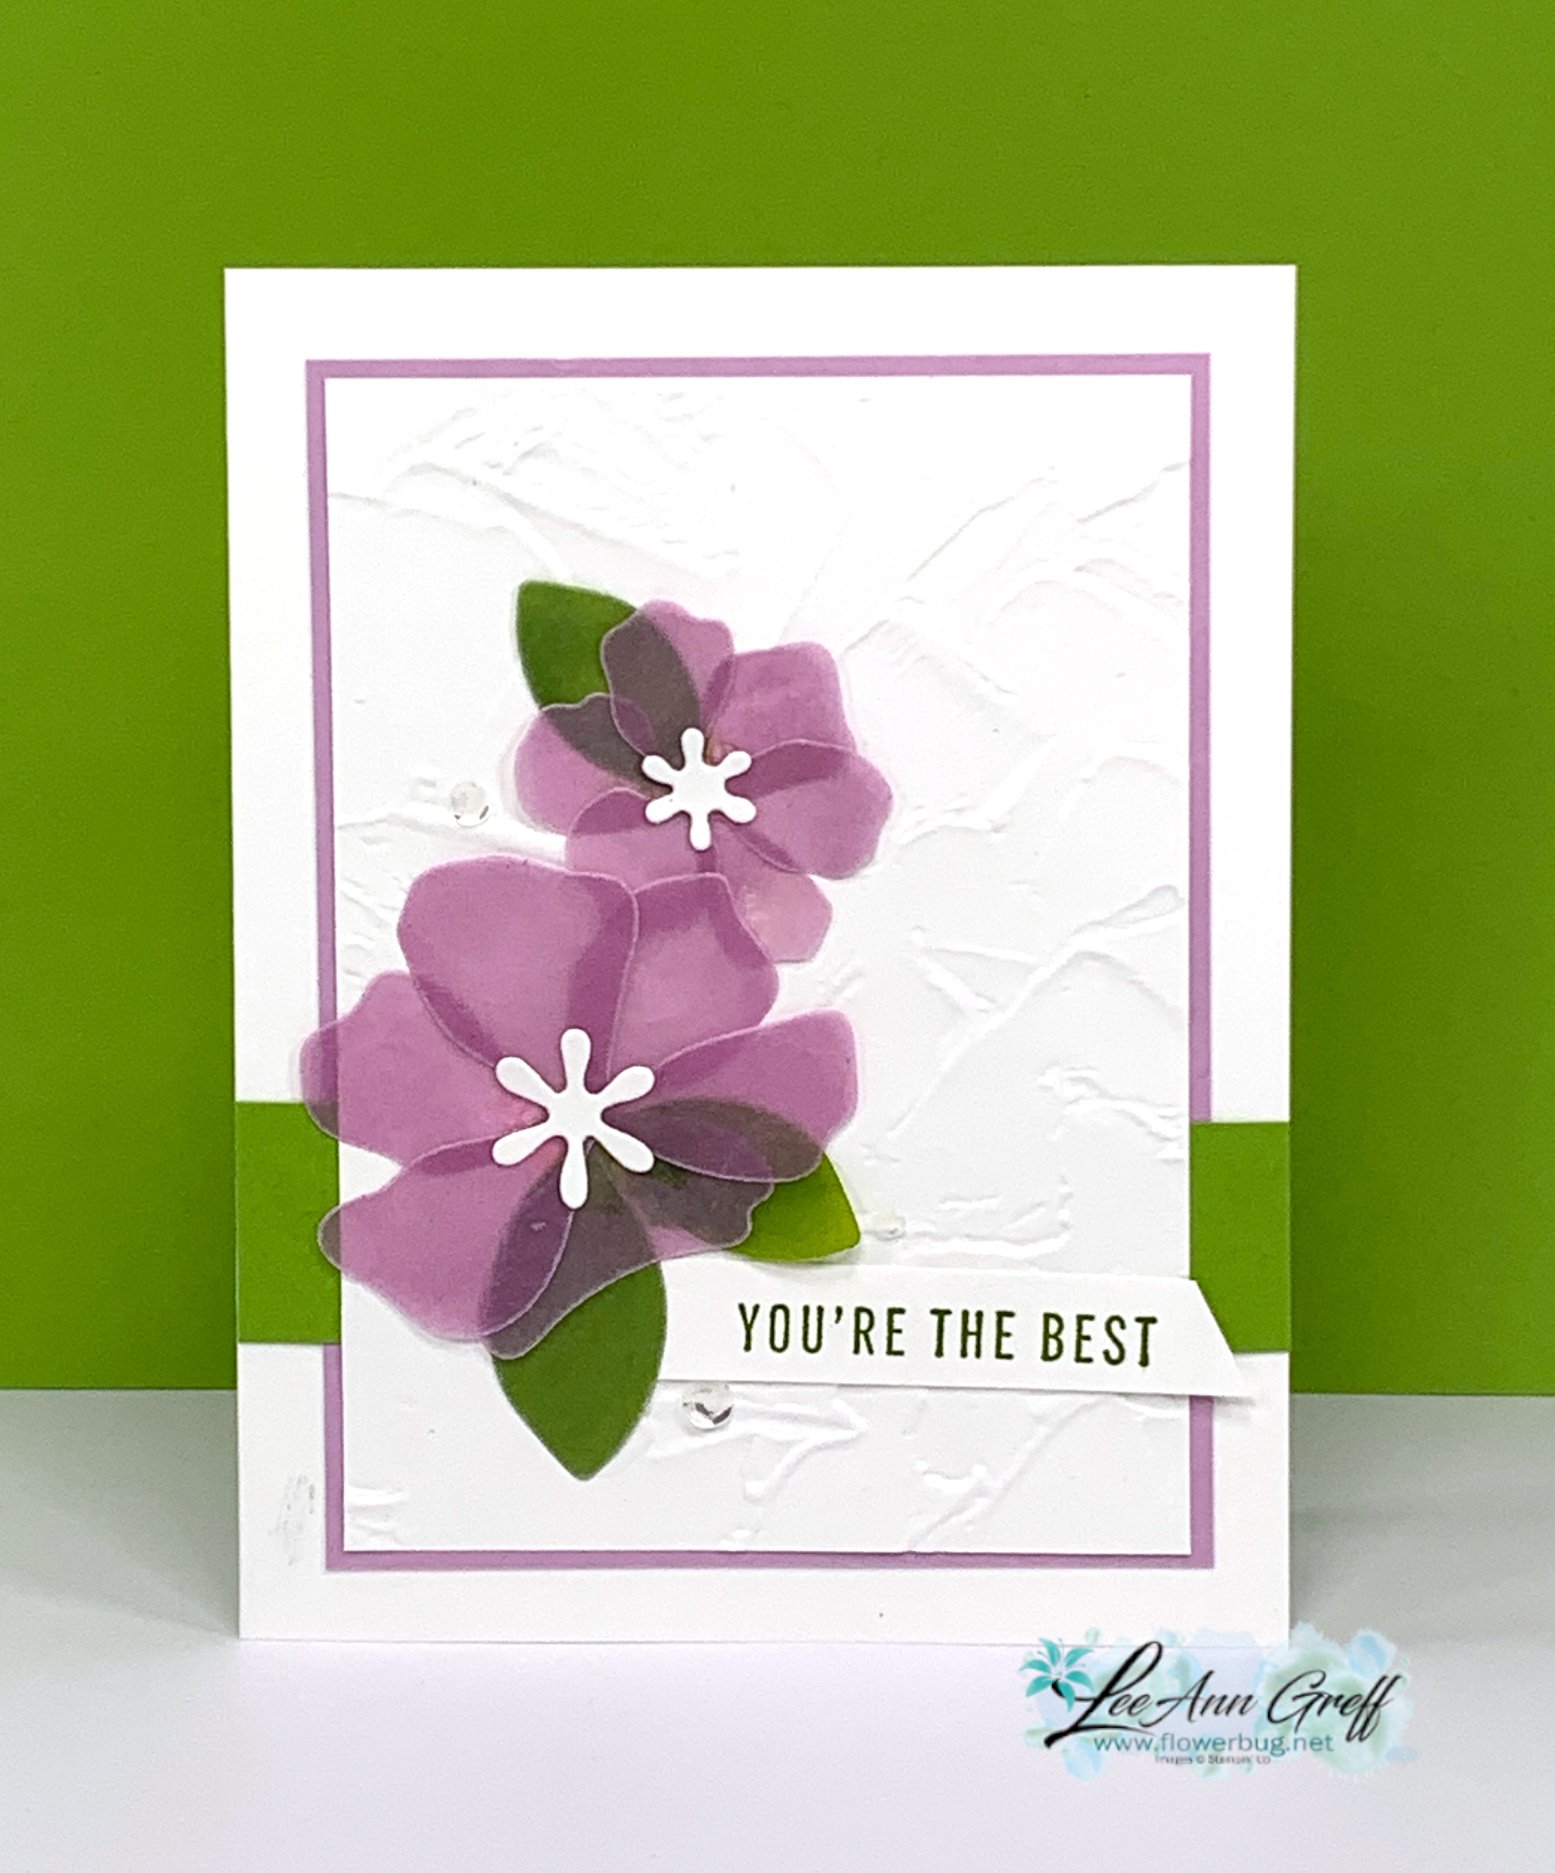
    I created this pretty card with the Translucent Florals bundle.  I used our vellum card stock and changed it from opaque to Fresh Freesia. 

    It's really easy to do.  Here's how:

    1. I cut a good size piece of vellum from the main sheet and laid it onto my grid paper.
    2. Then I pressed my open ink pad onto the card stock until it was covered.
    3. To smooth the ink out use sponges or a blending brush. Let dry or heat set before die-cutting. 
    4. Die-cut the flowers, leaves and white centers

    Products & measurements:

    • Translucent Floral bundle
    • White card stock – card base 8 1/2" X 5 1/2" score & fold at 4 1/4"
    • Painted Texture embossing folder – white is 3 1/2" X 4 3/4"
    • Fresh Freesia card stock 3 7/8" X 4 7/8"
    • Granny Apple Green 4 1/4" X 1" strip 
    • Vellum card stock – a large piece colored with Fresh Freesia ink and a small piece with Granny Apple Green ink
    • Blending Brushes 

    Here's a photo of this pretty bundle. See it here. 


    ~~~

    December Specials: 

    Get a free embellishment from the 2023 Holiday catalog with an

    online order over $50


    *current host codes: TU26GCPZ

    Leave a Reply

    Your email address will not be published. Required fields are marked *

  • See the next 3 months of Paper Pumpkin kits; plus an add-on set of dies that matches them all!


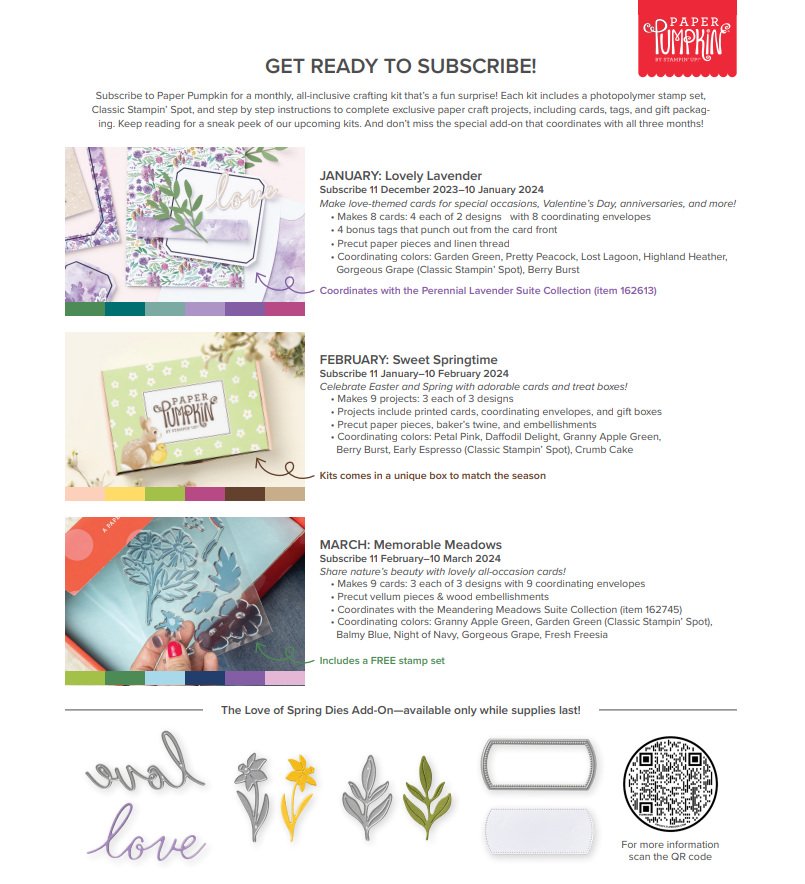
    Stampin' Up! has shared details on the January Paper Pumpkin kit and announced there's an add-on set of dies that will coordinate with the next 3 months of kits!  

    Here's a peek of the January kit and the set of dies:

    The Lovely Lavender kit is what you'll receive if you subscribe from December 11 to January 10th. 

    It is themed around love for special occasions like Valentines, anniversaries & more & includes the following:

    • 8 cards; 2 each of 4 designs & coordinating envelopes
    • 4 bonus tags that punch out from the card front
    • Precut paper pieces and linen thread
    • Berry Burst Classic Stampin' Spot

    The exclusive add-on set of dies (item 164396) coordinates with the three upcoming kits! Paper Pumpkin subscribers can purchase it beginning 11 December. *This add-on is available to Paper Pumpkin subscribers  while supplies last, so it’s best to shop early!

    Click on this link to download or print the flyer below: Download 2024 PP flyer spring

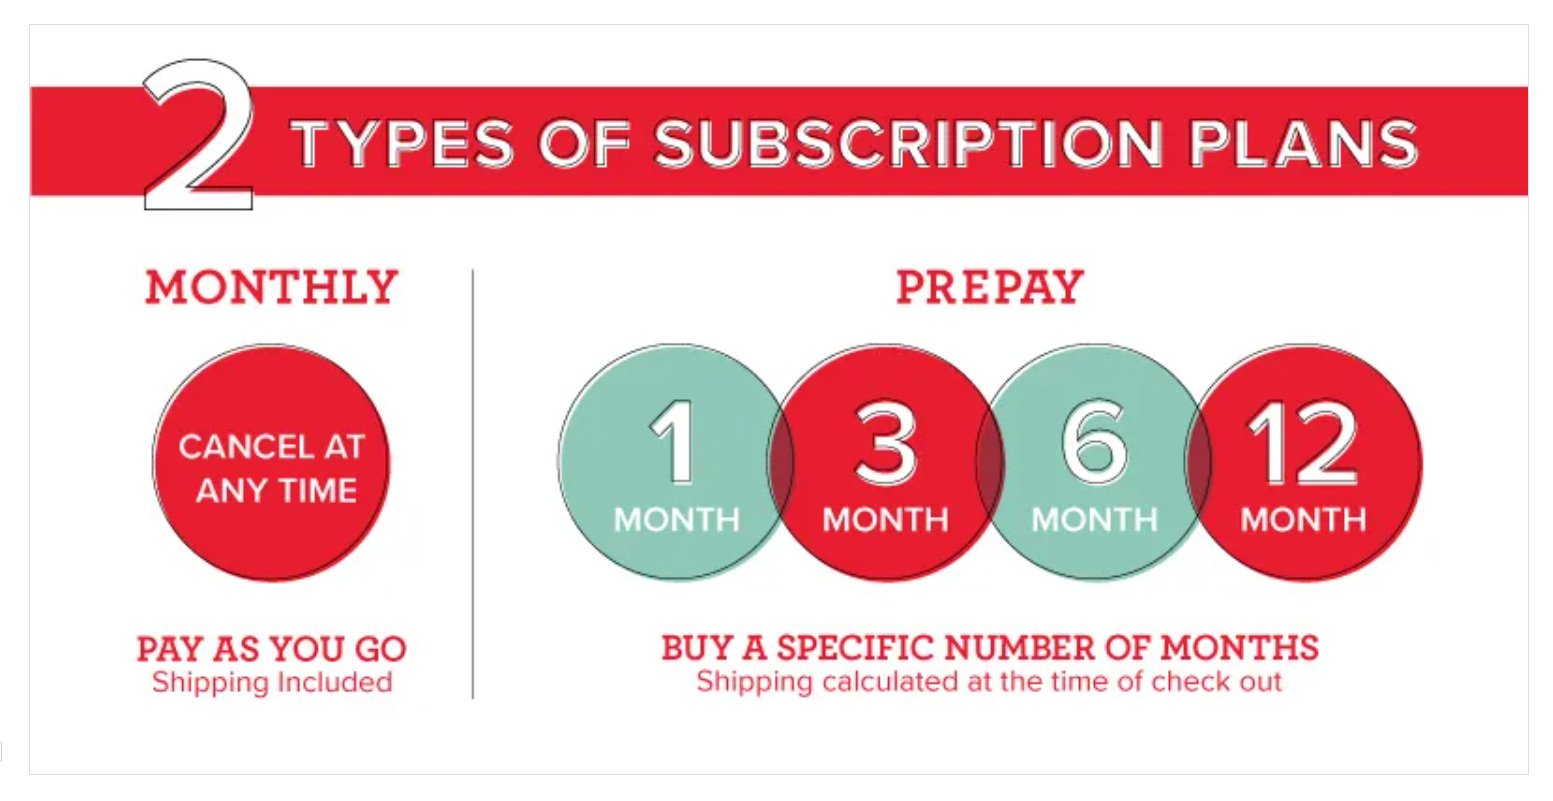
    If you're not a Paper Pumpkin subscriber you have two choices. Both choices earn you a big bonus from me!

    1. Purchase a 1, 3, 6 or 12 month subscription here. 
    2. Subscribe to receive a kit each month here.

    Did you know that you are in charge of which kits you receive?  Once you purchase a pre-paid subscription or subscribe you can opt out of any kit you do not want. Stampin' Up! shares what's coming up each month so you can decide if you want it or not.  Total control is yours!  

    *When you subscribe with me, LeeAnn Greff, you'll qualify for a FREE tutorial each month.

    • This tutorial PDF is filled with 10 or more alternate ideas for additional projects you can make with each month's kit (includes photos & instructions) – making your kit go a lot further! 

    ~~~

    December Specials: 

    Get a free embellishment from the 2023 Holiday catalog with an

    online order over $50


    *current host codes:  PN2C7Z4E or 77277NNH

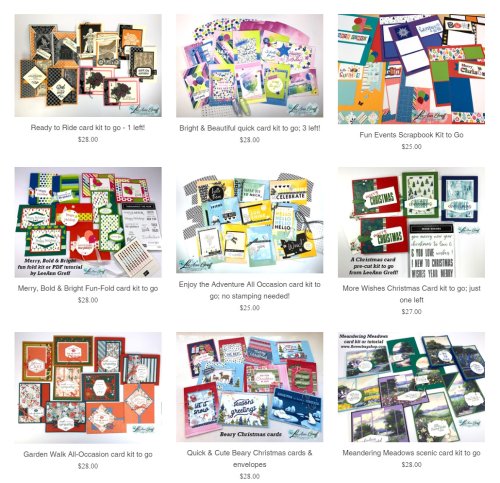
    Love kits?  Check out my pre-cut card kits to go here!

    I offer two new kits & tutorials each month!

    Leave a Reply

    Your email address will not be published. Required fields are marked *

  • Adhesive kits with glue stands; ready to go!


    Did you know I have more than just pre-cut card kits, tutorials and glue stands in my Shop?  Today I'm sharing a few of the extras I have available for you or for gifts. 

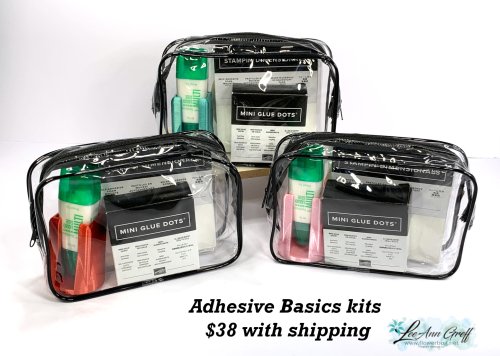
    First is my new adhesive basics kit. 

    The most commonly used adhesives are included. It's perfect for traveling or stamping on the go.

    • Mini Glue dots
    • Regular and Mini Stampin' Dimensionals
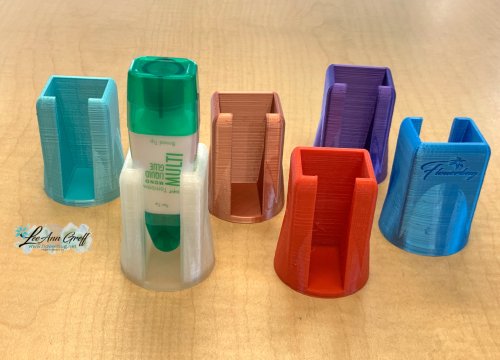
    • Multipurpose liquid glue with a custom made glue stand!
    • Tear & Tape adhesive

    It's $30 and includes this cute bag to store it all in. There's room to add a tape runner too. See it here

    You can request a certain color of my glue stands to be included. The nice thing about these glue stand is that it keeps the glue at the tip where you want it.  A lot less shaking it down! You can see the colors available here.  

    These ship out within days of ordering. 

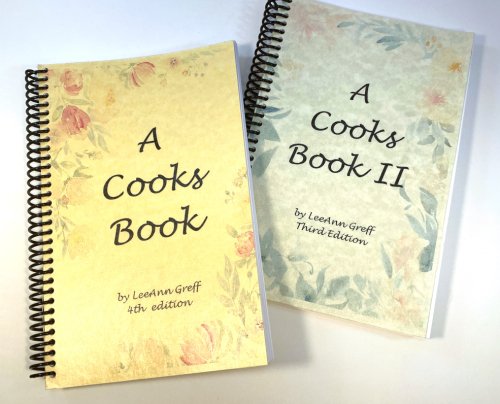
    I have compiled many of my favorite recipes over the years into two cookbooks. I wanted a convenient way to access my most used recipes but it became popular with my family and friends so we started making them to sell as gifts. 

    Click on the photo above to see them in my store. 

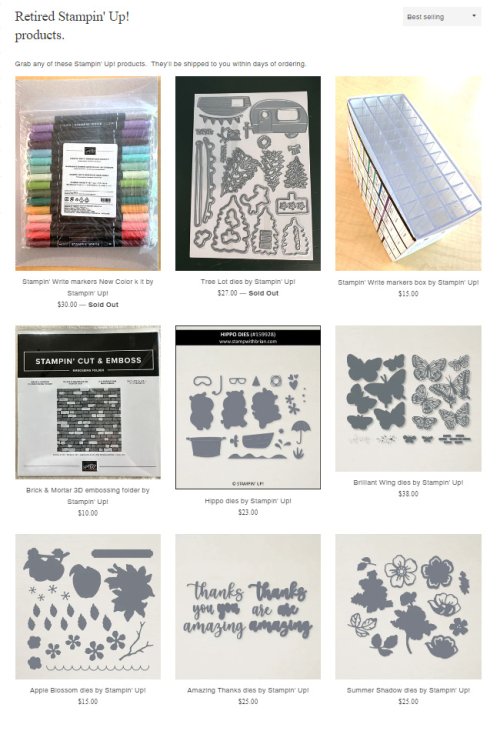
    I also have a small selection of retired products for sale. See them here.

    If you love pre-cut kits check out my pre-cut card kits to go here!

    I offer two new kits & tutorials each month!

    Leave a Reply

    Your email address will not be published. Required fields are marked *


Notice: LeeAnn Greff, Independent Stampin’ Up! Demonstrator, Manager. The content of this website is my sole responsibility as an independent Stampin’ Up! demonstrator and the use of, and content of, the classes, services, or products offered on this website is not endorsed by Stampin’ Up! Copyright 2025