/


Latest Post

3 in 1 Triple Panel cards


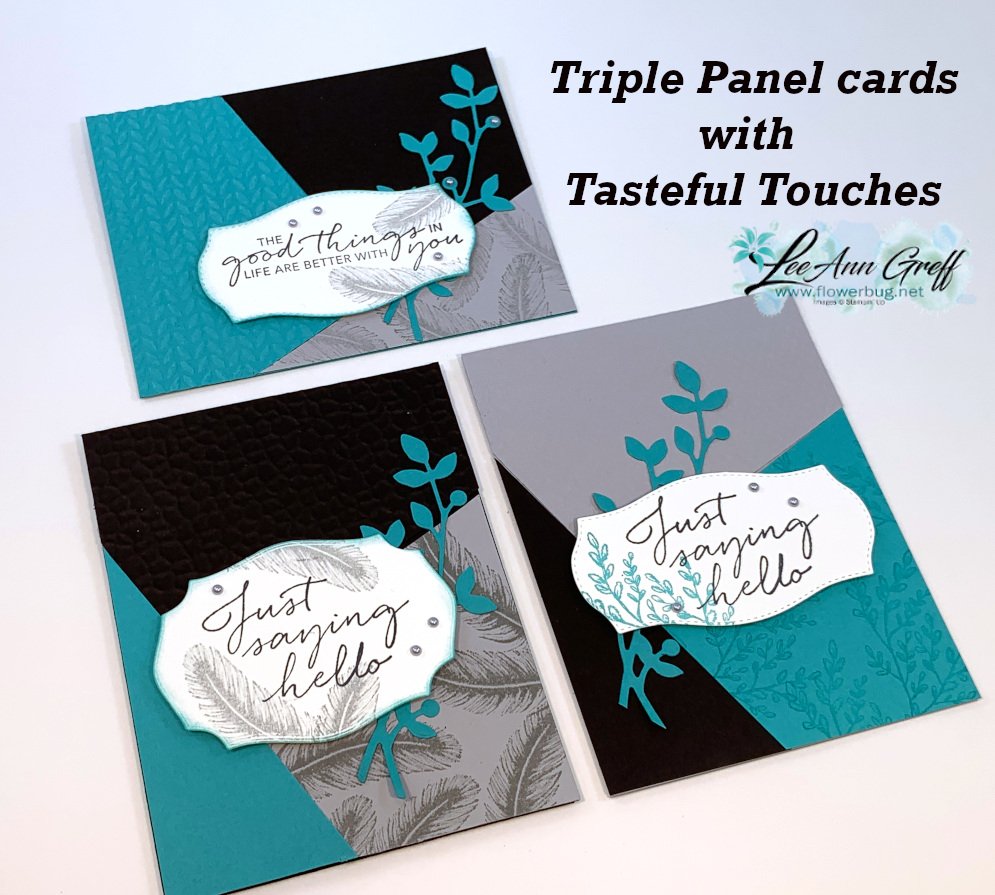
I made these pretty cards on last week's Facebook Live 'Stamp with Me' Monday night. *See video below

The 2nd & 4th Monday's you can stamp with me Live on Facebook here.  The next one is Monday, August 10th. I post the measurements & supplies ahead of time so you can prepare.  Then afterwards you can share your cards too! 

I chose to use a Triple Panel technique; at least that's what I'm calling it.  I saw a sketch like it and created my own version here.  You start out with 3 pieces of card stock or designer paper and cut them all the same way.  

I used Bumblebee, Night of Navy and Smoky Slate for the cards above along with the Tasteful Touches bundle.  That pretty leaf die-cut is from the Birds & More dies set. 
Measurements:
Three pieces of card stock or DSP measuring 4 1/4" X 5 1/2".
Cute one full 5 1/2" X 8 1/2" card base of each color you use.
 
Cutting directions:
1st cut: Cut the first small triangle off of each piece. (On the bottom right card it's the Navy piece) Make a mark 1 1/2" from the bottom left corner and 2" from the bottom right corner. Cut this triangle off of all three pieces.
2nd cut: Make a mark from the upper left corner across at 1 3/4". Make a mark 2" from the lower left angled edge. Cut.
The 3rd cut isn't necessary as you'll use the angled piece left from the first two cuts.
Now you have three different colored pieces for each card. Mix & match one color per card!

On the cards above the colors are Bermuda Bay, Black and Smoky Slate and the same Tasteful Touches bundle and leaf die from above. 


~~~

Bonus Days are here!

 
Redeem your $5 coupons now!  Don't forget!   

~~~

Current Host code is QW7SUYVX

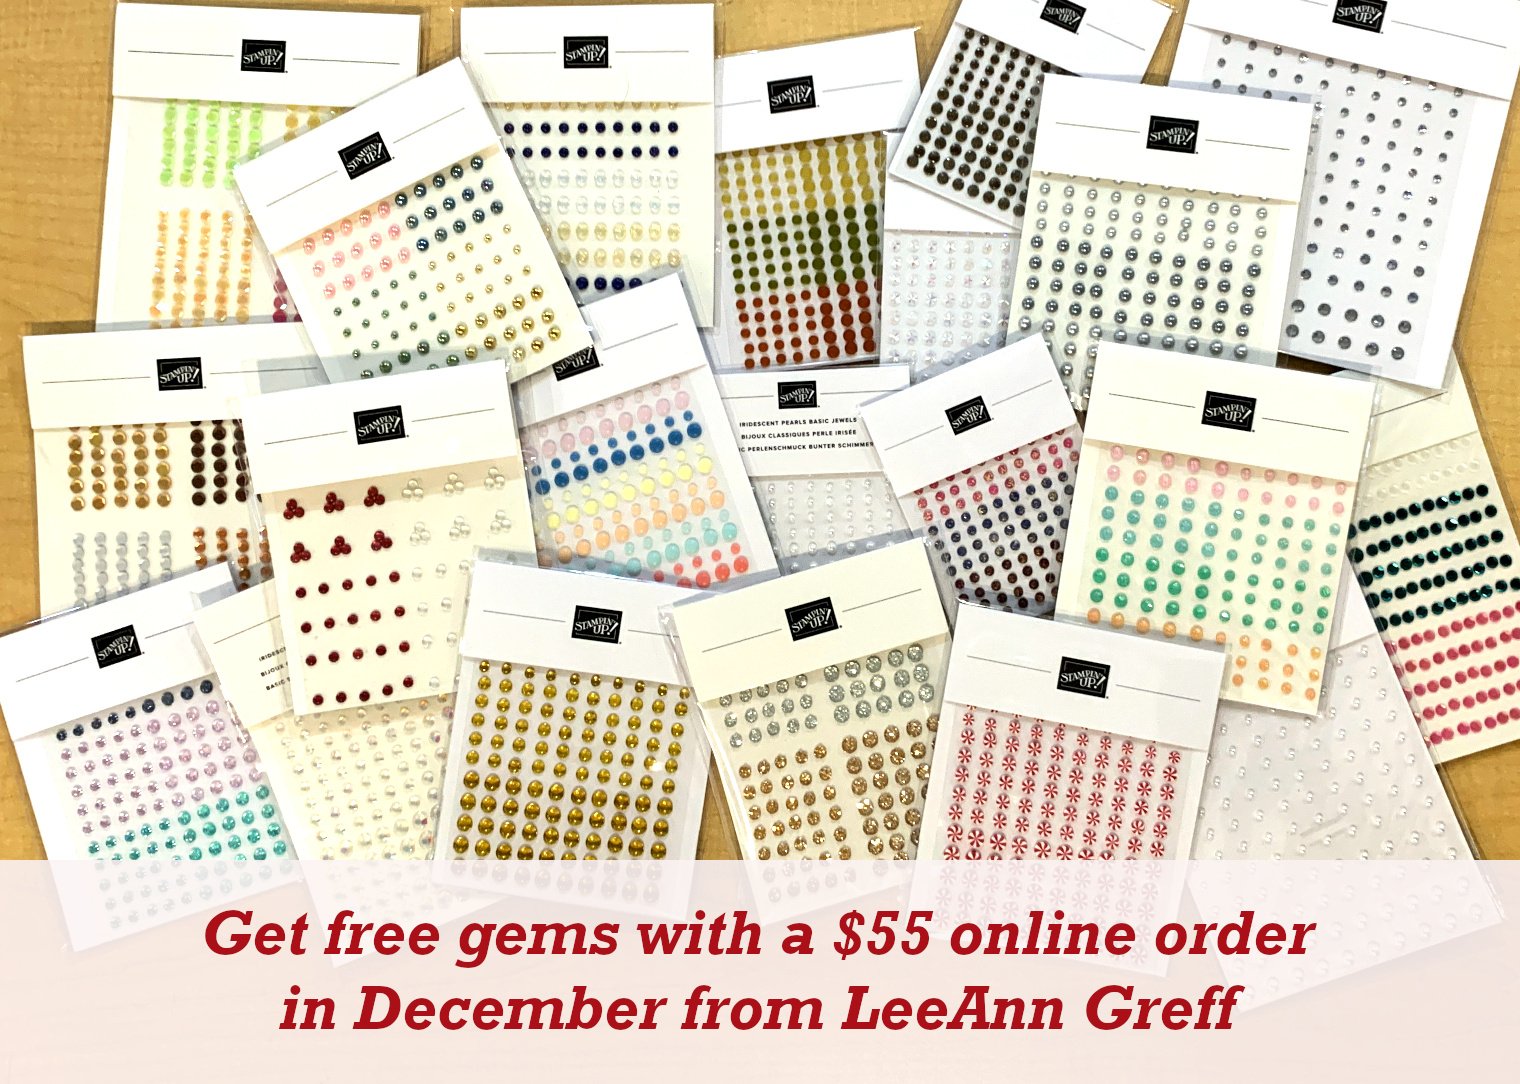
Get a free package of new Iridescent Pearls in August with an online order over $55. 

Order online here

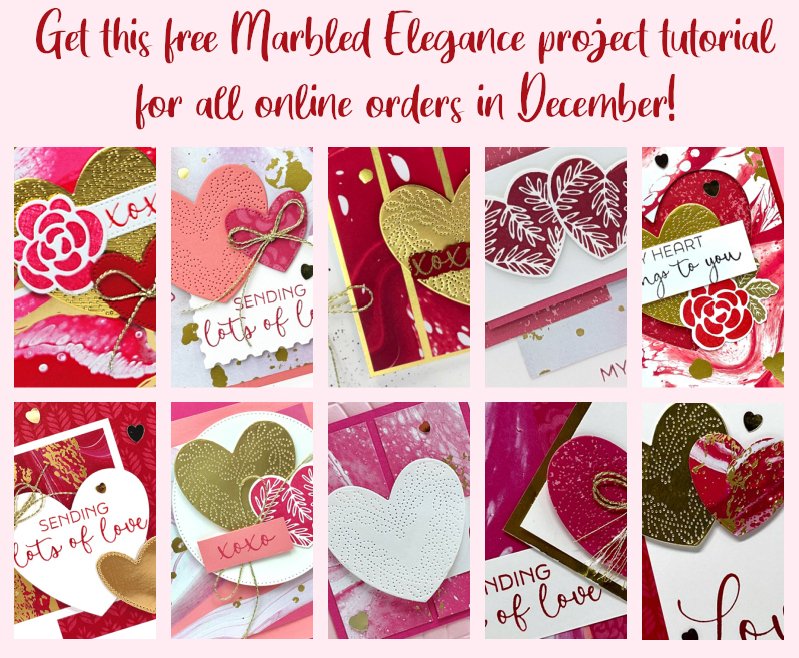
 Get my Flowers for Every Season pdf tutorial free with any online order in August
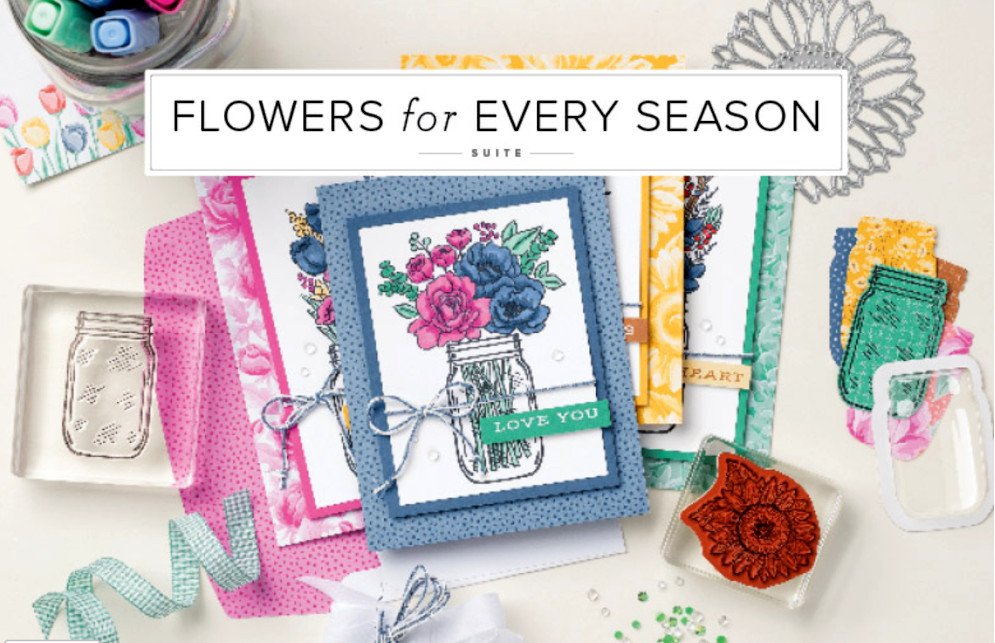

It includes directions, photos and measurements for 12 cards!

All Posts

  • Quick & Easy Shaker card with free project sheet & video


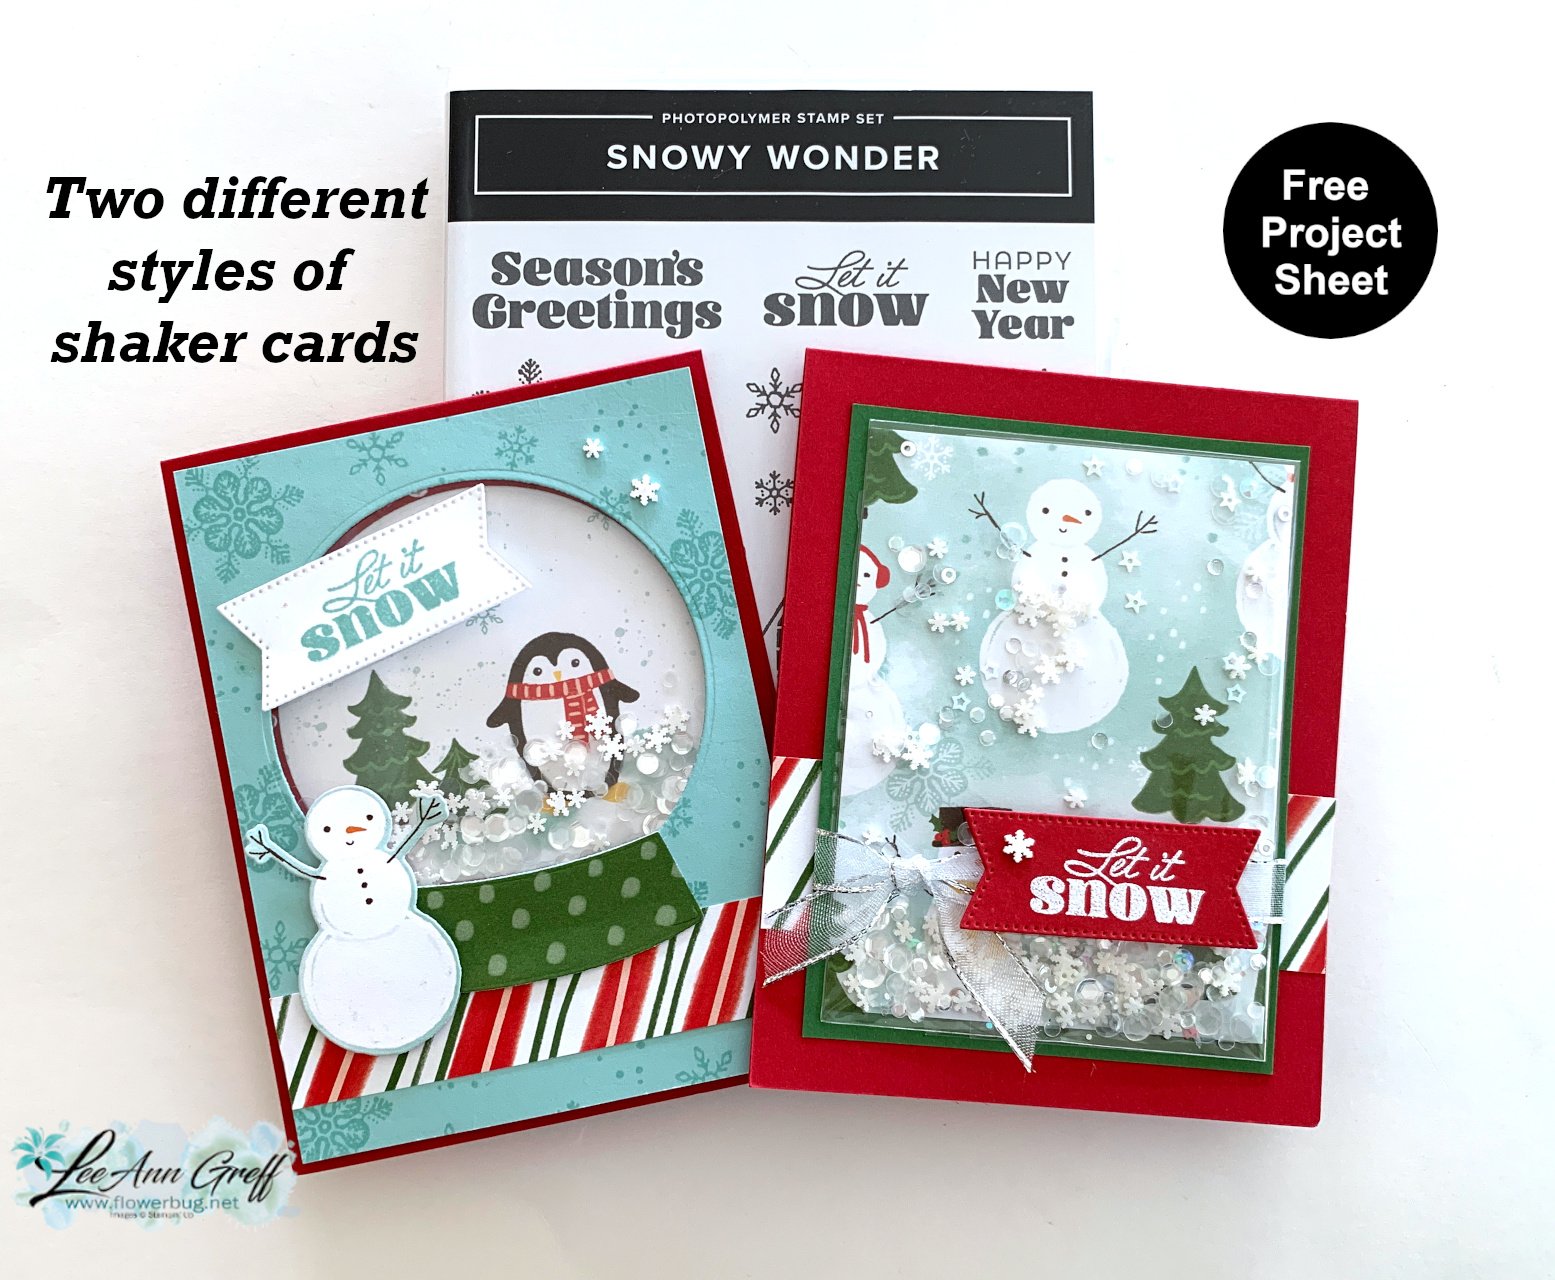
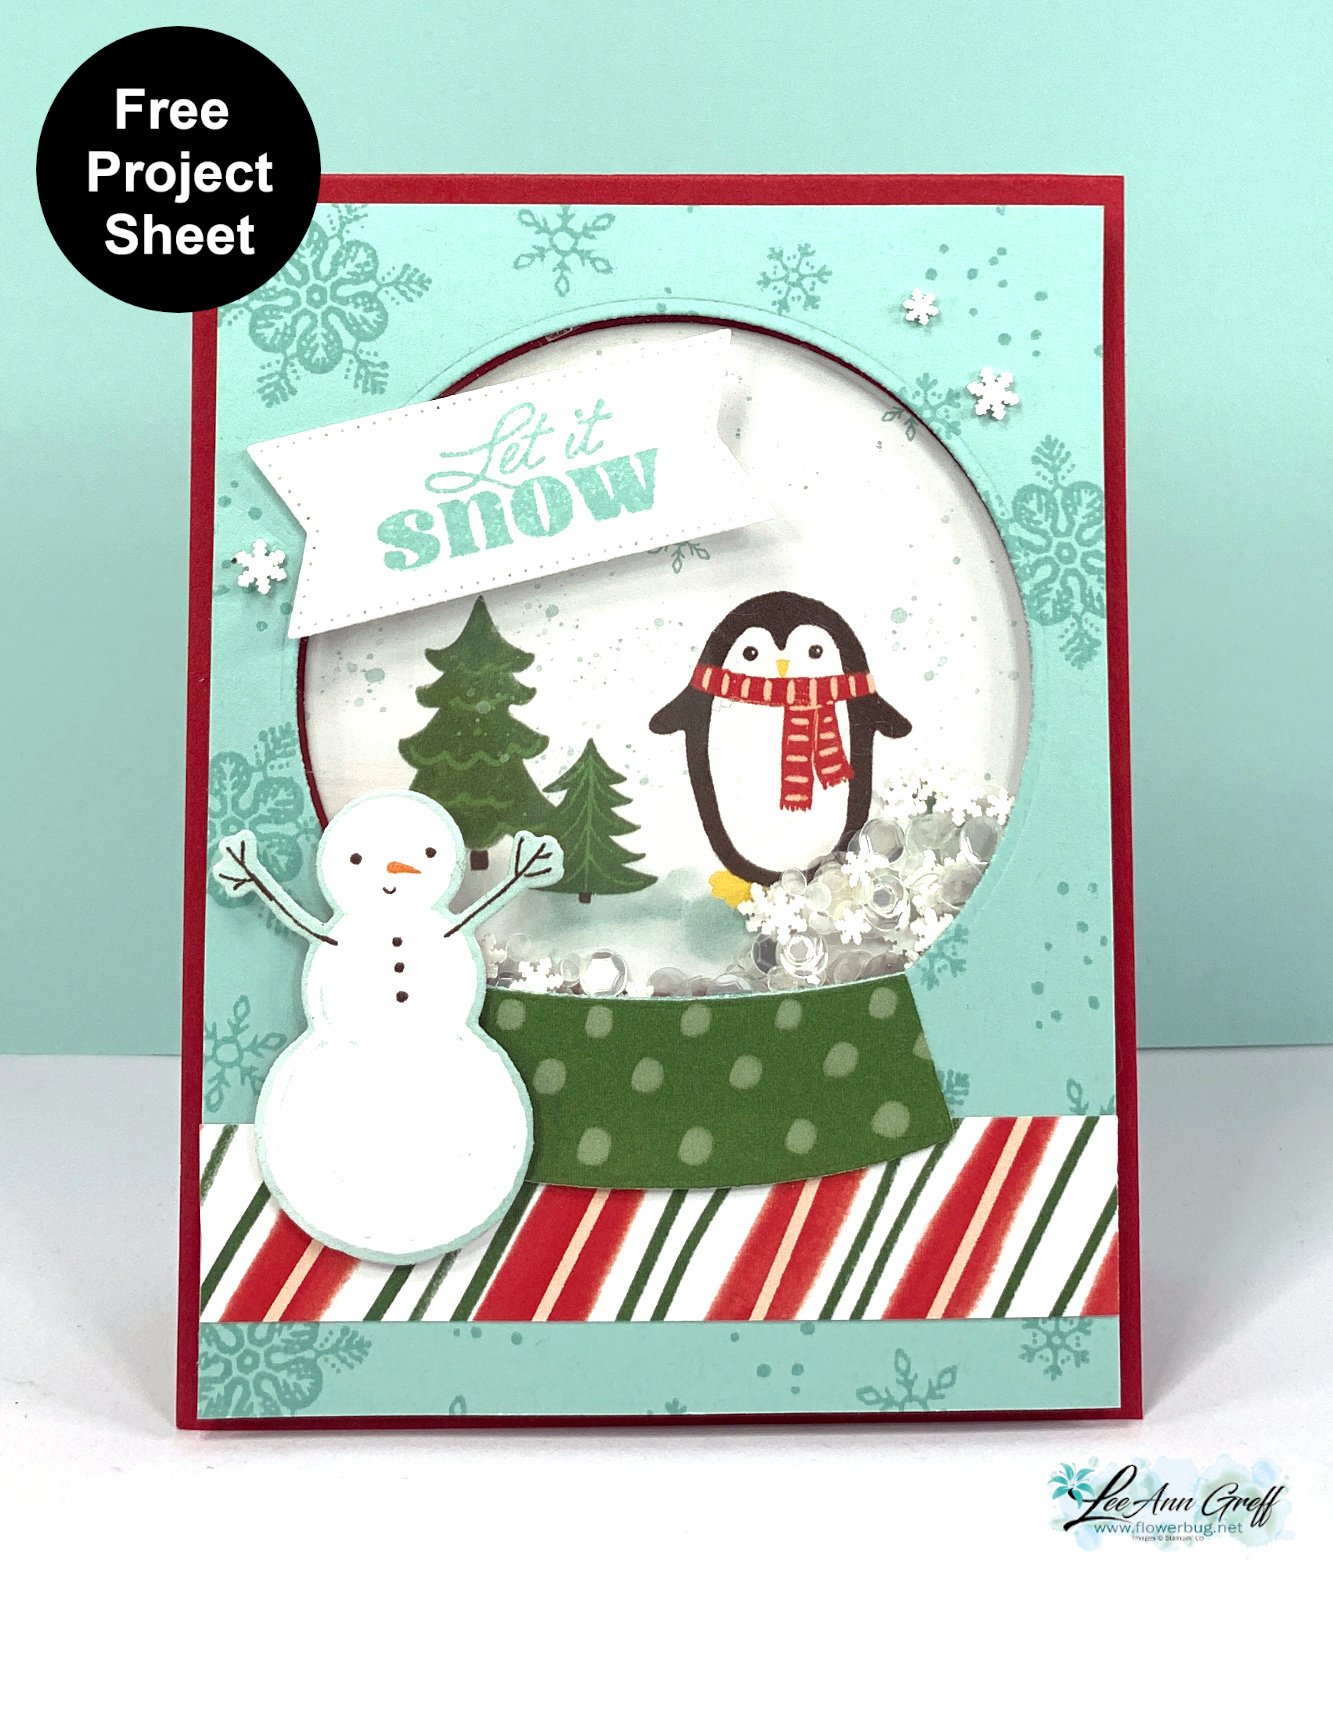
    On last week's video I created two types of shaker cards. Today's project is the easy version. It uses one of our A2 size clear envelopes to hold the shaker pieces.

    I used the Snowy Scenes designer series paper seen here.  It fits perfectly into one of our clear envelopes seen here. After I add the loose shaker pieces on top of the DSP I fold the envelope over and seal it in the back before adding it to a cardstock layer. It's so easy!

    My colors are Real Red with Garden Green.  I heat embossed the greeting from the Snowy Wonder stamp set. The ribbon is our sheer silver ribbon from the Annual catalog. The shaker pieces include the loose White snowflakes in the Holiday catalog along with two other types of retired loose sequins.  

    Below is a photo of both shaker cards I shared in the video below.  

    Here's the free project sheet; click on the following link to download or print it. Download Easy Snowy Scenes Shaker card

    Click on the video below to see how it's made.  I also share a second type of shaker card that's even easier!  I hope you watch and follow me on both YouTube and my Facebook page. 

    ~~~

    December Specials:

    *current host code link:  

     M7S96HPT

    3 new designer papers!

    ~~~

    Available December 3rd; while supplies last!

    ~~~

    ~~~

    Leave a Reply

    Your email address will not be published. Required fields are marked *

  • Multiple New December Promotions start today!!


    Today I'm sharing the new December promotions.

    First is three new designer papers.  They're all available starting today! Click here to see them. 

    They were inspired by previous designer papers shown in the photo above.

    On the above left is the Shakes & Hues 6 X 6" DSP. The colors include Fresh Freesia, Misty Moonlight Petal Pink and Pool Party.

    In the center is Serene Love 12 X 12" DSP.  the colors include hues of green & blue in Lost Lagoon, Night of Navy and Old Olive

    On the right is Refreshed Beauty 12 X 12" DSP. The colors include Daffodil Delight, Flirty Flamingo, Granny Apple Green, Lemon Lime Twist and Peach Pie. 

    ~~~

    Next is our Last Chance Products list. These items consist of retired products and clearance rack items. There are over 250 items and many are discounted!  They're available while supplies last! This list will be updated every other month on the even months of February, April, June etc.  Click here to see them. 

    ~~~

    We have two new kits this month too.  A pretty Perpetual Calendar and a sweet set of treat boxes; both include stamps & ink.

    See the Perpetual Beauty Calendar here. 

    See the Cherry Blossom Treat boxes kit here

    ~~~

    LeeAnn's December specials:

    *current host code link:  

     M7S96HPT

    Leave a Reply

    Your email address will not be published. Required fields are marked *

  • Holiday Shaker card with video tutorial & free project sheet!


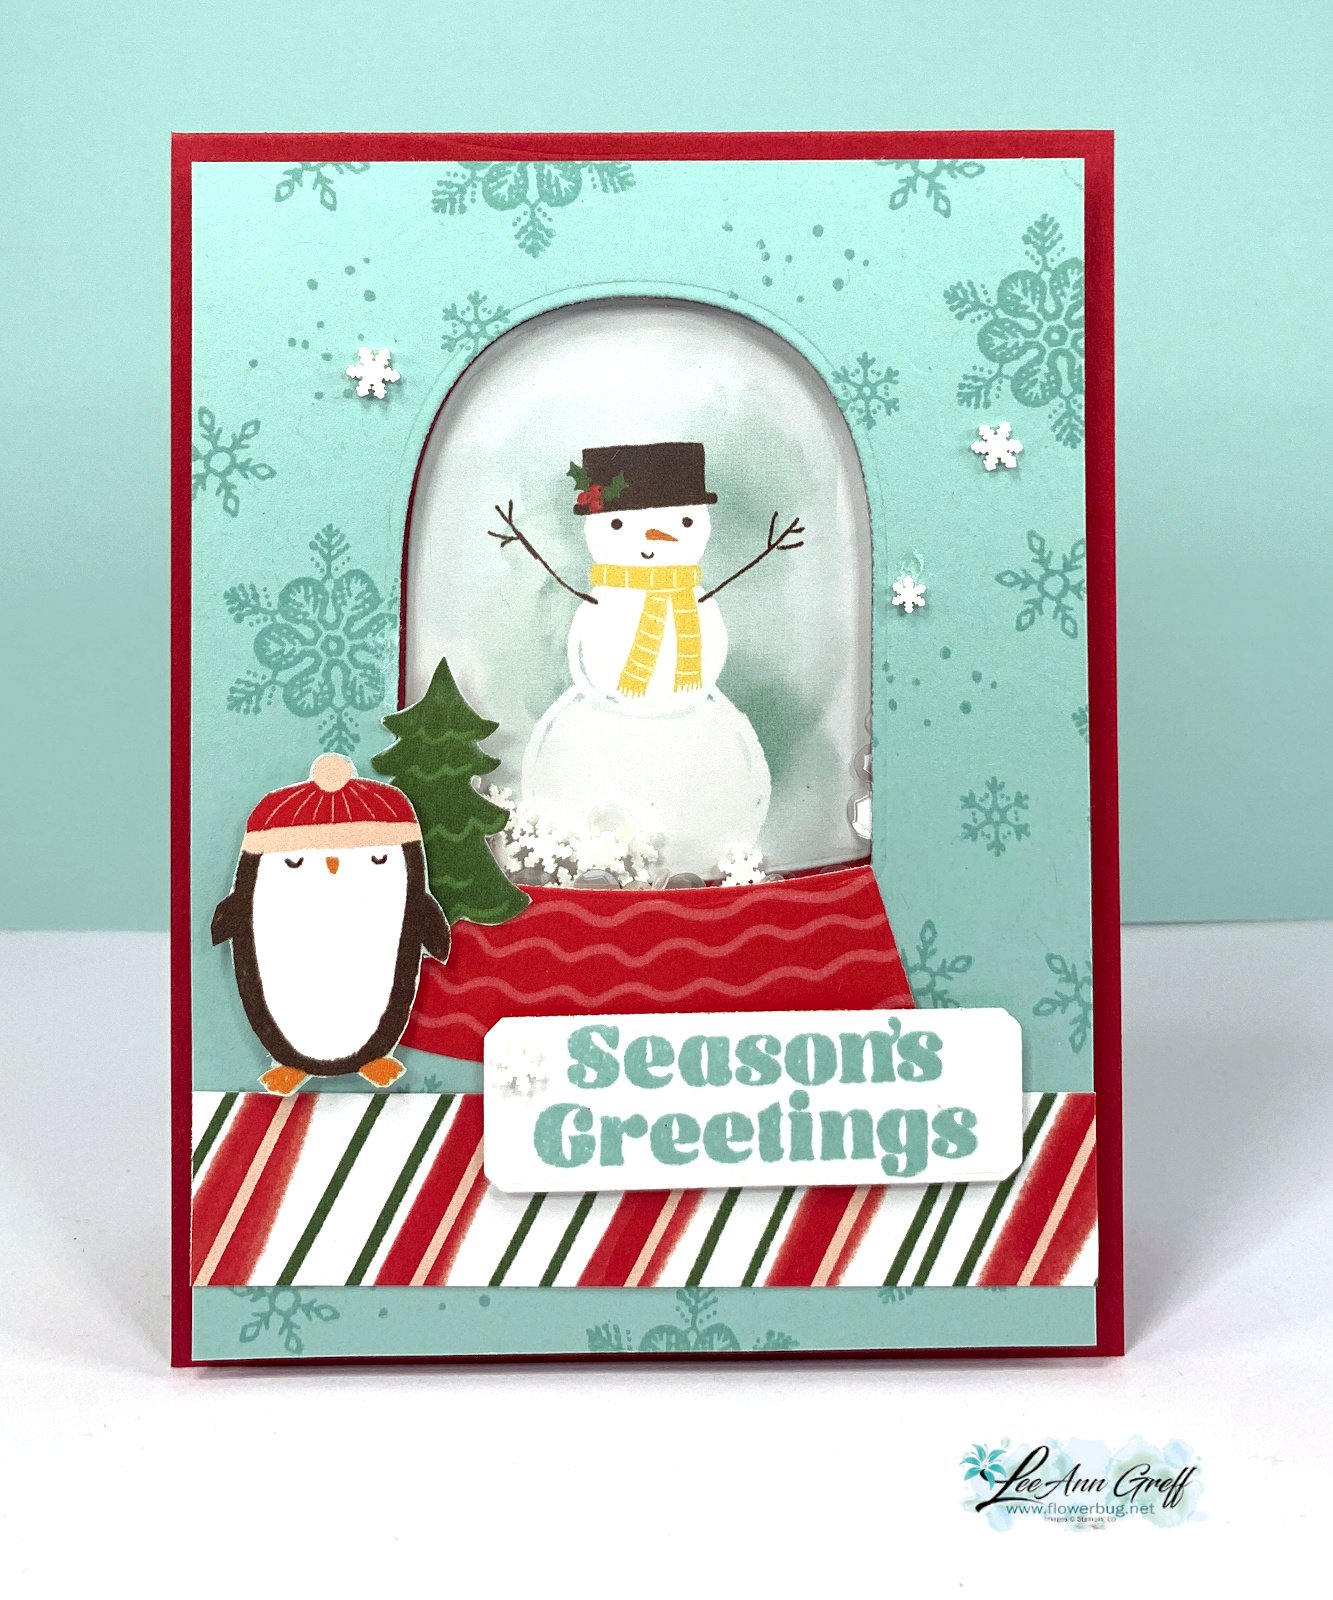
    I shared these super fun shaker cards on last week's video. They were one of our November card club projects. 

    The colors include Pool Party, White & Real Red.  The penguin and tree were fussy cut but some of the dies in the Snowy Wonder bundle cut out the printed elements from the Snowy Scenes designer paper. The greeting die are from the Countryside Corners dies. 

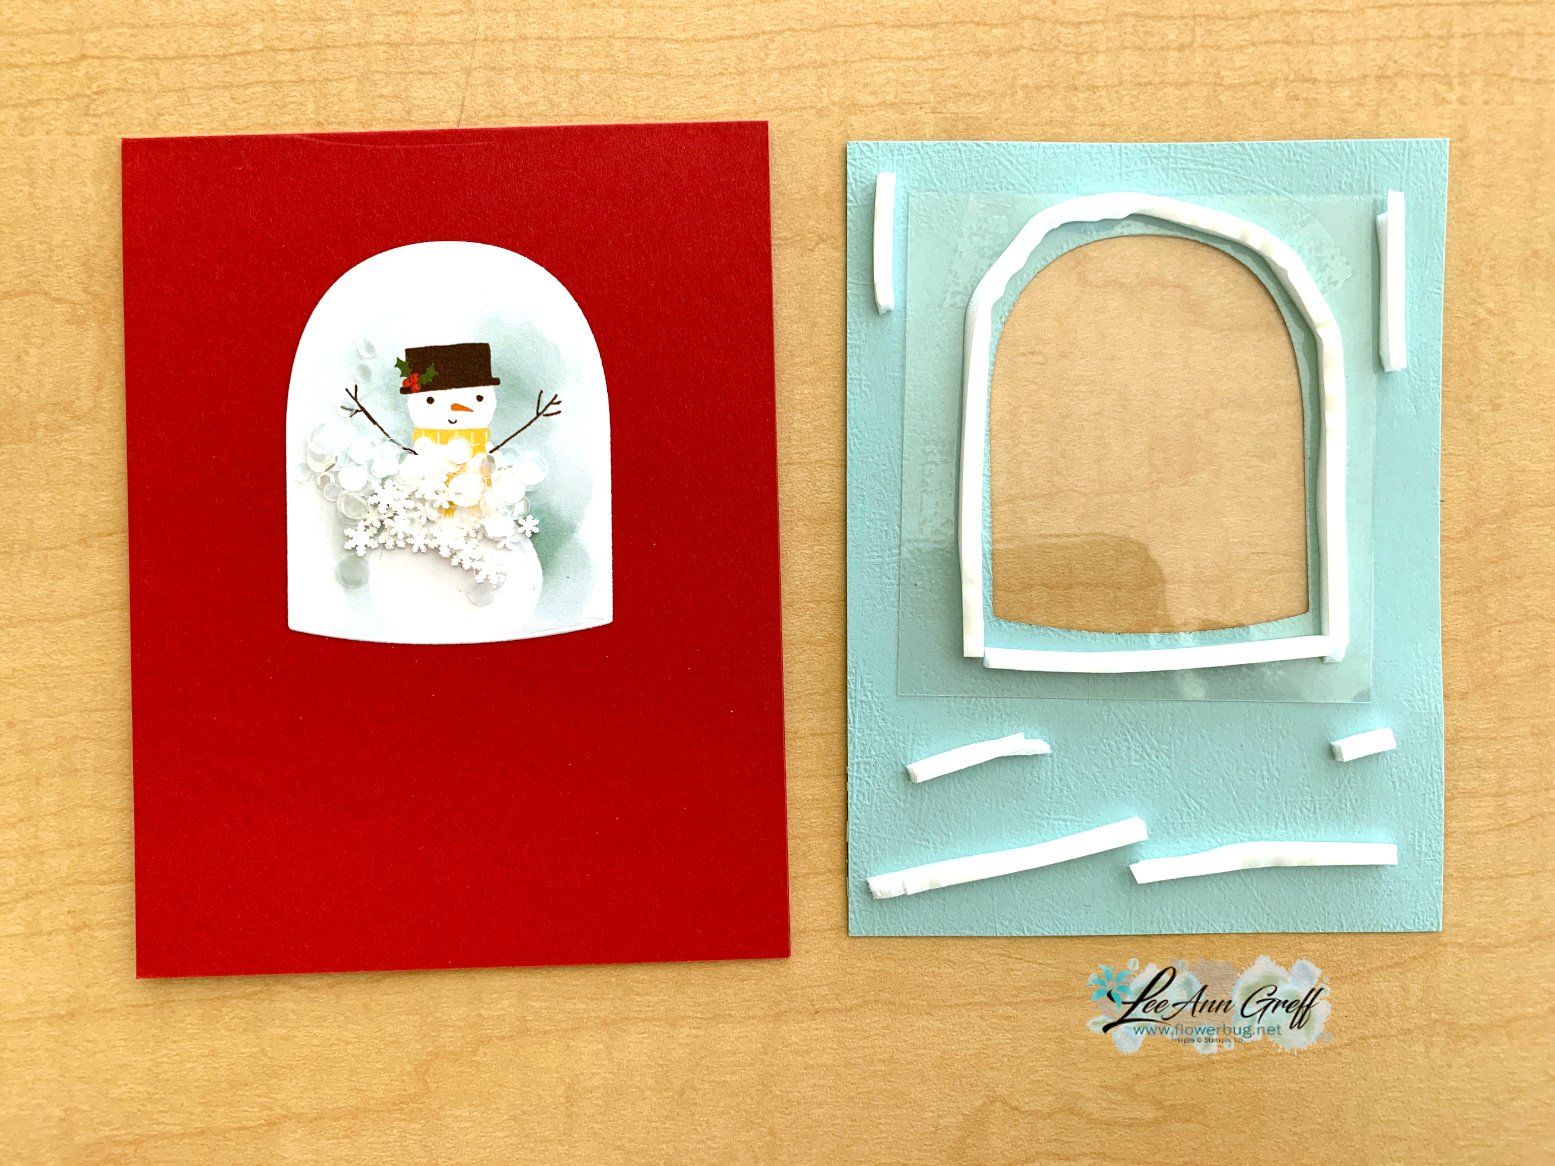
    Below you can see how you assemble the shaker card. We used the Pool Party window layer to position the snowman die-cut on the Red card base. Then we stamped the Pool Party layer with snowflakes. Next lay your shaker elements on that as shown below.

    Add the window sheet to the back of your window, then add our Adhesive Strips close to the opening; do not leave any gaps! Add a few supporting adhesive strips as well.  Then remove the paper backing from the strips and turn it over and add over the snowman layer matching the window with the snowman die-cut. Press down well to get a good seal.  Shake!

    My shaker bits include retired loose sequins and the White Loose Snowflakes available here.  We added a few to the front of the card as well. 

    Get the free project sheet here. Click on the following link to print or download. Download Snowy Scenes November 2024

    The stamped elements are all from the Snowy Wonder stamp set. The snow globe dies are wonderful and match the two different designer paper snow globes wonderfully!  

    Click on the video below to see how it's made.  I also share a second type of shaker card that's even easier!  I hope you watch and follow me on both YouTube and my Facebook page. 

    ~~~

    December Specials:

    3 new designer papers!

    ~~~

    Available December 3rd; while supplies last!

    ~~~

    *current host code link:  

     M7S96HPT


    Leave a Reply

    Your email address will not be published. Required fields are marked *


Notice: LeeAnn Greff, Independent Stampin’ Up! Demonstrator, Manager. The content of this website is my sole responsibility as an independent Stampin’ Up! demonstrator and the use of, and content of, the classes, services, or products offered on this website is not endorsed by Stampin’ Up! Copyright 2025