/


Latest Post

3 fun fold cards celebrating Strawberry Slush!


I have THREE neat fun fold cards from our June Team card swap.  My Flowerbug's did an incredible job on their fun fold cards!  

First up is Sharon's card featuring the Cheers & Sips bundle seen here. 

The top card base layer is scored to creates a box that pops up & supports the front panel. Super neat! 

She added Fine Tip Glue to her fussy cut drinks for some shine.  To do this you need to let it set awhile to dry. I'd recommend two layers.  If you don't want it to get a bit curvy from the liquid in the glue, add a layer of card stock under it.  

Her inside greeting is from the Unbounded Love set.  The gems are from the Holographic Resin dots.

Measurements:

  • Strawberry Slush card base 8 1/4" X 5 1/2" scored at 4 1/4", 5 3/4", 6 1/4", 7 3/4"
  • front CS panel 2 3/4" X 4"
  • DSP 2 pieces at 1 3/8" X 5 3/8", pieces under the greeting are 2 3/4" X 1 1/4", 2 3/4" X 1/4" and inside is 2 3/4" X 1 1/4" 
  • inside White panel 2 3/4" X 4"

~~~

Next is a neat Latch card made by Kathy who used the Sweet Jar bundle seen here. 

Her colors include Cloud Cover and Strawberry Slush. The Designer Paper is from the Florals in Bloom DSP seen here. 

The front flap opens up to reveal another panel that she stamped with coffee beans and the die-cut from the Paper Pumpkin add on dies (now retired).

And the front panel open up too!  

Measurements:

  • card base 7 1/4" X 5 1/2" scored at 4 1/4"
  • DSP 2 3/4" X 5 1/4"
  • White panels X 3 – 2 3/4" square; inside 4" X 5 1/4"
  • Strawberry Slush square 3"
  • 2 1/2" X 1" scored at 1 1/4" connecting piece

~~~

And now for the final card today. This one was made by Paula and was cased from Heidi Colins.  It's called a Buckle card:
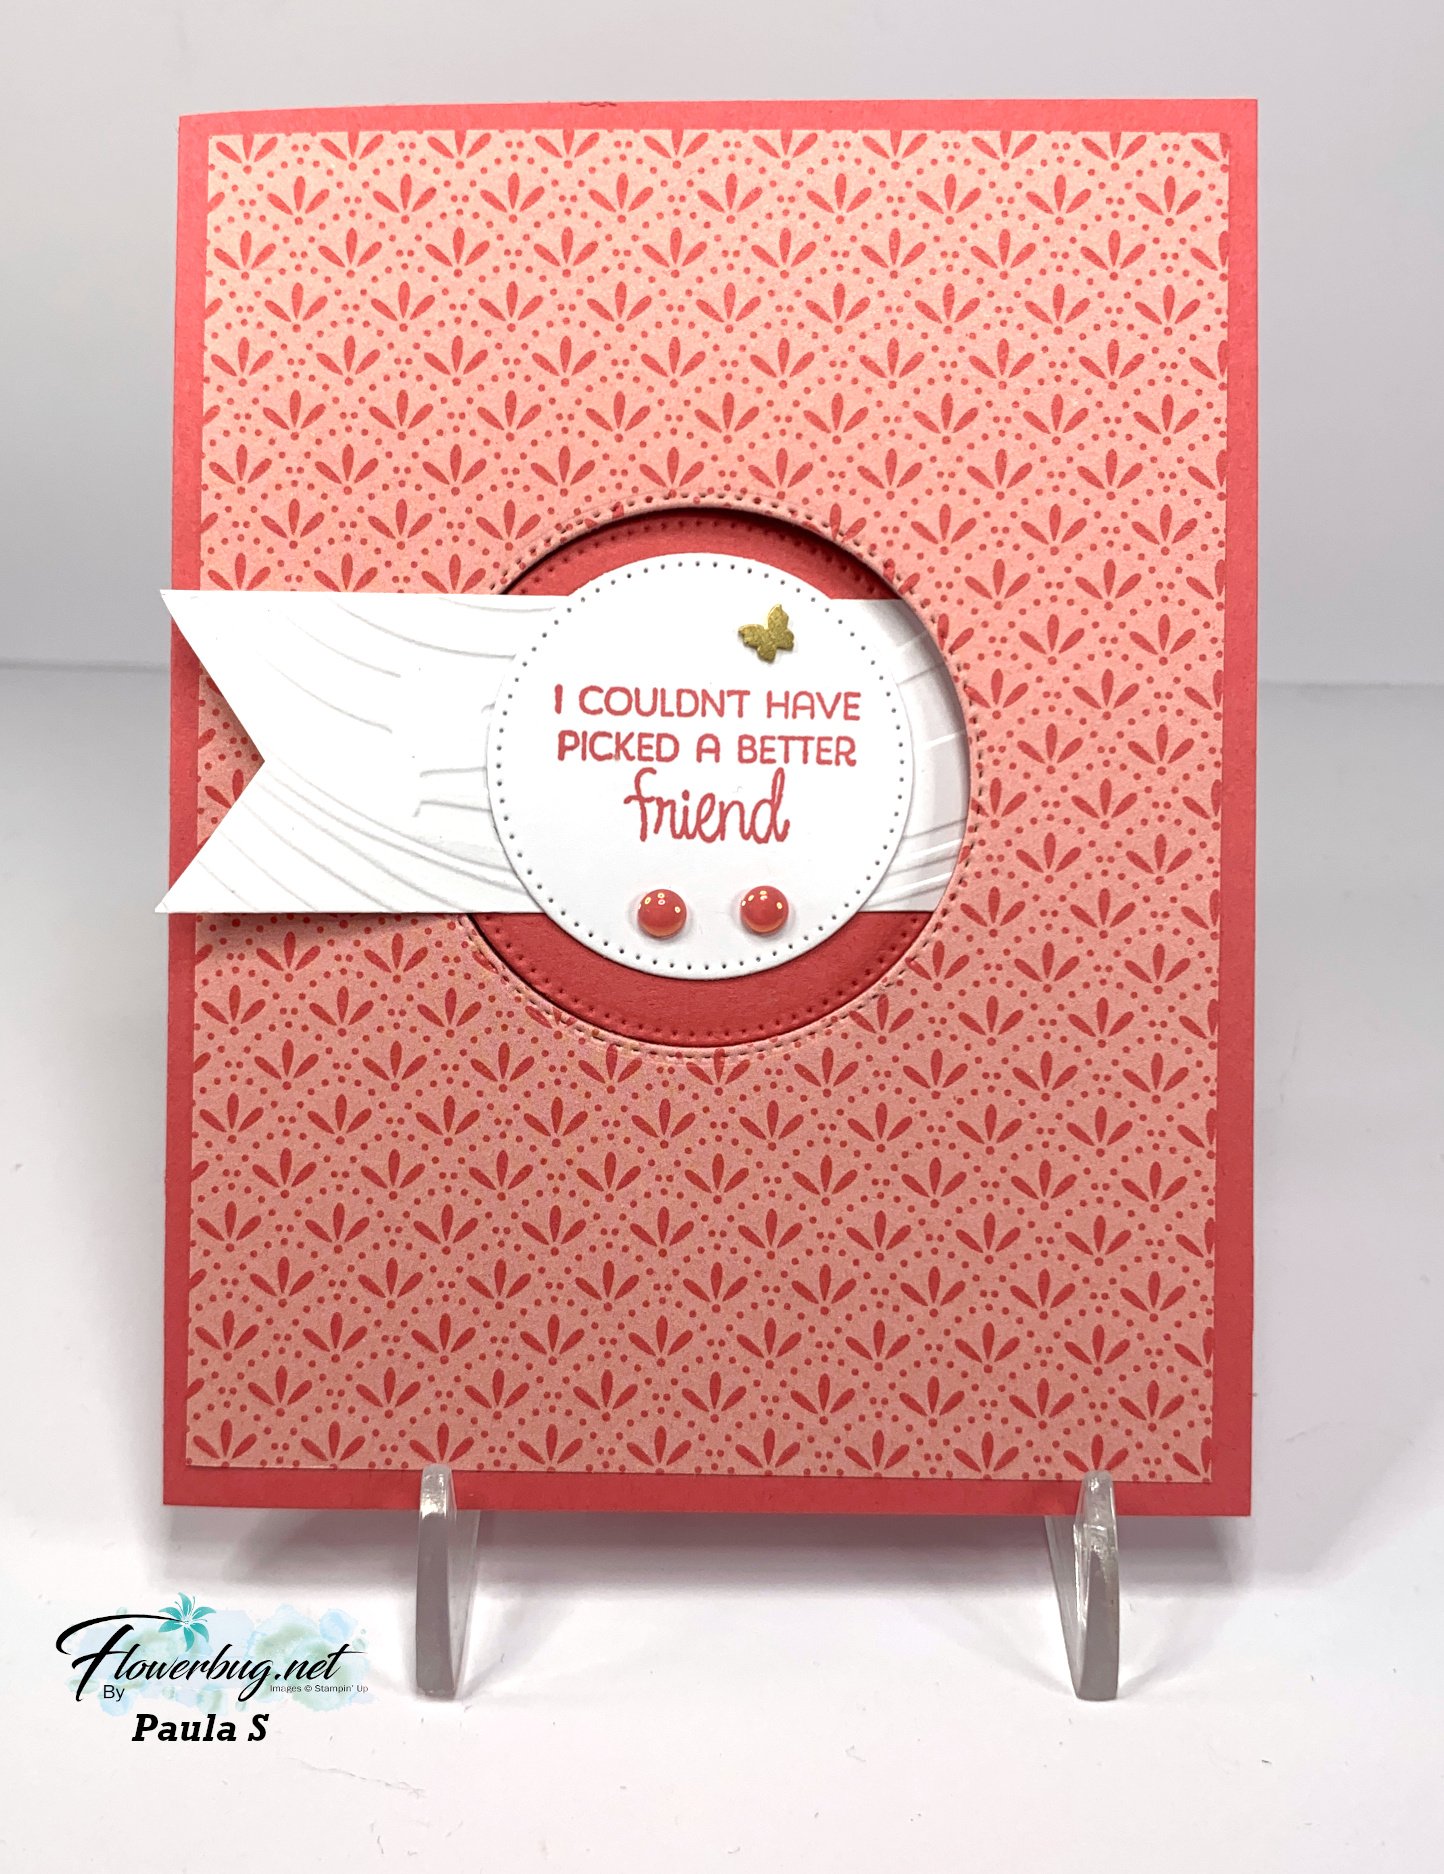
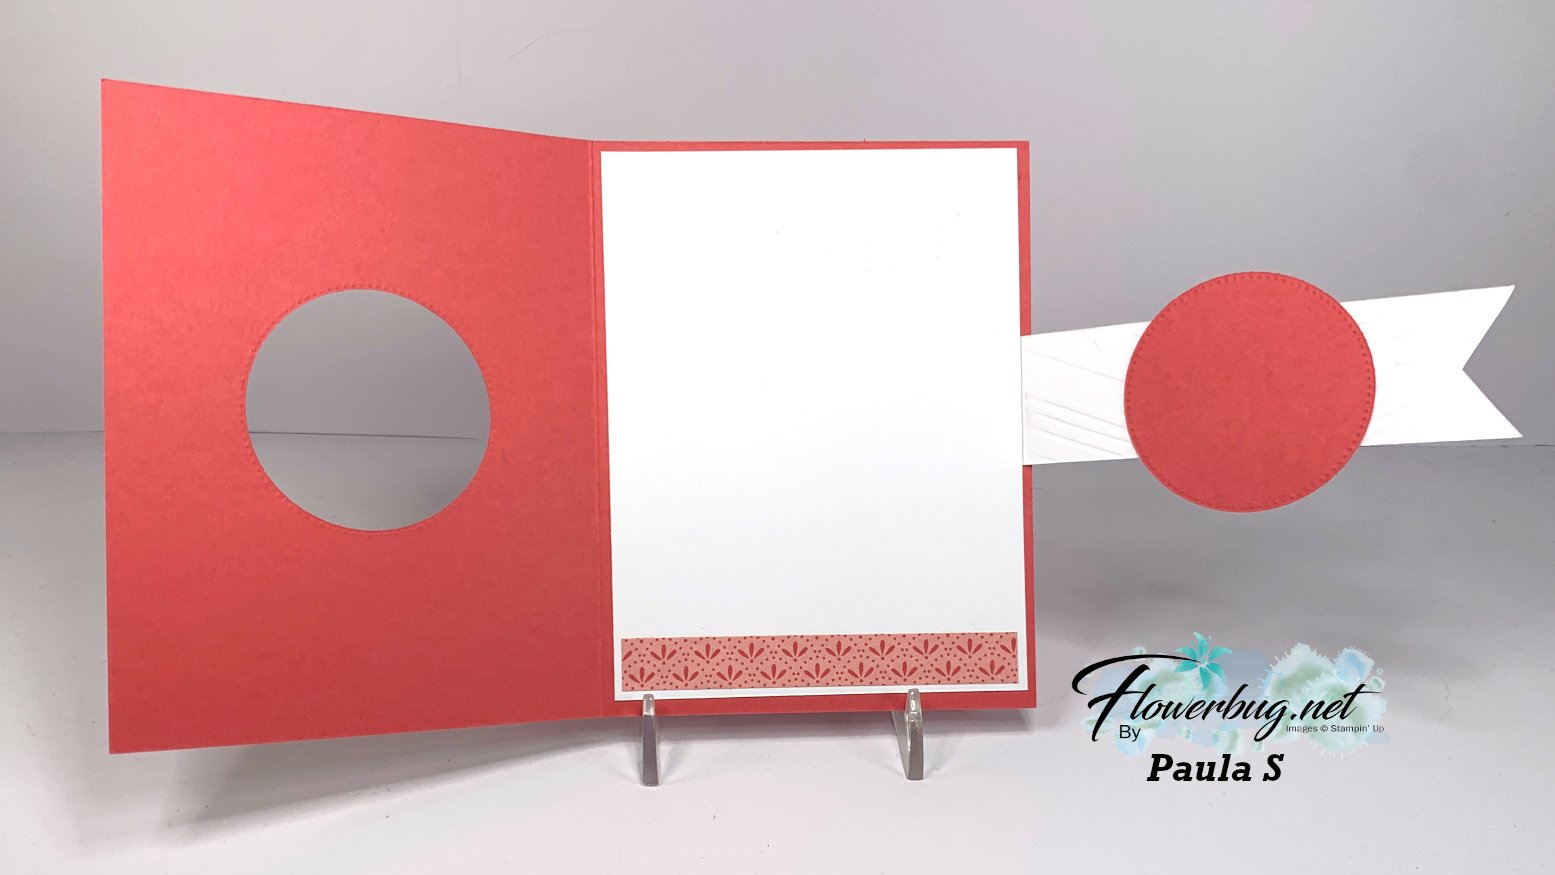
She used the Floral Impressions DSP on the front and cut a window in the front panels so the buckle could slip in.  

Products used include the Stylish Shapes dies, Swirly EF, In Color flat pearls, and Brass Butterflies.

Measurements:

  • Card base 8 1/2" X 5 1/2" scored at 4 1/4"
  • DSP 4" X 5 1/4", inside 3 3/4" X 1/2" 
  • buckle 4 1/2" X 1 1/4" scored at 1/2"
  • largest circle is 2 1/8" but Paula recommends slightly larger

Here's the final opening: 
~~~

June Specials:

The Suite Sale is on! 

Buy one get 50% the second item – on all available suite products. 

Shop here or see products below: 

~~~

Last Chance List has been updated!  see it all here. Don't miss out on the deals!

~~~

Earn free card kits in June with online orders! Get 4 kits with a $50 order and orders over $80 receive all 6 cards. All you need are greetings, gems and adhesives to assemble. 

Order here 

~~~

Get my Celebratory Sips PDF tutorial free with any online order in June!

All Posts

  • Stitched Window cards; FB Live Replay


    This week's Stamp with Me Live video featured a window technique using dies.  The 2nd & 4th Monday of the month I offer a 'Stamp with Me' Live on my FB page here.  Be sure to follow my page so you get notified! 

    My original card idea came from the Holiday catalog and used the Love of Leaves dies.  But I switched it up to use the Stitched Stars dies with the Playful Patterns designer series paper for these fun cards: 

    I used the smallest three star dies to create 'windows' in my card stock.  Then I popped them up over the Playful Patterns designer paper. Add a greeting and another card stock strip and you're done!  So quick & easy! 

    Watch the video below to catch all of the tips and see the original cards too.  

    Measurements:
    • Card stock for window 4 1/4" X 3 1/4"
    • Designer Paper 4 1/2" X 3 1/2"
    • Greeting strips 3/4"-1" X 4" wide

    You can see these items in my store when you click on the links:

    Stitched Stars dies 

    Happiest Birthday stamp set

    Playful Patterns DSP

    Love of Leaves 

    ~~~

    Bonus Days are here!

     
    Redeem your $5 coupons now!  

    ~~~

    Current Host code is QW7SUYVX

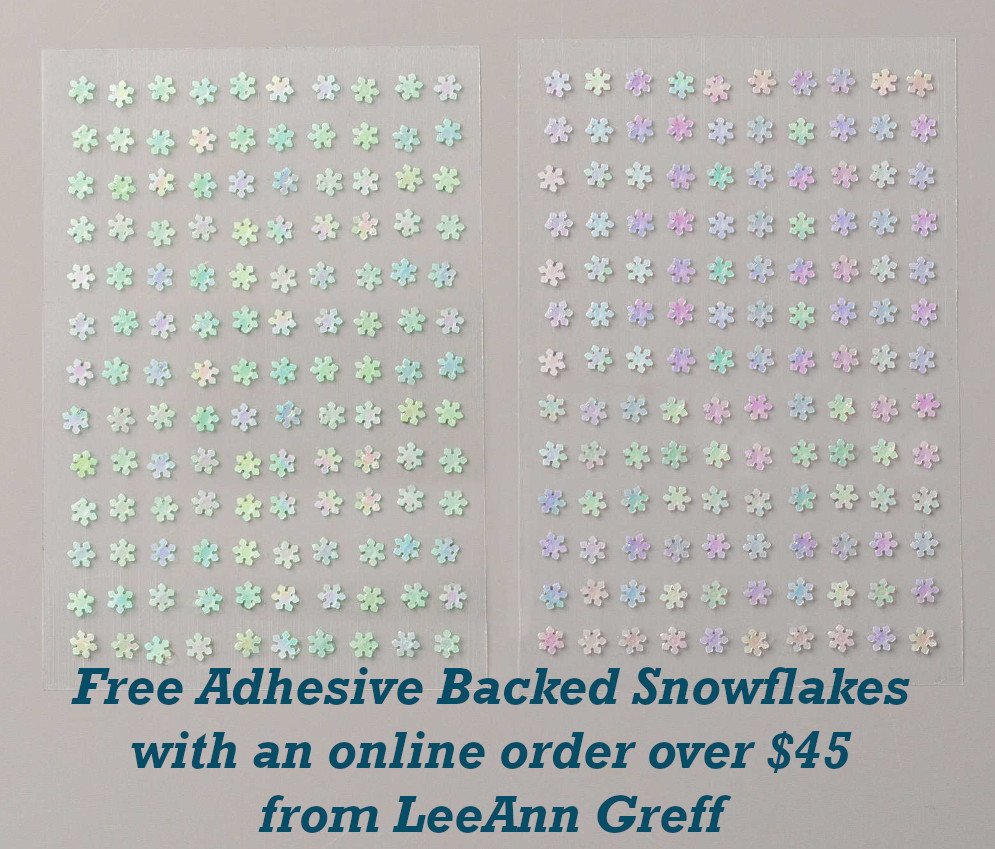
    Get a free package of new Iridescent Pearls in August with an online order over $55. 

    Order online here

     Get my Flowers for Every Season pdf tutorial free with all online order in August!


    It includes directions, photos and measurements for 12 cards!

    Leave a Reply

    Your email address will not be published. Required fields are marked *

  • Love of Leaves; make one cut and get two cards!


    Last week I shared a card featuring the Love of Leaves bundle.  *You can see it below.  Now I'm sharing the other card I made with the inside of the die-cut.  Cut once and make two cards using these stitched leaf dies! 

    The Love of Leaves bundle is going to be a big favorite this fall!  See it here. 

    Details

    • The die-cut is Soft Suede and the card base is Cajun Craze. 
    • The Pretty Peacock designer paper is from the new Magic in the Night Halloween Designer Series paper seen here!  As you can see, it's not just for Halloween!  
    • I also used the new Celebration Label dies seen here; I love the stitched shape of these!  
    • The stamped leaves image is created with the Life is Beautiful stamp set.

    Below you'll see the other card I made with the outside or window when I cut the leaf above.

    Get the details on this card are here. 

    ~~~

    Bonus Days are here!

     
    Redeem your $5 coupons now!  

    ~~~

    Current Host code is QW7SUYVX

    Get a free package of new Iridescent Pearls in August with an online order over $55. 

    Order online here

     Get my Flowers for Every Season pdf tutorial free with all online order in August!


    It includes directions, photos and measurements for 12 cards!

    Leave a Reply

    Your email address will not be published. Required fields are marked *

  • Life is Beautiful with a beautiful masked & sponged window technique!


    I like to join many online card swaps in groups with friends from all over the country; especially when new catalogs come out. 

    Here is a swap I made with my Life is Beautiful stamp set; the set I helped create as a Million Dollar Achiever with Stampin' Up!  I achieved this over a year ago but the stamp set just came out this month.  You can order it now here. 

    I chose to use Bermuda Bay, Early Espresso and Very Vanilla card stock. The inks are Bermuda Bay, Early Espresso and Calypso Coral.  I absolutely LOVE creating masked windows! Sponging is a learned art and I have some great tips for you.  I shared this card on Facebook Live Tuesday, August 11th and uploaded the video to YouTube below.  

    This card is one I am so pleased with.  It shows off the pretty images included in the set so perfectly. 

    Do you make doubles or more of your favorite cards?  I actually really like making multiples of the same card.  But when you're doing a time consuming technique like this one it can little 'old'!  However, using the Stamparatus when making multiple cards is the ONLY way to go!  It sure makes quick work of making many of the same card.  I don't usually like to show my 'messy desk' pictures but you can see what happens to my desk area when I'm working! It gets smaller and so crowded! Ha!


    Watch the video below for step by step tutorial on making this pretty card.  Plus I share tons of card ideas for this pretty and versatile stamp set! 

    ~~~

    Bonus Days are here!

     
    Redeem your $5 coupons now!  

    ~~~

    Current Host code is QW7SUYVX

    Get a free package of new Iridescent Pearls in August with an online order over $55. 

    Order online here

     Get my Flowers for Every Season pdf tutorial free with all online order in August!


    It includes directions, photos and measurements for 12 cards!

    Leave a Reply

    Your email address will not be published. Required fields are marked *


Notice: LeeAnn Greff, Independent Stampin’ Up! Demonstrator, Manager. The content of this website is my sole responsibility as an independent Stampin’ Up! demonstrator and the use of, and content of, the classes, services, or products offered on this website is not endorsed by Stampin’ Up! Copyright 2025