/


Latest Post

3 fun fold cards celebrating Strawberry Slush!


I have THREE neat fun fold cards from our June Team card swap.  My Flowerbug's did an incredible job on their fun fold cards!  

First up is Sharon's card featuring the Cheers & Sips bundle seen here. 

The top card base layer is scored to creates a box that pops up & supports the front panel. Super neat! 

She added Fine Tip Glue to her fussy cut drinks for some shine.  To do this you need to let it set awhile to dry. I'd recommend two layers.  If you don't want it to get a bit curvy from the liquid in the glue, add a layer of card stock under it.  

Her inside greeting is from the Unbounded Love set.  The gems are from the Holographic Resin dots.

Measurements:

  • Strawberry Slush card base 8 1/4" X 5 1/2" scored at 4 1/4", 5 3/4", 6 1/4", 7 3/4"
  • front CS panel 2 3/4" X 4"
  • DSP 2 pieces at 1 3/8" X 5 3/8", pieces under the greeting are 2 3/4" X 1 1/4", 2 3/4" X 1/4" and inside is 2 3/4" X 1 1/4" 
  • inside White panel 2 3/4" X 4"

~~~

Next is a neat Latch card made by Kathy who used the Sweet Jar bundle seen here. 

Her colors include Cloud Cover and Strawberry Slush. The Designer Paper is from the Florals in Bloom DSP seen here. 

The front flap opens up to reveal another panel that she stamped with coffee beans and the die-cut from the Paper Pumpkin add on dies (now retired).

And the front panel open up too!  

Measurements:

  • card base 7 1/4" X 5 1/2" scored at 4 1/4"
  • DSP 2 3/4" X 5 1/4"
  • White panels X 3 – 2 3/4" square; inside 4" X 5 1/4"
  • Strawberry Slush square 3"
  • 2 1/2" X 1" scored at 1 1/4" connecting piece

~~~

And now for the final card today. This one was made by Paula and was cased from Heidi Colins.  It's called a Buckle card:
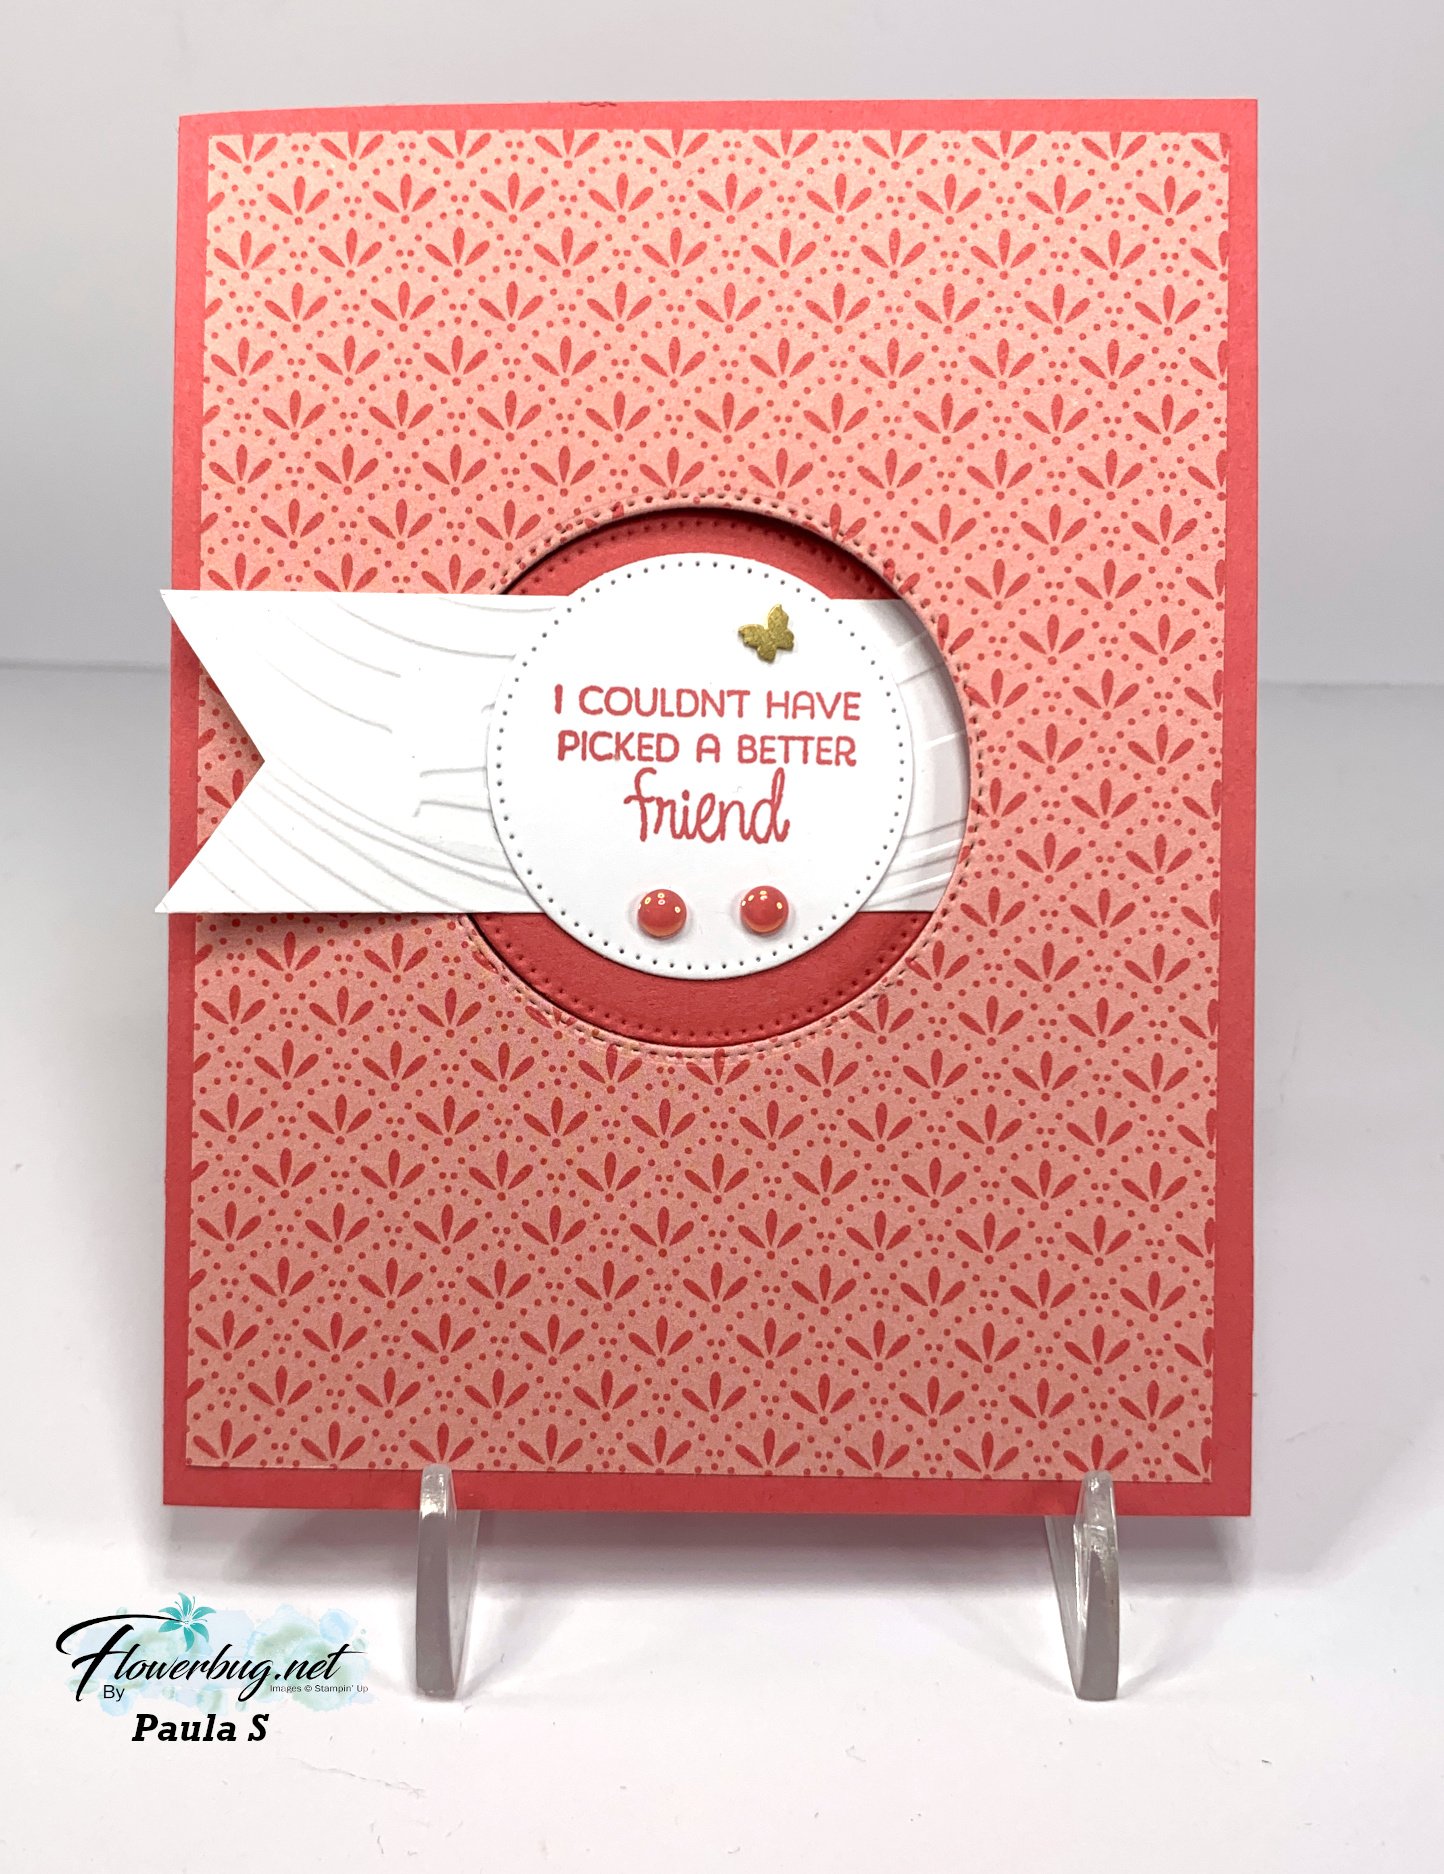
She used the Floral Impressions DSP on the front and cut a window in the front panels so the buckle could slip in.  

Products used include the Stylish Shapes dies, Swirly EF, In Color flat pearls, and Brass Butterflies.

Measurements:

  • Card base 8 1/2" X 5 1/2" scored at 4 1/4"
  • DSP 4" X 5 1/4", inside 3 3/4" X 1/2" 
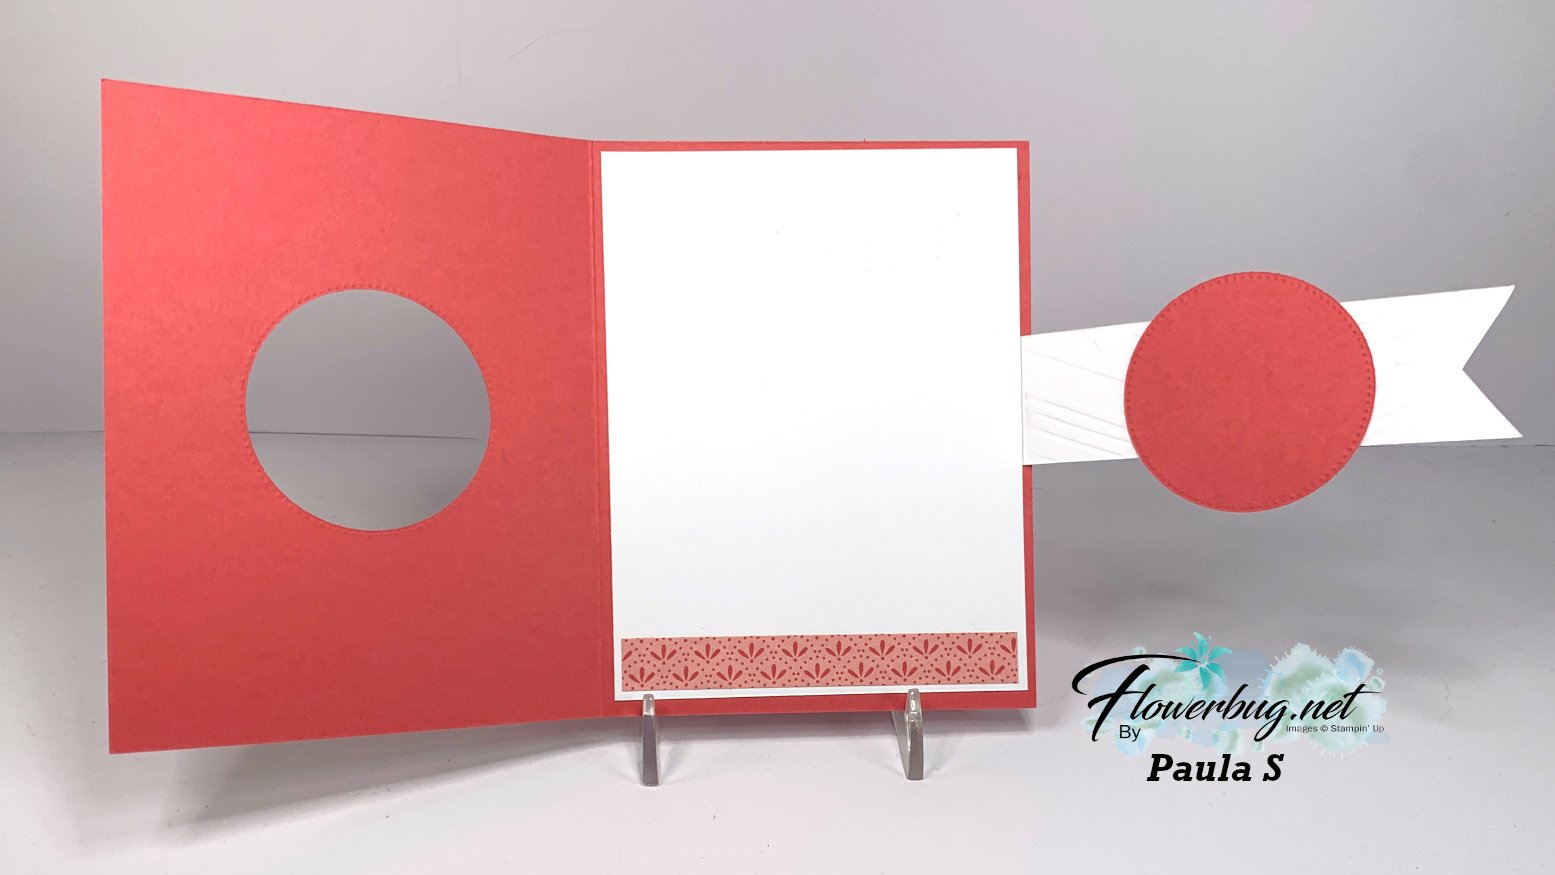
  • buckle 4 1/2" X 1 1/4" scored at 1/2"
  • largest circle is 2 1/8" but Paula recommends slightly larger

Here's the final opening: 
~~~

June Specials:

The Suite Sale is on! 

Buy one get 50% the second item – on all available suite products. 

Shop here or see products below: 

~~~

Last Chance List has been updated!  see it all here. Don't miss out on the deals!

~~~

Earn free card kits in June with online orders! Get 4 kits with a $50 order and orders over $80 receive all 6 cards. All you need are greetings, gems and adhesives to assemble. 

Order here 

~~~

Get my Celebratory Sips PDF tutorial free with any online order in June!

All Posts

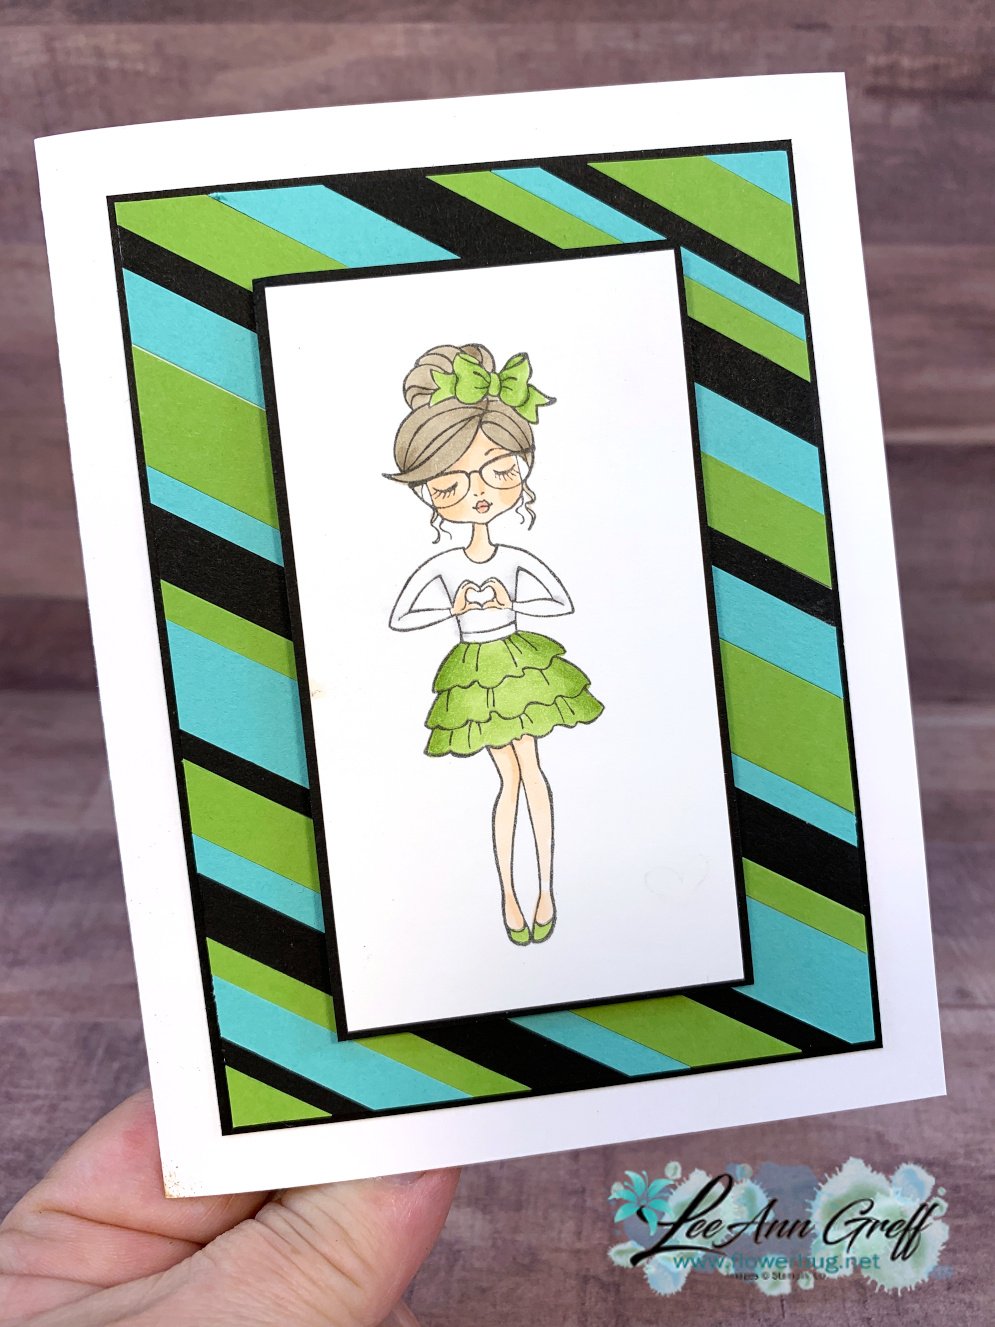
  • Hey Girlfriend with a paper strips background!


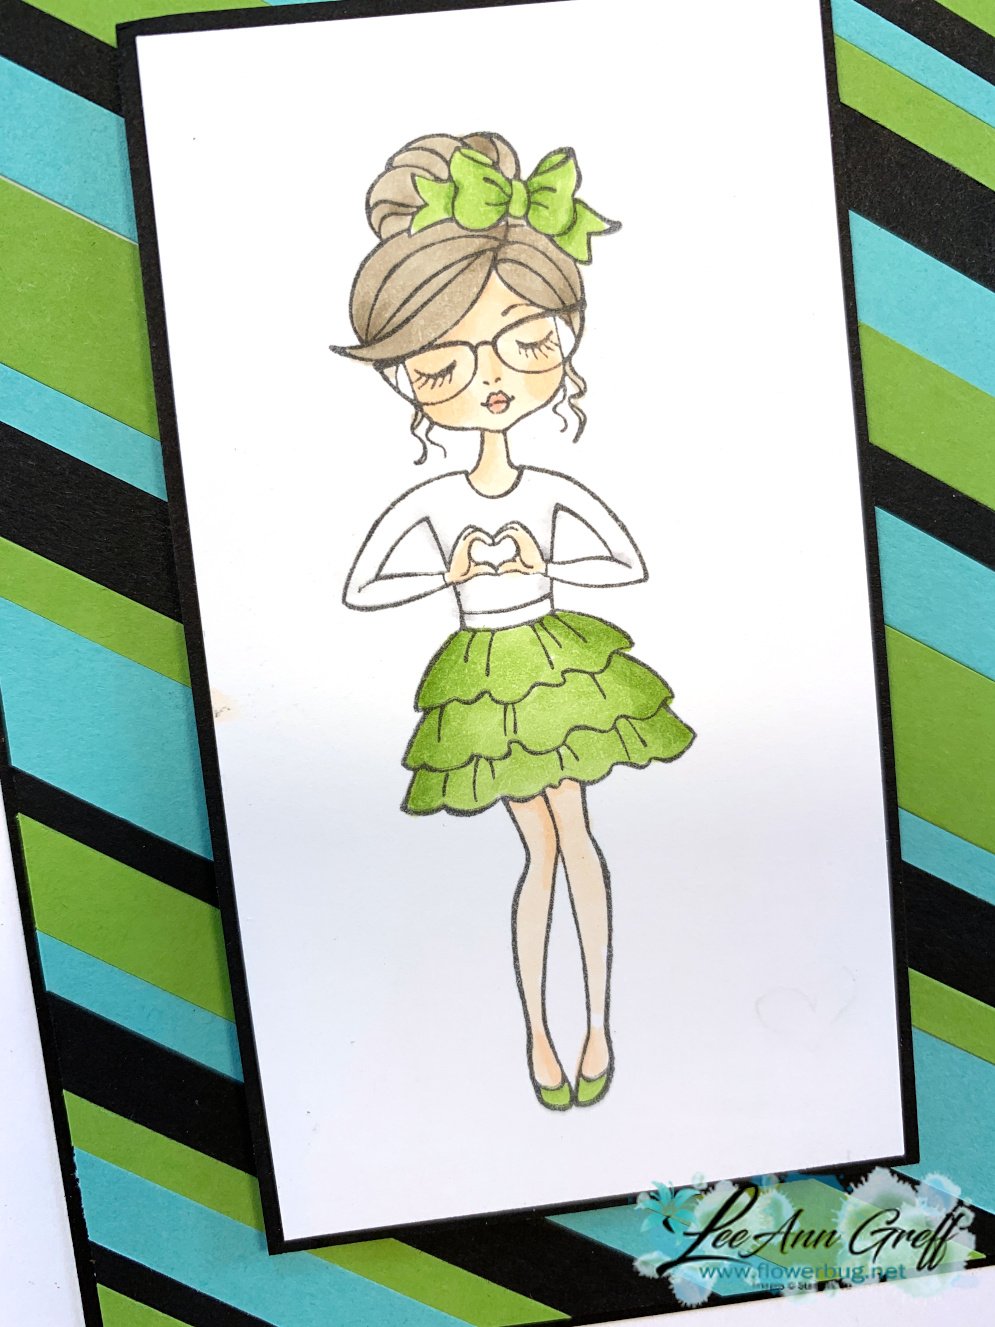
    Coloring these sweet girls can be intimidating but not with our Blends markers!  Look at her! 

    I will admit that my friend & team member Audrey colored this one.  She shared a bunch of stamped & colored girls with me and I've made a few cards with them.  If you look closely you can see the changes in color hue that gives great dimension. Such as her skirt. See how the outside is darker than the inside?  Same with her cheeks. 

    The Blends markers are fabulous tools!  

    I had a bunch of colored card stock strips laying on my desk and decided to use them for a background.  I cut some into thinner strips to add interest. I did not measure; they vary in widths which adds some interest & fun.

    I adhered them to a 3 1/2" X 4 3/4" piece of card stock. Then I trimmed off the excess and added the entire piece to a piece of 3 5/8" X 4 7/8" piece of Black CS before I added it to the White card base.  

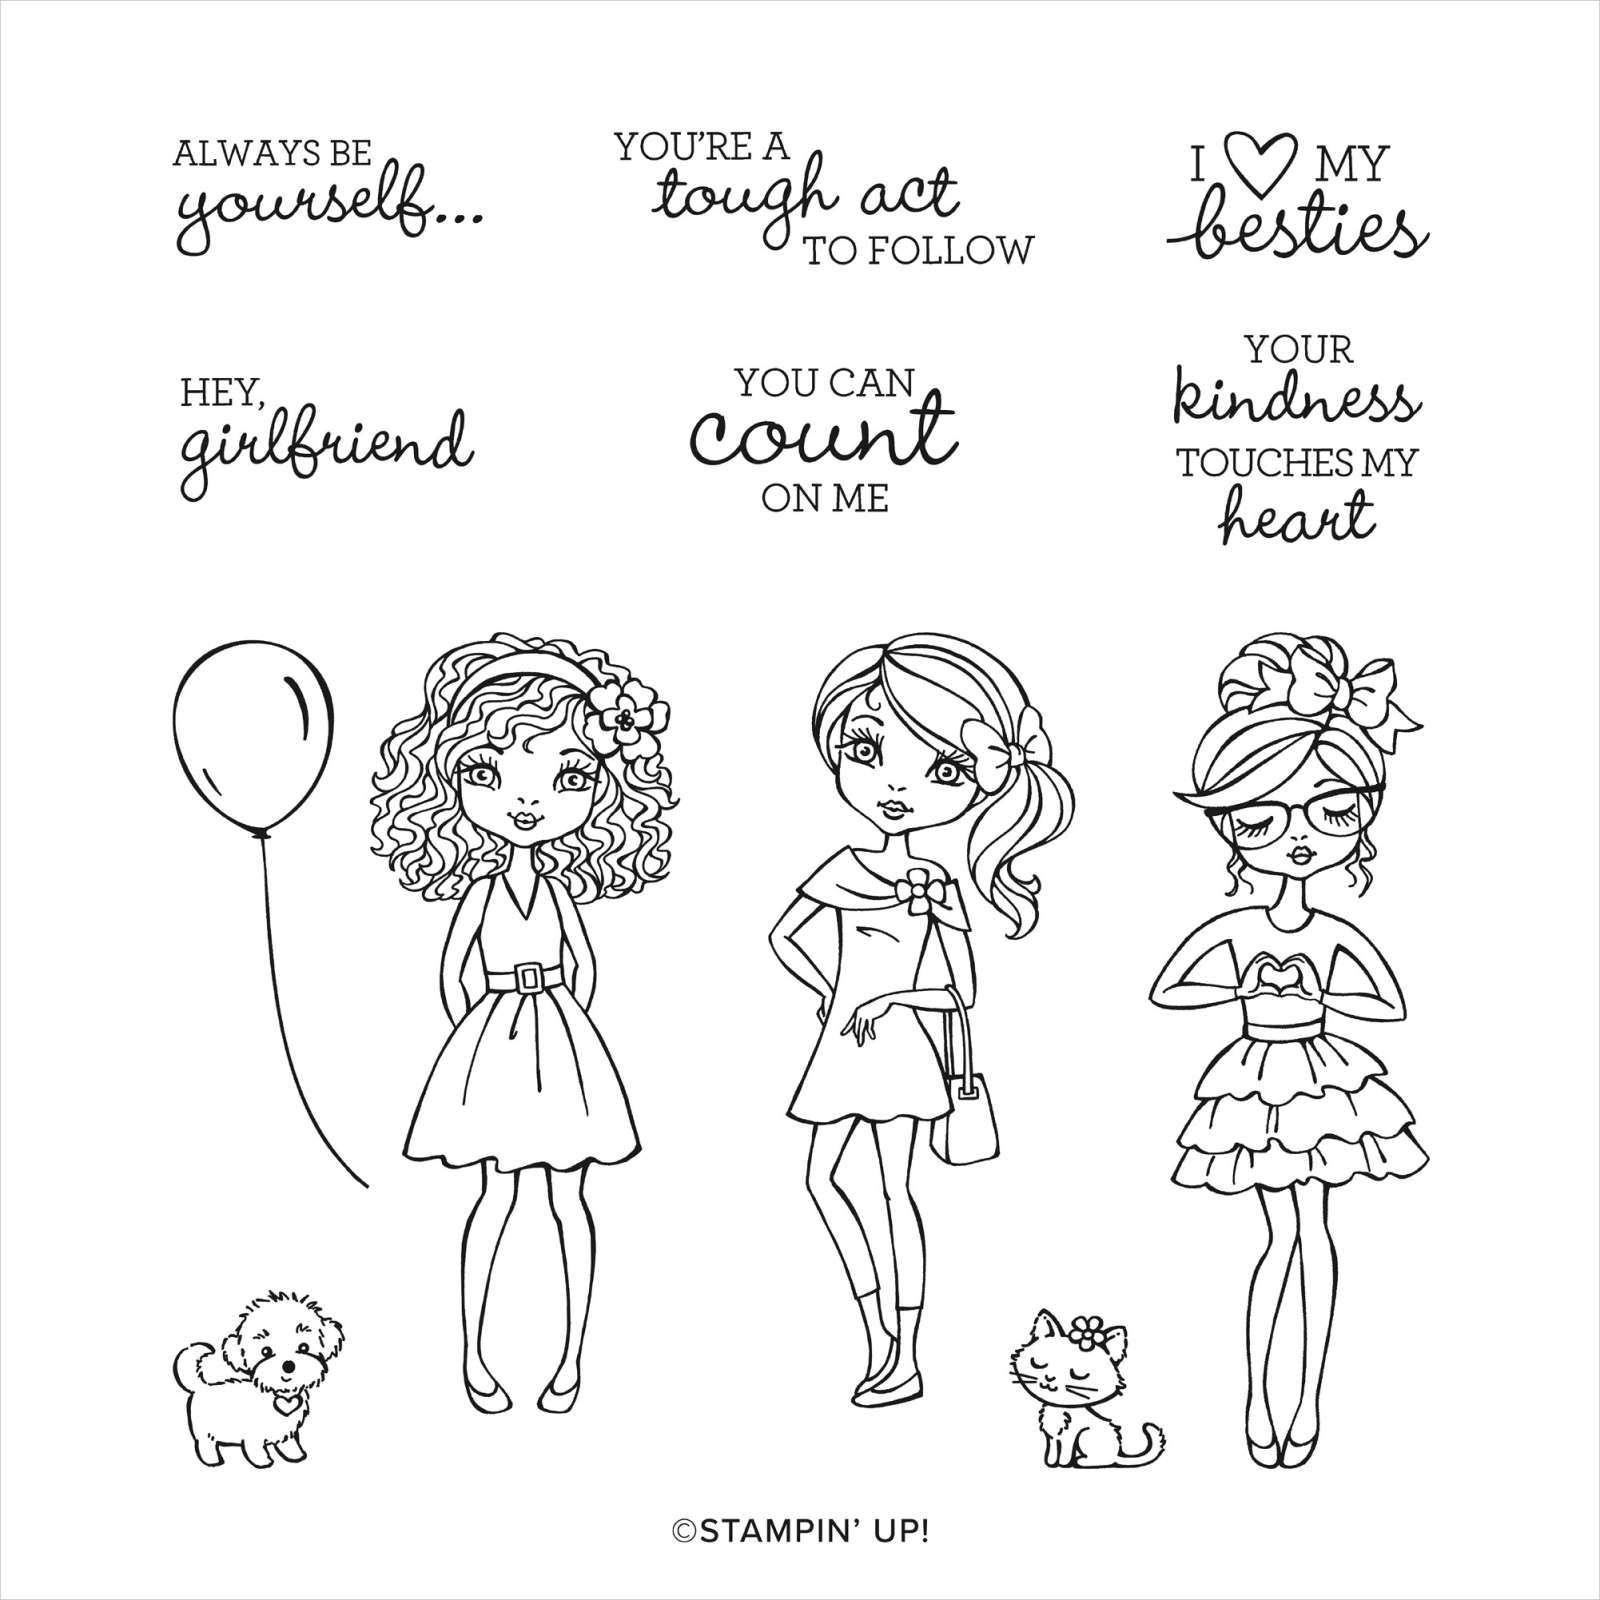
    This stamp set will not be carried over; it will retire in June.  You can see it here. 

    ~~~

    April Specials!

    Click here for the Annual Catalog Retiring List; many discounted items while supplies last! 

    Current Host code is 3PA3P32V

    Order online here


    ~~~

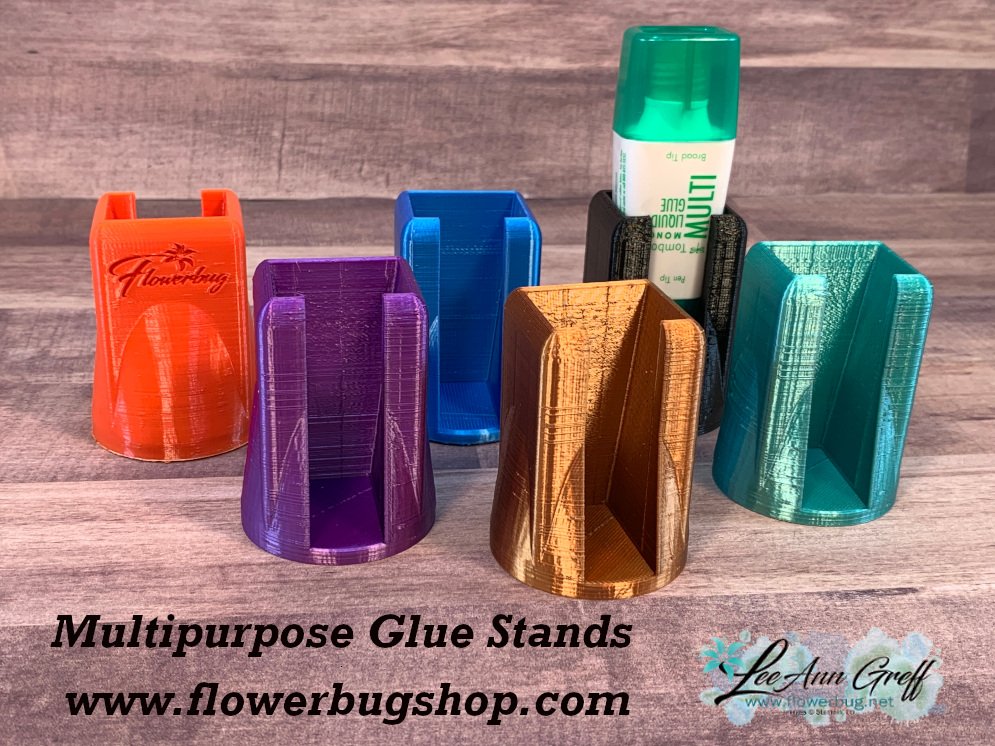
    Get a free multipurpose glue stand with an online order over $60 using the host code above. You'll receive a color of my choice unless you let me know your preference. *if you'd rather have gems; let me know.

    *If your order is over $150 do not use the code; you'll still receive a gift! 

    You can also order them in my Shop here. 

    All online orders will receive a free 14 project PDF tutorial

    Leave a Reply

    Your email address will not be published. Required fields are marked *

  • TWO Amazing Sales Happening Now! New Clearance Rack items will go FAST!


    They're updating the Clearance Rack Tuesday!

    The deals are so amazing that they can sell out within minutes! 

    Be sure to check it out ASAP here.  


    Remember to check out the Last Chance deals seen here while you're shopping.  Combine these big sales and save big!  

    Save even more here with the BEST DEAL we offer!

    Did you know you can choose items from these two sales to add to your Starter Kit?  And you can choose items from the upcoming Annual Catalog (Sneak Peaks) as well including new products, In Colors and more! 

    You'll get even bigger savings since it's always 25% off!  

    Choose up to $125 in products for just $99 and your shipping is free!! From then on all of your Stampin' Up! products are 20% off. And you don't need to place another order until September to stay active.  

    Perks of joining my Flowerbug's Team:

    1. Enjoy 20% discount on all future Stampin' Up! purchases (for as long as you wish; no pressure to stay). 
    2. The ability to pre-order NEW product a month before everyone else (May/June is Sale-a-Bration & Holiday catalog pre-order)!
    3. Direct access to demonstrator only websites & FB groups with TONS of project sharing you won't see anywhere else. 
    4. Get $125 in product of your choice with the $99 kit purchase!  (A free Paper Pumpkin Kit, business supplies including 8 new catalogs and more)
    5. As a member of my Team you have access to some exclusive benefits including:
    6. An exclusive Team Facebook group where we share inspiration and ideas.
    7. Access to every project tutorial I create (at least 2 per month) including all previous PDF tutorials. Use them as you wish! 
    8. The option of monthly card swaps with my Flowerbug's Team.
    9. Monthly creative & business challenges with Prize Patrols. 
    10. Monthly team meetings &/or Facebook Lives for just my group!

    ~~~

    April Specials!

    Click here for the Annual Catalog Retiring List; many discounted items while supplies last! 

    Current Host code is 3PA3P32V

    Order online here

    ~~~

    Get a free multipurpose glue stand with an online order over $60 using the host code above. You'll receive a color of my choice unless you let me know your preference. *if you'd rather have gems; let me know.

    *If your order is over $150 do not use the code; you'll still receive a gift! 

    You can also order them in my Shop here. 

    All online orders will receive a free 14 project PDF tutorial

    Leave a Reply

    Your email address will not be published. Required fields are marked *

  • The last of my 10 amazing card ideas for Paper Strips!


    Today I'm sharing the last of the 10 cards I made on my Facebook Live video.  If you aren't following me on Facebook yet click here. I host a video each Tuesday morning at 11 am CT and twice a month on Monday evenings as well. 

    I had a bunch of paper strips leftover from cutting out for cards and kits and created some fun & unique cards with them.  We're calling them 'Stripper Cards'! 

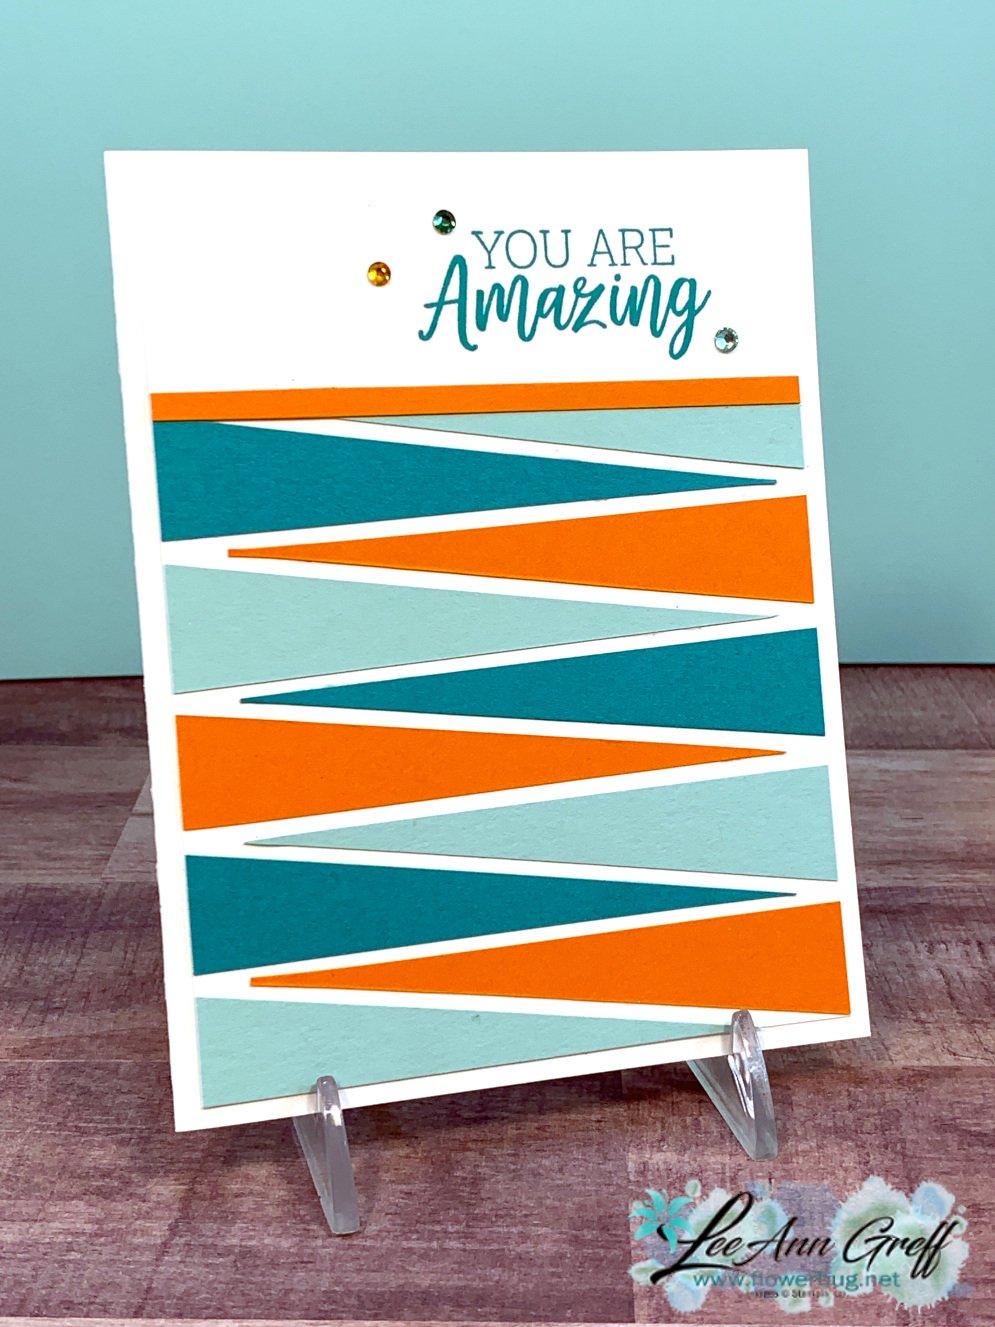
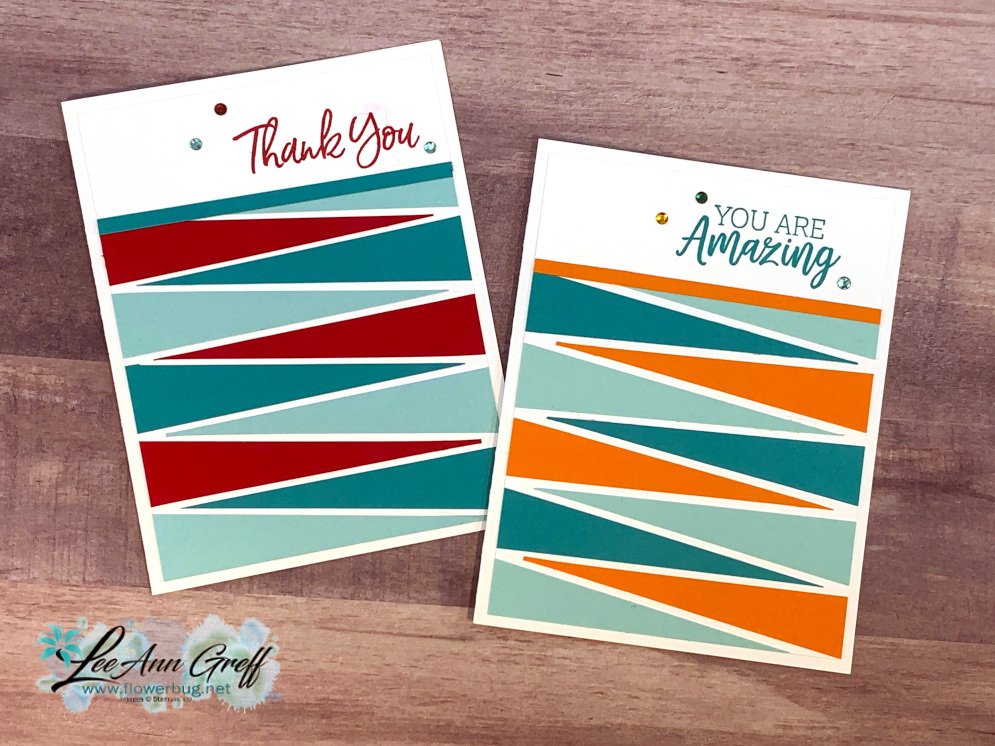
    Here's a favorite I made with 3/4" X 3 3/4" strips of Bermuda Bay, Pool Party & Pumpkin Pie.  

    I started out with a 4" X 5 1/4" piece of White CS.  Starting at the bottom I added a strip and alternated colors and directions each time.  I focused on keeping the tips at the same area and left the excess 'wide' end hang over the edge.  

    I had to leave enough space to stamp the greeting (You Are Amazing set seen here) so I stopped about 1 1/2" up.  The last piece may need to be trimmed before you add that skinny little edge strip.  A few Holiday rhinestones finish it off. 

    On my video (scroll down) I used Real Red with the Pool Party & Bermuda Bay.  Which do you prefer?  


    ~~~

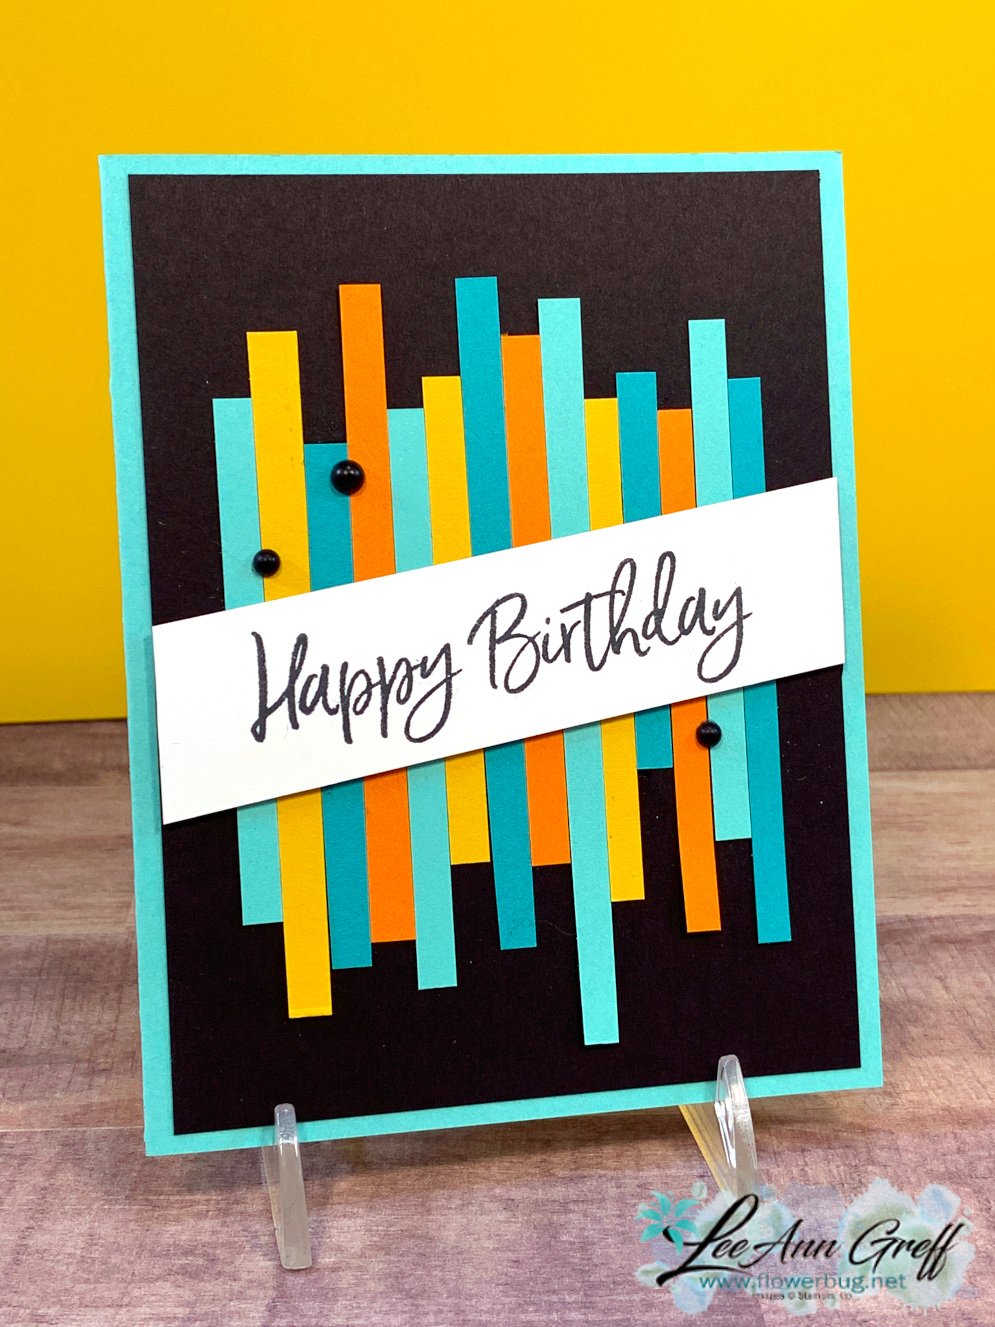
    This is another of my favorites!  So easy and just plain fun!


    I cut random lengths of 1/4" strips and adhered them to a 4" X 5 1/4" piece of Black card stock. The greeting is from the Sweet Ice Cream set stamped on a 1" X 4 3/4" strip of White CS.  Add this and trim the ends off before you add it to the main Coastal Cabana card base.  

    Here are both versions; which do you prefer?  


    • Left features Coastal Cabana, Bermuda Bay, Crushed Curry & Pumpkin Pie.
    • Right has Coastal Cabana, Bermuda Bay, Granny Apple Green, Pacific Point and Daffodil Delight. 

    Below is the video for all 10 'stripper' card ideas using leftover strips of paper! 


    ~~~

    April Specials!

    Click here for the Annual Catalog Retiring List; many discounted items while supplies last! 

    Current Host code is 3PA3P32V

    Order online here

    ~~~

    Get a free multipurpose glue stand with an online order over $60 using the host code above. You'll receive a color of my choice unless you let me know your preference. *if you'd rather have gems; let me know.

    *If your order is over $150 do not use the code; you'll still receive a gift! 

    You can also order them in my Shop here. 

    All online orders will receive a free 14 project PDF tutorial

    Leave a Reply

    Your email address will not be published. Required fields are marked *


Notice: LeeAnn Greff, Independent Stampin’ Up! Demonstrator, Manager. The content of this website is my sole responsibility as an independent Stampin’ Up! demonstrator and the use of, and content of, the classes, services, or products offered on this website is not endorsed by Stampin’ Up! Copyright 2025